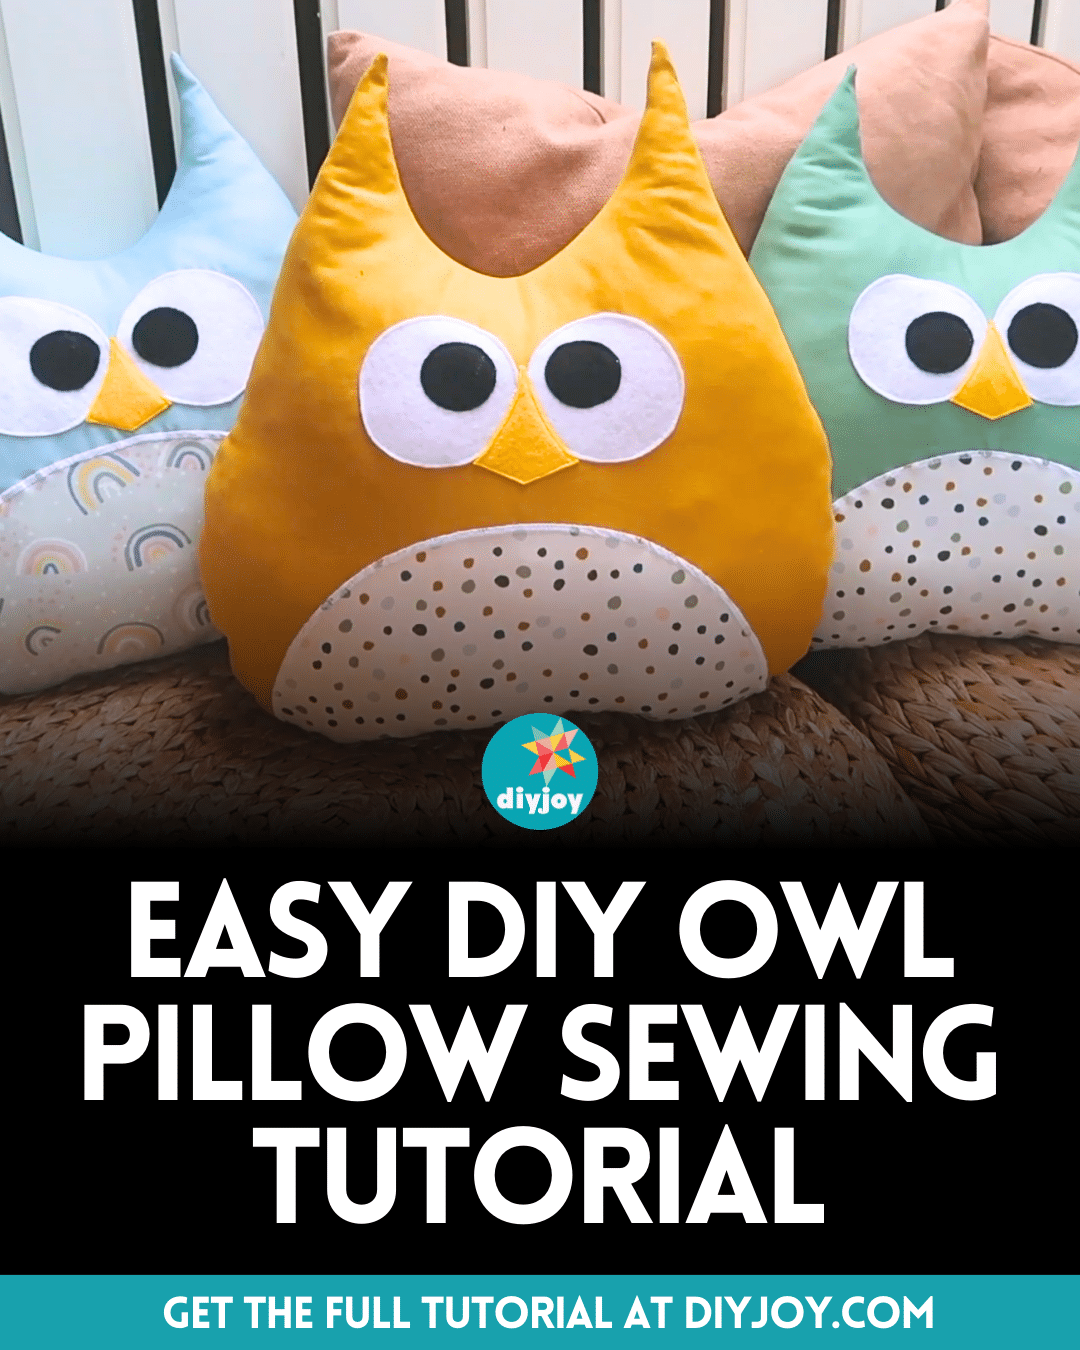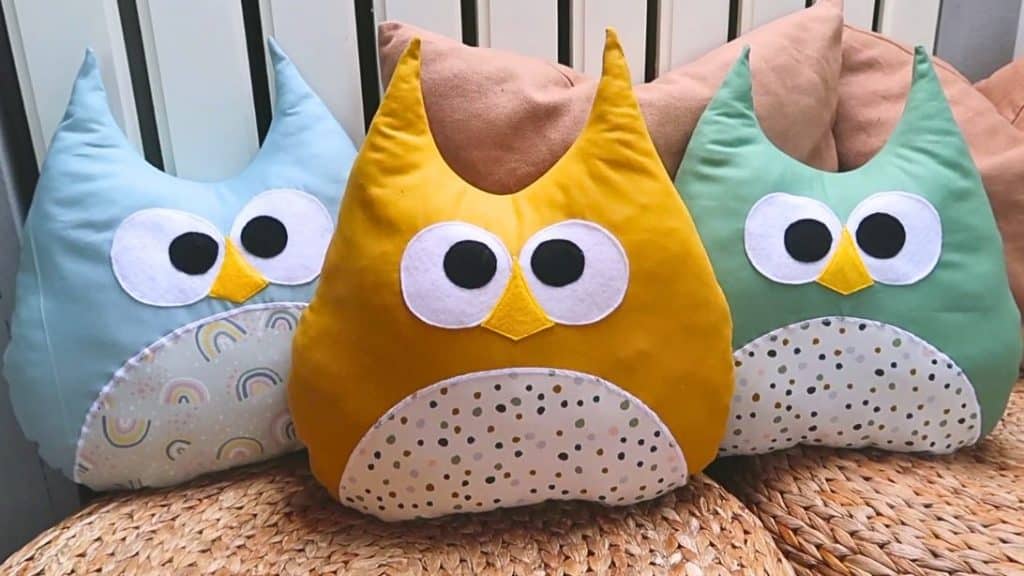
This DIY owl pillow by Owlipop DIY on YouTube is one of the best projects I’ve ever done this week, it looks so adorable and it’s very easy to make, you don’t even need to be an expert in sewing to pull this off.
RELATED: How to Make Owlets Using Yarn
You can also customize this owl pillow and incorporate any color of fabric that you want. This is also a great handmade gift idea, or you can even sell if if you want. Learn how to make this now by reading the instructions below.
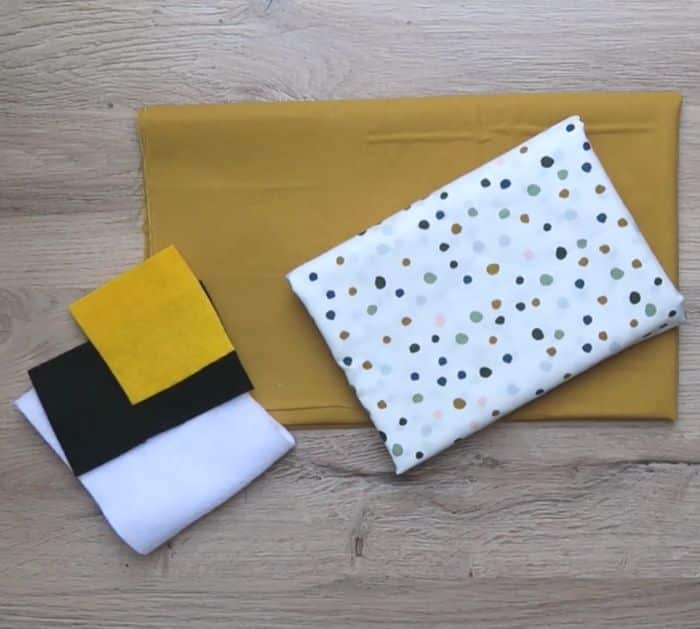
Materials for DIY Owl Pillow:
- Cotton fabric, for the owl’s body
- Contrasting cotton fabric, for the owl’s belly
- Felt or cotton fabric, white, black, and yellow
- Pillow stuffing
- Pencil
- Scissors
- Fabric pins
- Needle and thread
- Iron, for pressing
- Sewing machine
- Pattern (Click here to download the pattern)
How to Sew a DIY Owl Pillow:
Step 1
Download and print the pattern, then assemble the pieces, and cut them out. Trace the shape of the owl’s body to your folded main fabric, then cut the shape out, and do it one more time so you’ll have a total of 2 pieces.
Step 2
Place the belly template on a folded contrasting fabric, then cut it out, and cut out the piece for the eyes and beak as well. Place the belly fabric on top of the body fabric, then line up the bottom edges, and pin it in place. Place the white circles for the eyes, pin them in place, and start stitching them around the edges.
Step 3
Position the beak and black of the eyes as shown in the video, then stitch them in place, and lay the other main fabric on top with their right sides facing. Pin them in place, then start stitching around the edges, and leave a gap at the bottom about 2 inches.
Step 4
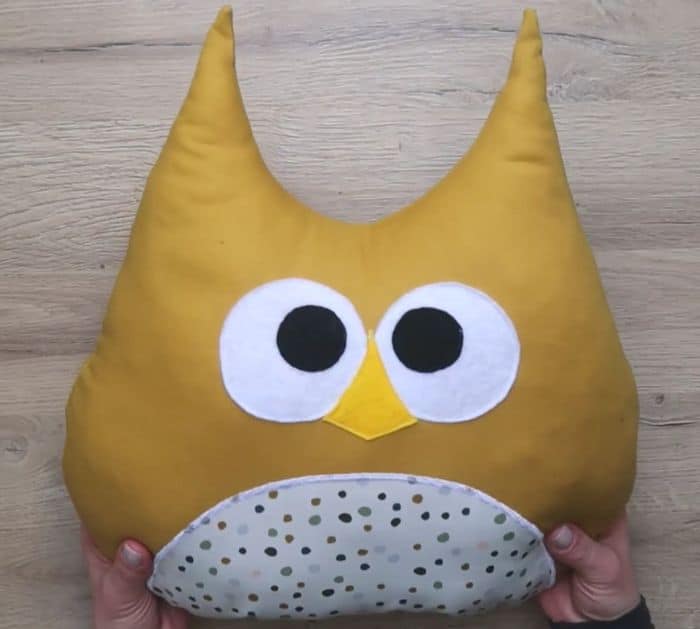
Trim the tip of the ears, then snip all over the edges as shown in the video, and turn the piece right sides out poking the edges nicely. Stuff it with your pillow stuffing, then tuck the edges of the opening, and stitch it close.
*All these images are credited to Owlipop DIY via YouTube. Give her channel a visit and subscribe for more!
