Bolster pillows can make a great accent to your space and liven it up. It’s a great project and you can do this all on your own even if you’re a beginner! This beginner-friendly tutorial from Missouri Star is a step by step DIY project you can do on a weekend.
RELATED: Dollar Tree DIY No-Sew Fringe Pillow Tutorial
In this tutorial, Missouri Star will teach you how to make a bolster pillow quickly and easily! You can use your favorite fabrics and get creative and use other textures and patterns for the ends! Watch the video tutorial below to learn the step by step instructions.
Materials:
For a 9″ x 16″ size:
- 1 yard of 45″ wide
- 1 yard of 60″ wide
- 1 5/8 yards of toweling (18″ wide)
- 1 yard of toweling (60″ wide)
- 2 yards of piping rope (or other trim)
- 18″ zipper
- 9″ x 16″ pillow form
- (click here for other size patterns)
Directions:
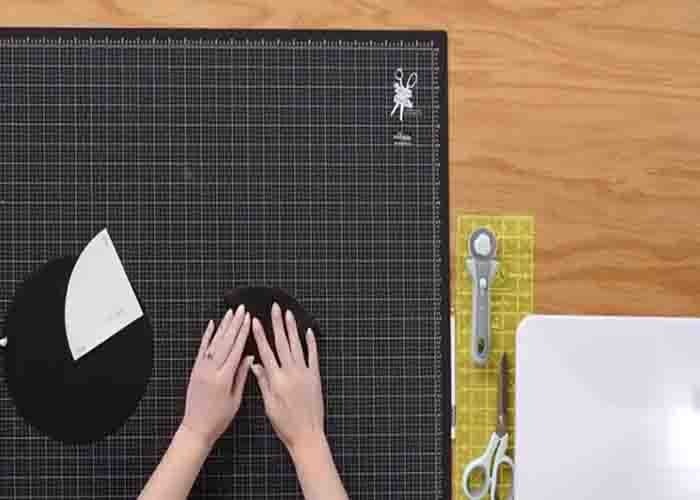
Step 1
Cut 10″ squares of the faux leather (or other accent fabric you’ll use), then use the circle guides that come with it. Fold it in fourths, then lay the guide over and cut it out. Next, cut the rectangle for the body of the pillow, cutting a 17″ x 29 1/4″ into your main fabric. After this, cut some bias 2″ strips to use for the piping. Once you have the piping, take one, place a piping rope over it, fold it over, and then stitch as close to the rope as possible. After sewing, snip about every inch to the excess long edge to make it curve around the round ends.
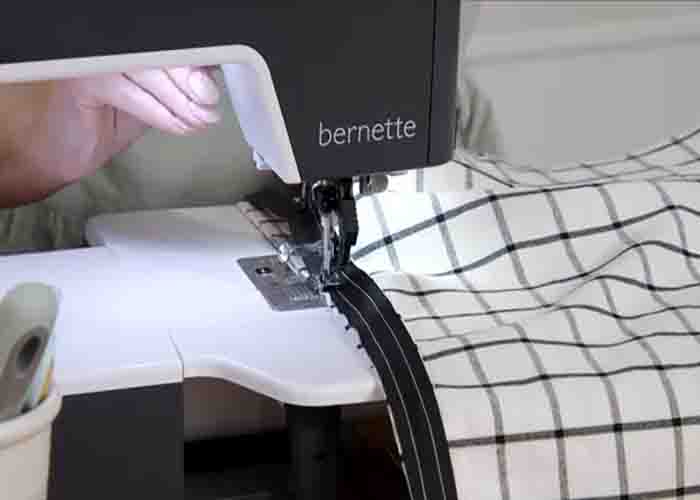
Step 2
Now, bring the circle, then sew the trim with a 1/2″ seam allowance right in line with the outside edge. Repeat these steps with your other ends, and then set them aside. Take the rectangle and the zipper. Put the head of the zipper in the middle, then start lining it up on one end. Stitch it as close to the edge as you can. After this, fold up the other end of the rectangle, line it up exactly as the other side, then sew.
Step 3
Once done, trim off the edge of the rectangle evenly. Now, line up the two circle ends and pin them in place. After this, stitch all the way around, removing the pins as you go. After sewing, turn the pillow form inside out and you’re done.
How to Make Bolster Pillow Tutorial