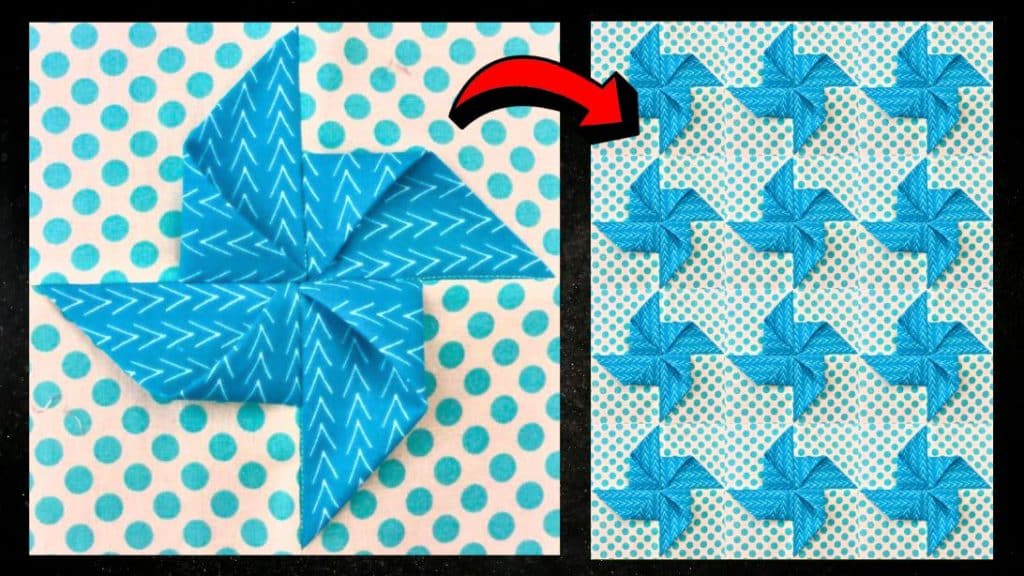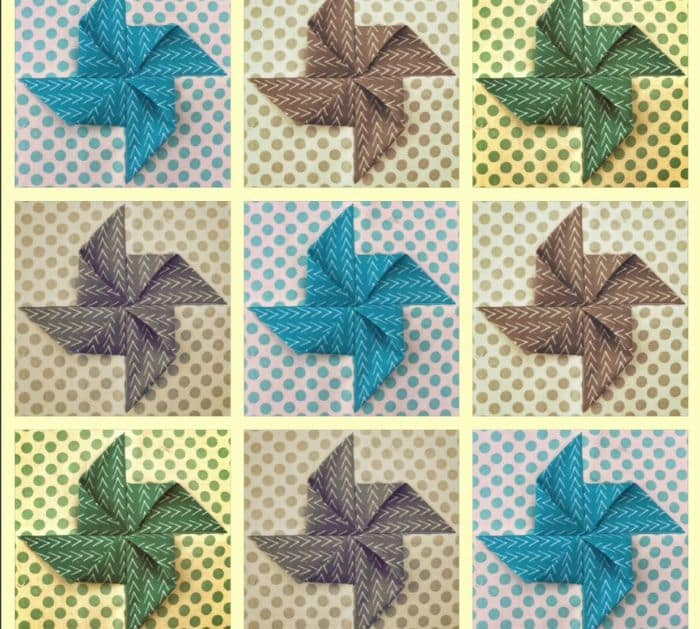
When I saw this quilt block idea by Teresa DownUnder on YouTube, it immediately caught my interest because of how it looked and its 3D concept. I was intrigued about how to make this block and if it was difficult, but when I learned the steps, I was surprised to know that it was very easy!
RELATED: How to Make a Hearts and Pinwheel Quilt
I’m sure that even if you’re a beginner you can make this block perfectly on the first try. The steps and instructions are detailed and very easy to follow so you don’t need to worry about messing up. Learn how now by watching the video tutorial below.
Materials for Origami Pinwheel Quilt Block:
- Background fabric
- Contrasting print fabric
- Ruler
- Marking pen, pencil, or chalk
- Needle and thread
- Scissors or rotary cutter and a cutting mat
- Iron, for pressing
- Sewing machine
How to Make an Origami Pinwheel Quilt Block:
Step 1
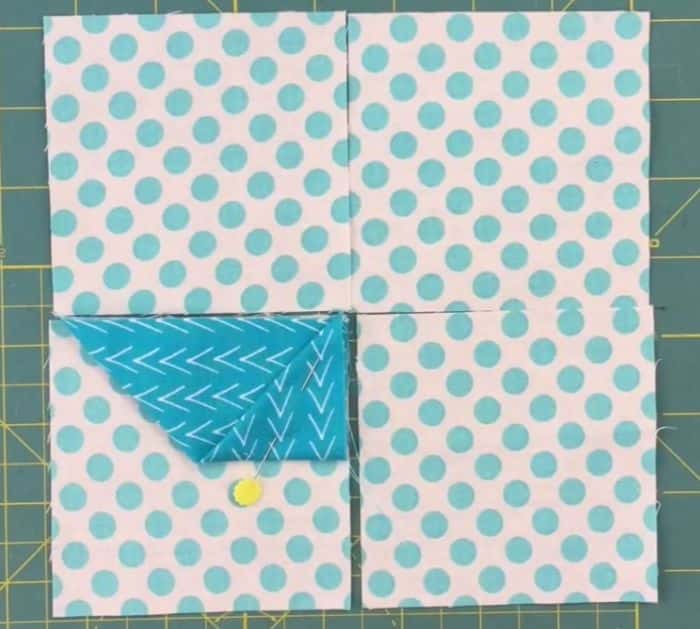
Cut the background fabric into four squares at 3¾ inches, then cut the contrasting fabric into 4 squares of the same size. Take 1 contrasting square, then fold it in half diagonally, and fold it again across matching the edges nicely as shown in the video.
Step 2
Place the folded pinwheel on top of the background fabric making sure to line up the edges, then pin them in place, and continue to do the same for the rest of the pieces.

[social_warfare]
Step 3
Stitch the pinwheel fabric to the background square, then arrange the block units together making sure that the pinwheel sides meet at the center as demonstrated in the video.
Step 4
Stitch the block units together in pairs, then press the seams nicely, and stitch the pairs together. Give the seams a good press to reduce the bulk and you’re done!

*All these images are credited to Teresa DownUnder via YouTube. Give her channel a visit and subscribe for more!


