A few weeks ago, I had some old chairs that looked so worn out and faded and I was considering tossing them out of the house. But, upon inspecting them closely, I realized that they are still in good condition and may just need some makeover to look new again. That’s when a thought crossed my mind, this is actually a great opportunity to do some DIY on the chair, so I ran to the internet and browsed for a couple of ideas and inspirations.
RELATED: How to Build a DIY Bookshelf Chair
What caught my interest almost immediately was this idea from Debi’s Design Diary on YouTube, it’s very cute and the steps are super simple to follow. This is also a better and more inexpensive idea than replacing all of the furniture in the house. Transforming the chairs is such a wonderful idea and is one of the best things I ever did that week, I even tried another design for the chairs that I put on the garden and patio, too!
Materials for Decoupage Quilt Chair:
- Scrapbook paper
- Hexagon paper cutter, or use a template instead
- Black oil-based sharpie
- Sponge paint applicator
- Clear paint
- Paint, green and yellow
- Paint rag
- Paintbrush
- Dark wax
- Mod Podge
How to Make a Decoupage Quilt Chair:
Step 1
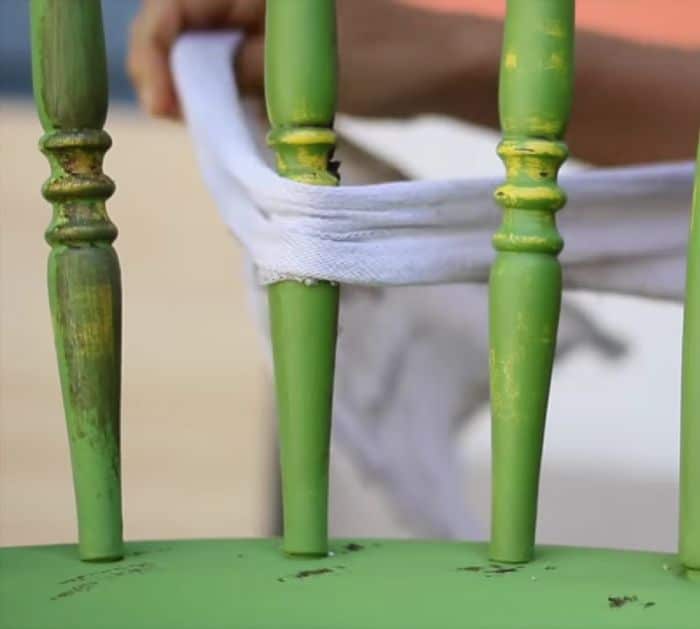
Coat the chair with a primer if needed and let it dry completely, then apply the yellow paint, let it dry, and paint it green. Wet a clean rag, then rub it lightly over some parts of the chair to lightly show the paint underneath as demonstrated in the video.
Step 2
Add dark wax to highlight the texture, then rub it with the cloth for a smooth finish, and set it aside to dry completely while preparing the scrapbook papers.

Step 3
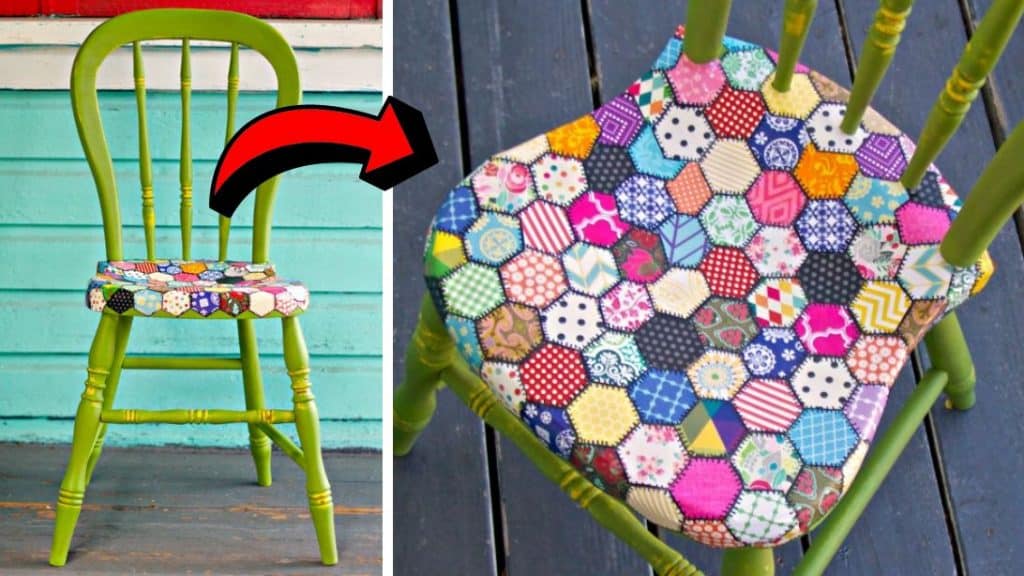
Cut the papers with a hexagon paper cutter or download a pattern and cut them by hand, then spread some Mod Podge over the seat of the chair, and stick the cut papers onto the chairs close to each other.
Step 4
Outline the edges of each hexagon piece, then add some short lines across the line to imitate stitches as shown in the video, and then cover them with a layer of Mod Podge. Allow it to dry completely and you’re done!

*All these images are credited to Debi’s Design Diary via YouTube. Give her channel a visit and subscribe for more!


