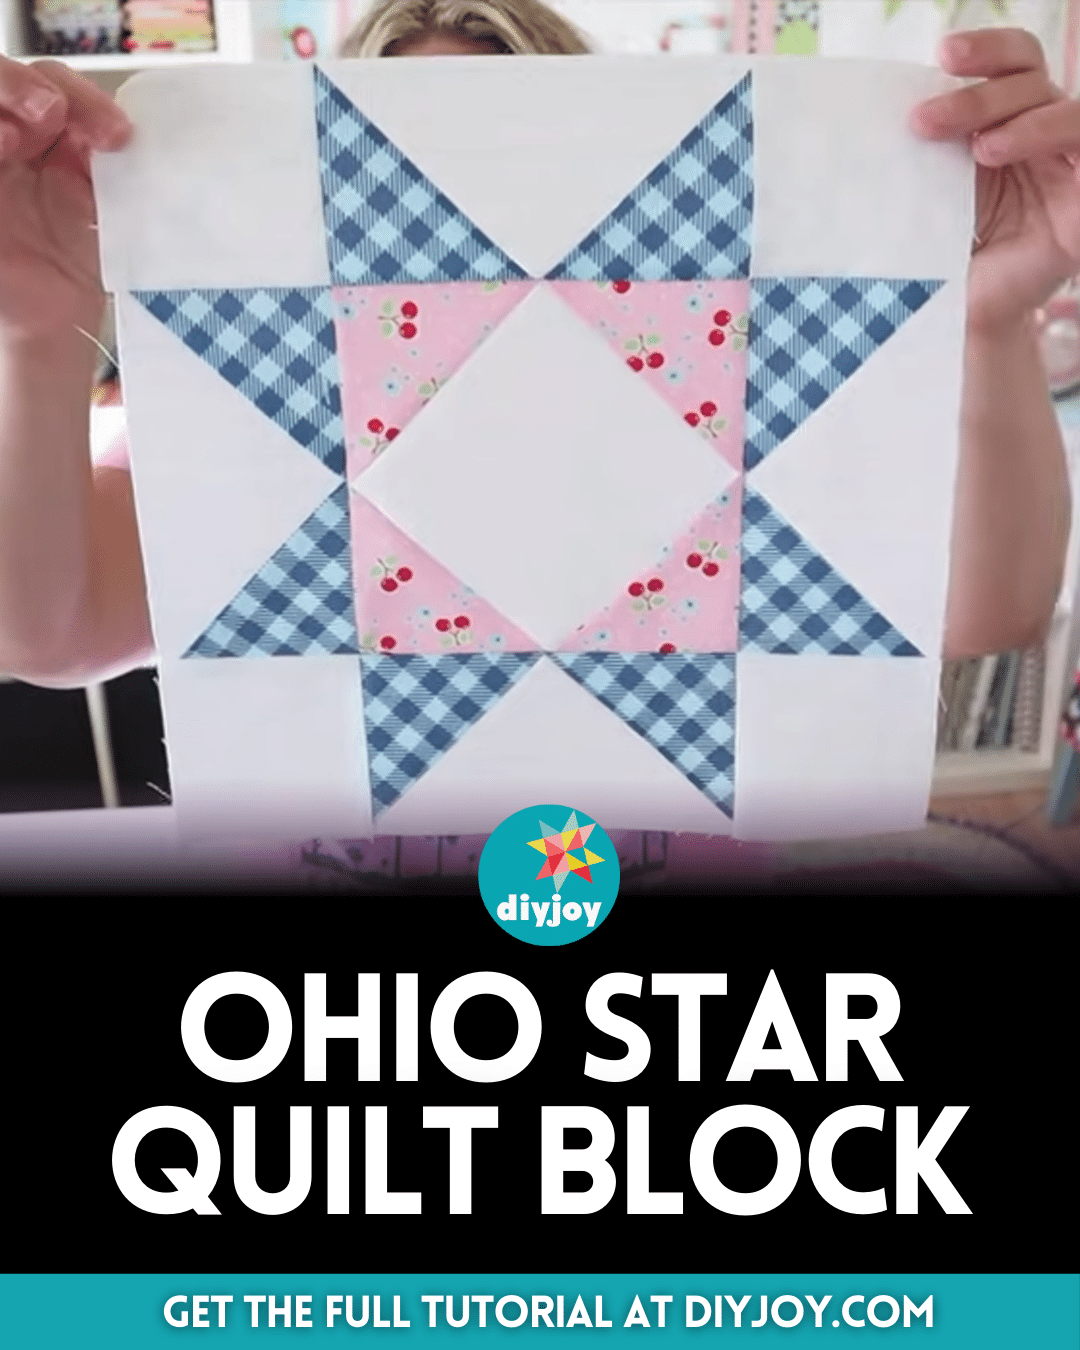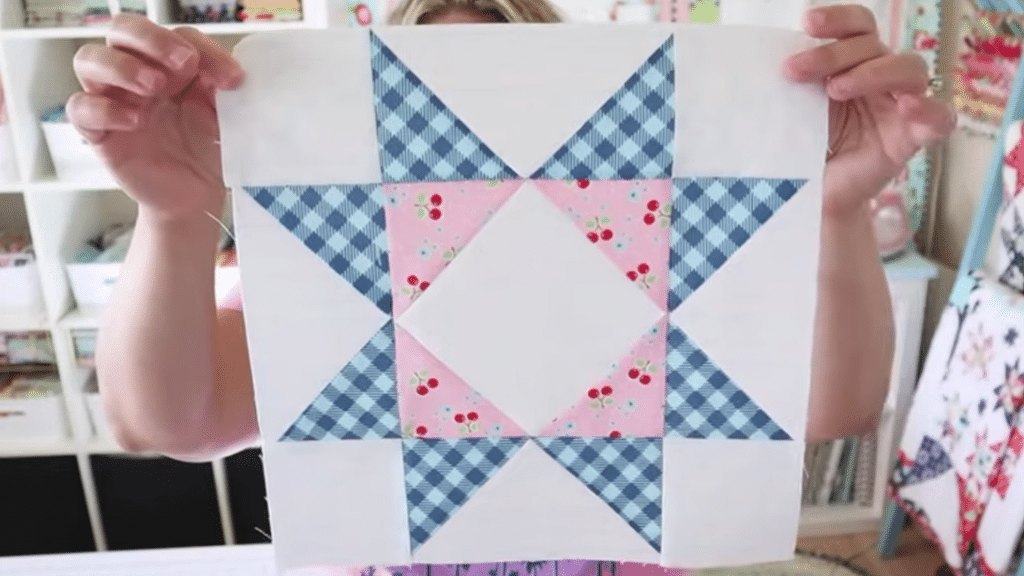
This beautiful Ohio star quilt block by Erica Arndt on YouTube is one of the easiest and prettiest quilt blocks you can ever make. It is one of my favorites because you can easily combine any fabric print or color and guarantee it will look beautiful.
RELATED: Beginner-Friendly Confetti Star Quilt Block
This is a must-try especially if you’re a beginner in quilting, you only have to learn how to make flying geese units and snowball squares to piece this block. Learn how now by following the instructions below and then watch the video tutorial for more details.
Materials for Ohio Star Quilt Block:
- Print fabric, for the star point
- Print fabric, for the snowball
- Background fabric
- Marking pen, pencil, or chalk
- Ruler
- Scissors or rotary cutter and a cutting mat
- Fabric pins
- Needle and thread
- Iron, for pressing
- Sewing machine
- Pattern (Click here to download the pattern)
How to Make Ohio Star Quilt Block:
Step 1
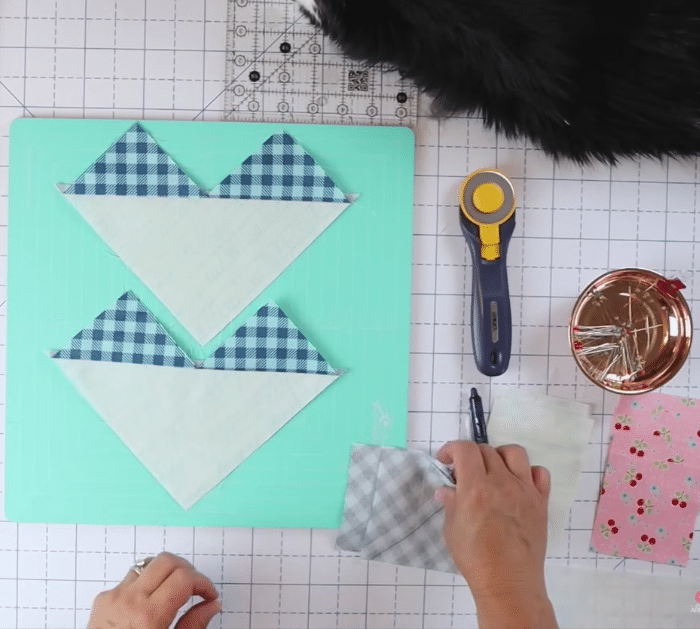
Cut the fabrics to size, then lay the print square (for the star point) right side down, and line it as shown in the video. Cut the square in half in both directions to make 4 small squares, then lay the background square right side up, and place 2 print squares on opposite corners making sure the lines are aligned nicely.
Step 2
Pin them in place, then stitch right on the inside of the drawn lines, and cut the fabric along the middle of the drawn lines. Press the fabric open, then put the last square piece in the bottom corner, and make sure the drawn line is vertical.
Step 3
Stitch on the inside of the lines, then cut the piece apart in half, and press the fabric open. Trim off the excess and set them aside, then line the back of the snowball pieces diagonally from corner to corner, and place the squares on opposite corners of the background square making sure their right sides are facing.
Step 4
Stitch along the line, then trim off the excess layers and press the fabric open. Do the same steps for the remaining empty corners, then assemble everything as demonstrated in the video, and start stitching them per row. Stitch the rows to each other, then give the block a good press, and you’re done!
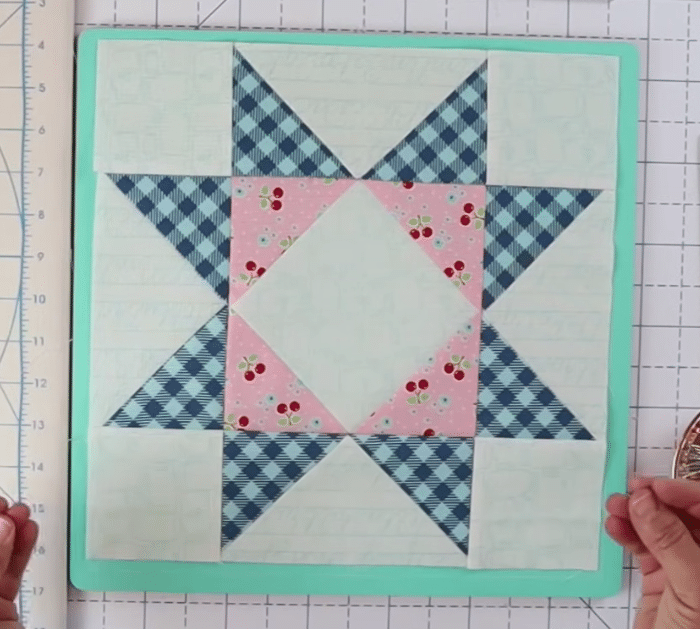
*All these amazing images are thanks to Erica Arndt via YouTube. Do visit her channel to see more videos like this!
