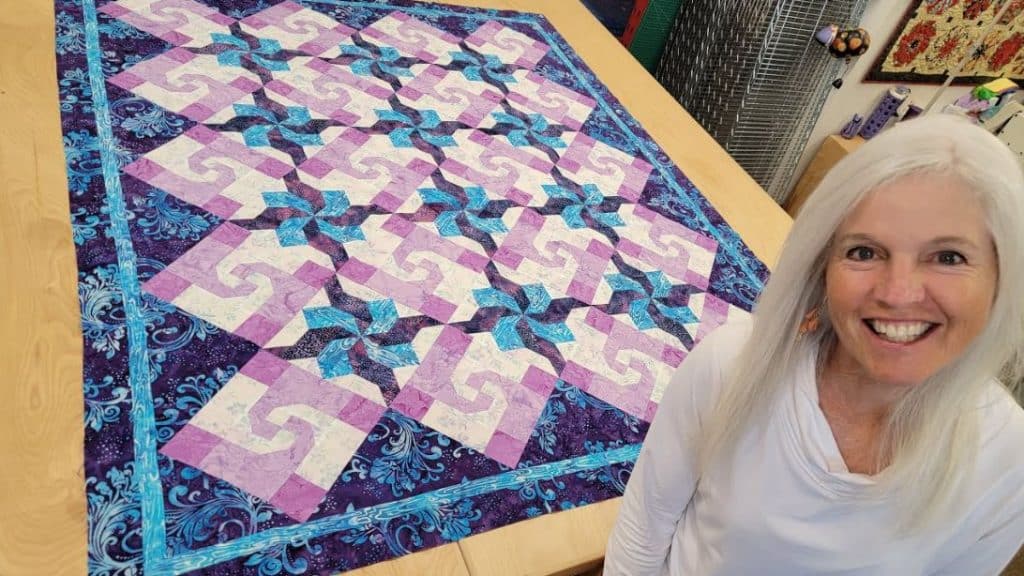
This quilt idea by Jordan Fabrics on YouTube looks beautiful and challenging at the same time, and I must admit, I was intimidated at first as well. I had my doubts if I could pull this quilt off on my own, but the instructions were very detailed and helpful. I managed to successfully finish the quilt, and I’m pretty happy with the result!
Materials:
- Light print fabric
- Purple print fabric
- Blue print fabric
- Marking pen, pencil, or chalk
- Ruler
- Scissors or rotary cutter and a cutting mat
- Needle and thread
- Iron, for pressing
- Sewing machine
- Pattern (Click here to download the pattern)
Directions:
Step 1
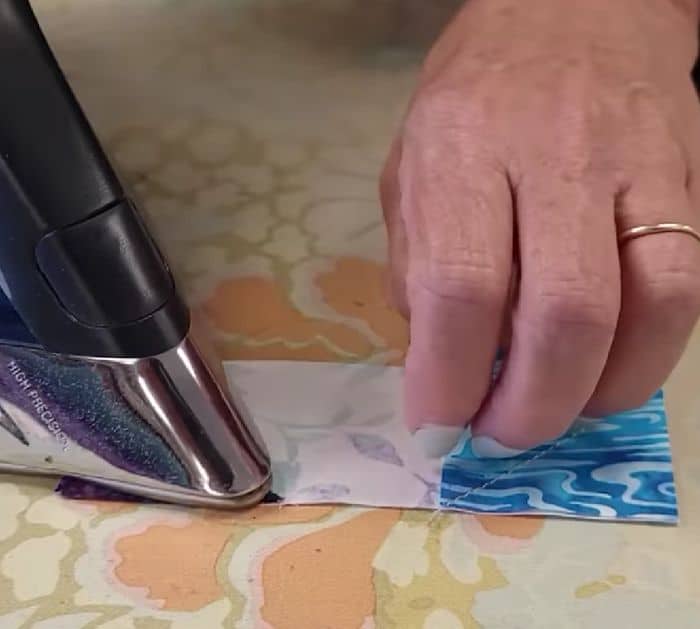
Download and print the pattern guide, then cut the fabrics according to size, and draw a diagonal line on the squares from corner to corner. Place the squares on each side of the rectangle pieces with their right sides facing, then refer to the pattern or video for the proper color matching, and stitch them together along the marked line. Trim off the excess layers, then flip the corners open, and press the seams nicely.

[social_warfare]
Step 2
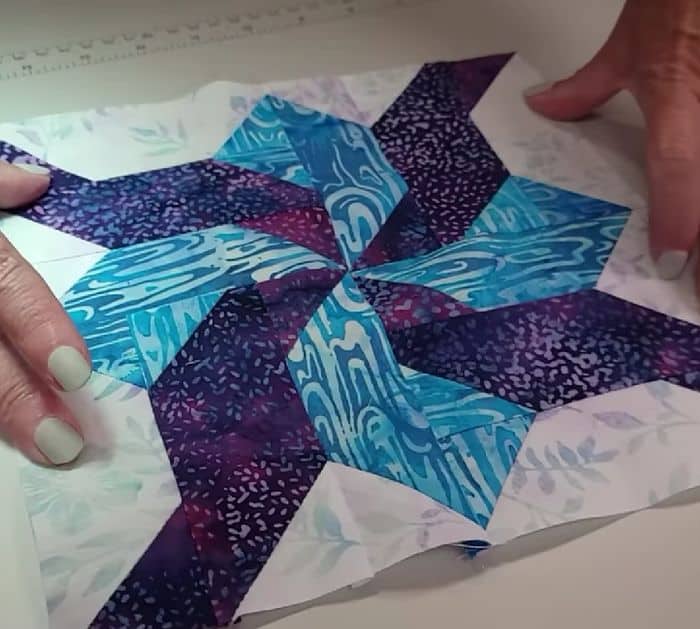
Lay the 3 rectangle units together, stitch them together, and press them nicely. Repeat the same steps with the remaining units and then lay 4 block units together to form the ocean currents as shown in the video, then stitch together the top row, and stitch the bottom row as well. Make sure to press the seams nicely, then stitch the rows to each other, and give them a final press. You can now make more blocks and finish your quilt, watch the video tutorial to learn how.

*These amazing images are all credited to Jordan Fabrics via YouTube. Check her other content and follow for more!


