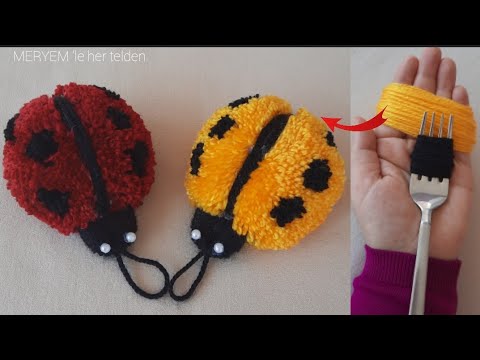
There are a lot of projects that you can make using yarn and the possibilities are endless, but one of my favorite ones to make is ladybugs! They are so easy and simple to make, plus you don’t need that many materials, if you have some black and yellow or red yarn then you can start working on your project. Learn how with this video tutorial by meryemle her telden on YouTube now.
Materials:
- Yellow or red yarn
- Black yarn
- Fork
- Scissors
- Hot glue gun and glue sticks
- Small beads, for the eyes
Directions:
Step 1
Lay a piece of yarn on your palm vertically in the middle, then wrap the yellow yarn around your 4 fingers 140 times, then cut the excess, and use the tails to tie the loops together in the middle. Carefully remove the loops from your finger, then tie the middle tighter and knot, and make another piece. Stack the 2 yellow loops together, then tie them in the middle tightly, and knot them securely.
Step 2
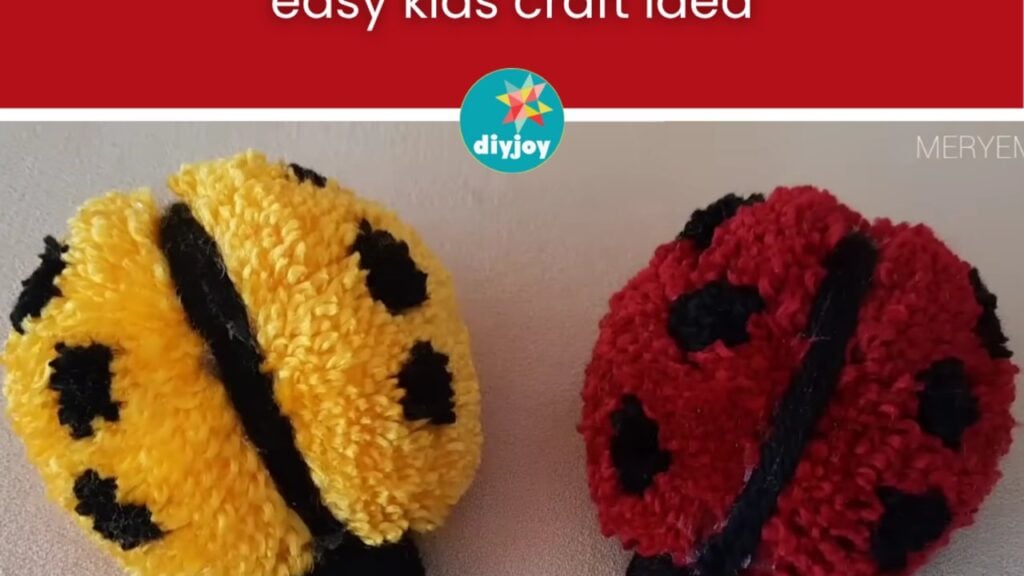
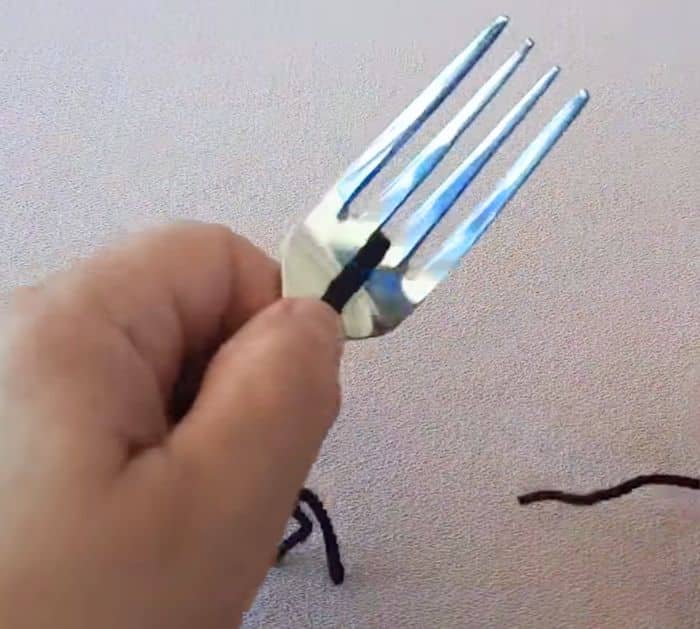
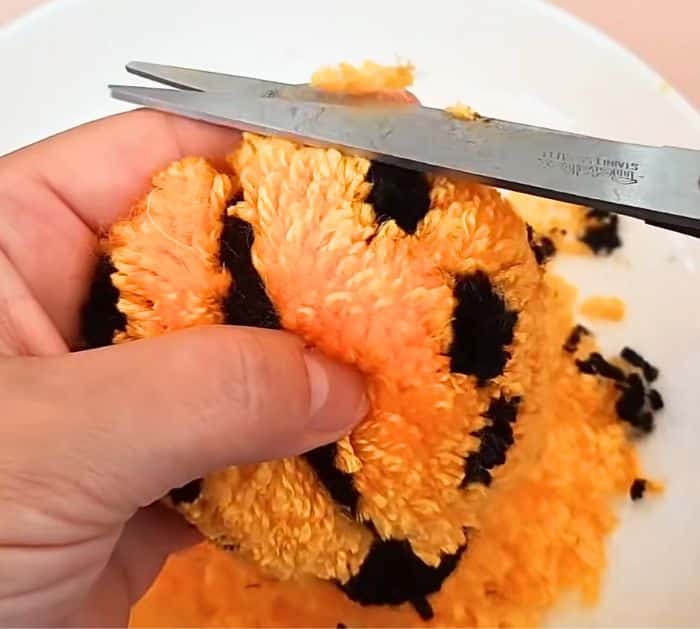
Cut through the loops, then hold the sides down and away from the middle, and dab hot glue all around the middle. Open the yarn and press them together to the center, then start trimming the edges to make it more round, and set it aside. Cut a piece of black yarn, then loop it, and insert it into the middle of the fork’s prongs.
[social_warfare]
Step 3
Wrap the black yarn around the fork 80 times, then cut the excess, and tie the center tightly with the laid loop yarn. Remove it from the fork, then cut the excess tail, and hot glue it to the side of the yellow yarn ball. Get 6 strands of yarn and hold them together, then hot glue them around the center of the yellow ball as shown in the video, and cut the excess.
Step 4
Wrap the black yarn around the fork 10 times, then tie them together at the center, and knot. Cut through the loops and trim them so that one side is shorter than the other, then make 5 more pieces for a total of 6, and hot glue them on the yellow ball. Trim the whole piece nicely, then hot glue the small beads to the head of the bug, and you’re done!
*All these images are credited to meryemle her telden via YouTube. Give her channel a visit and subscribe for more!
Easy Beginner-Friendly DIY Yarn Ladybug Tutorial