When I was just beginning to learn how to quilt, I always made sure to try out new projects immediately after finishing the other, I thought that it would help my skills improve much faster that way. There are a lot of quilt block ideas online and you can easily learn how to make them, but probably my go-to is anything that uses squares and rectangles. I just love how a few simple shapes can make a beautiful pattern in just a few steps.
RELATED: How to Make an Interwoven Quilt Block (with Free Pattern)
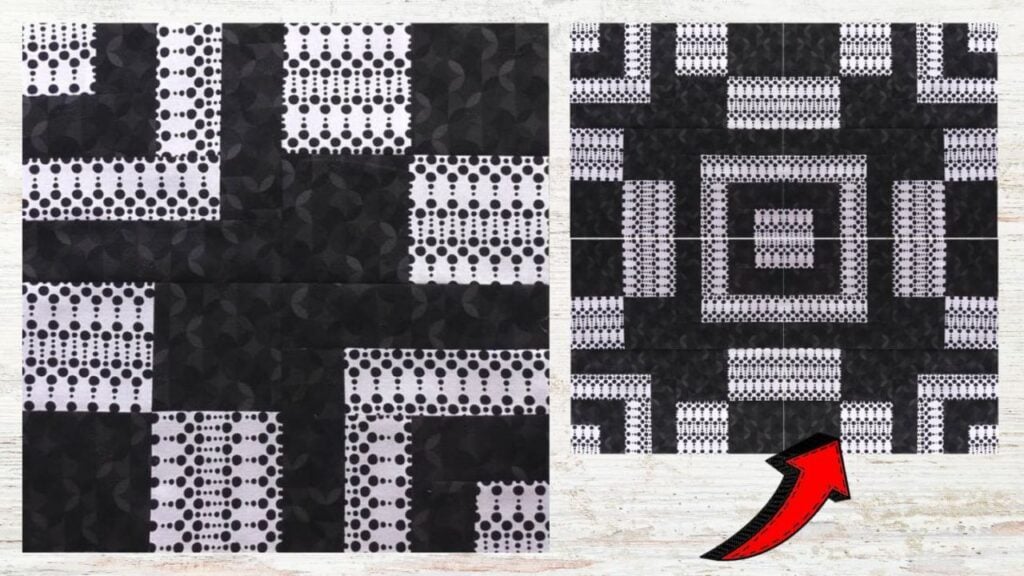
Today, I will share with you this beautiful quilt pattern by Carol Thelen on YouTube which is also a recent favorite of mine. This block is the perfect project for beginners and seasoned quilters alike to make. It can be finished within just a few minutes and the instructions in this video are very detailed so you don’t have to worry about messing up. What’s even better is that it comes with a free digital pattern, too.
Materials Needed for a No-Name Quilt Block:
- Dark fabric
- Light fabric
- Marking pen, pencil, or chalk
- Ruler
- Scissors or rotary cutter and a cutting mat
- Fabric pin
- Needle and thread
- Iron, for pressing
- Sewing machine
- Pattern (Click here to download the pattern)
How to Make a No-Name Quilt Block:
Step 1
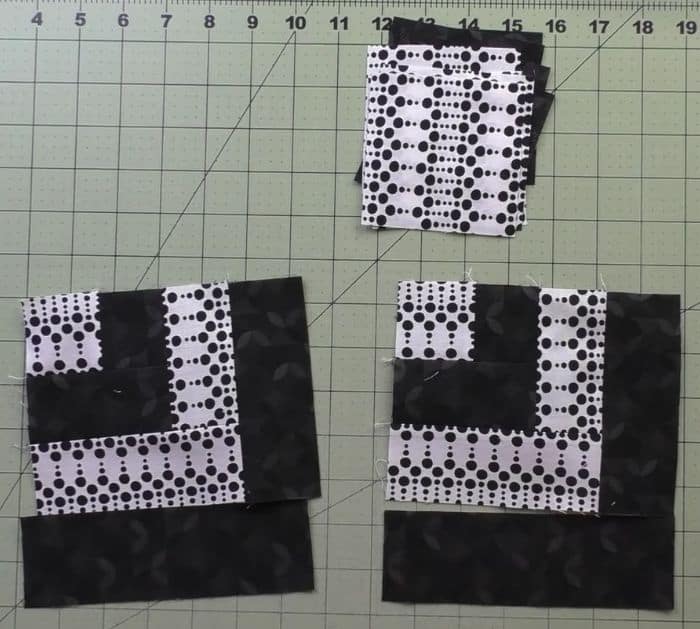
Cut the fabric to size as instructed in the pattern, then sort the patches into groups. Take the A patches and sew together the light and dark squares, then place a dark B patch below the pieced squares, and sew them together.
[social_warfare]
Step 2
Stitch a light B patch on the side, then stitch a light C patch below, and a dark C patch on the side. Stitch the E patch below each patchwork, then make sure to press the seams after every stitching, and set them aside.
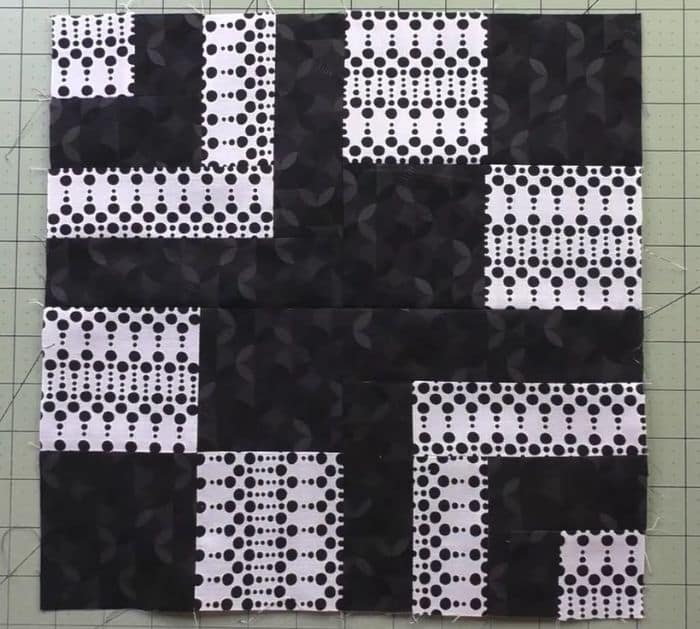
Step 3
Take the D patches, then sew them into two 4-patch units, and start assembling the block units making sure to refer to the diagram. Sew the top and bottom blocks, then stitch them to each other, and give them a good press.
*All image credit belongs to Carol Thelen via YouTube. Follow and subscribe to her channel for more!
Easy No Name Quilt Block Tutorial


