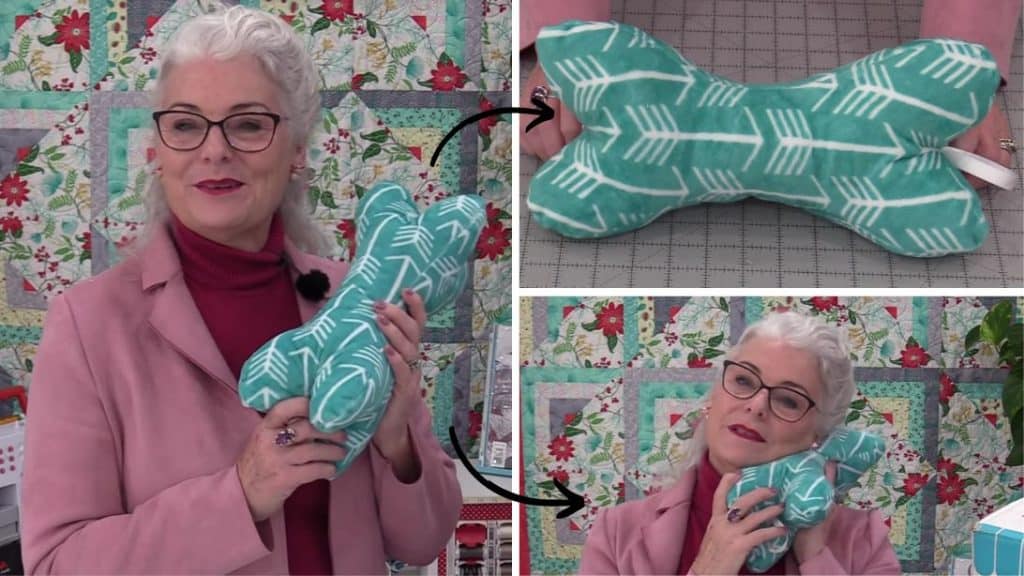
Neck pillows are handy and easy to carry anywhere, they are made of a variety of materials and shapes, and are super comfortable to use. What I love about them is how they are a great help in relieving tensions and they provide comfort whether you’re laying or sitting down. Surprisingly, it is very easy to sew a neck pillow using only a single fabric and a few simple sewing materials. If you want to learn how, then read the instructions down below, and watch the video tutorial as well. All thanks to SewVeryEasy on YouTube for this wonderful project.
Materials:
- Fabric
- Marking pen, pencil, or chalk
- Fabric pins
- Scissors or rotary cutter and a cutting mat
- Ribbon
- Needle and thread
- Poly-fil fiberfill
- Sewing machine
- Pattern (Click here to download the pattern)
Directions:
Step 1
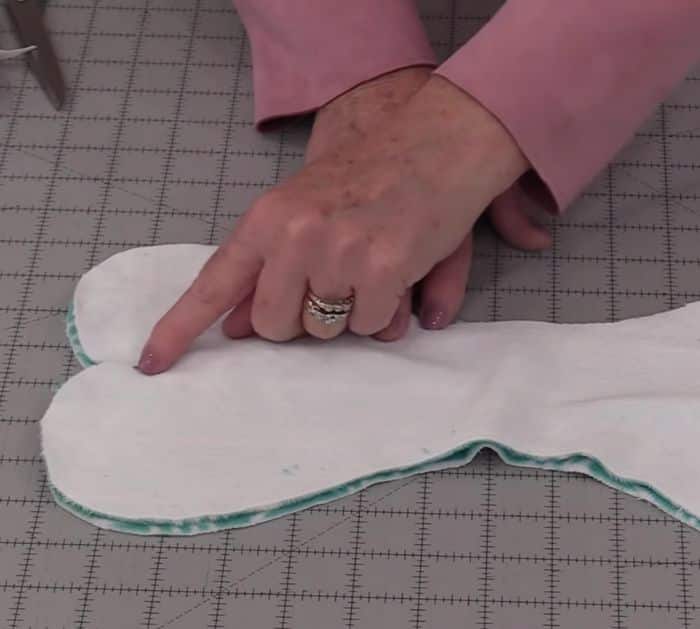
Print the template twice because you’ll be needing two pieces, then connect them together so that they look like a dog bone shape, and secure them in the middle with tape. Lay the pattern on top of the fabric you are going to use, then trace the shape, and cut it out three times. Lay one fabric cutout with the right side facing up, then place a folded ribbon on each side center, and lay another fabric cutout on top with the right side facing down.

[social_warfare]
Step 2
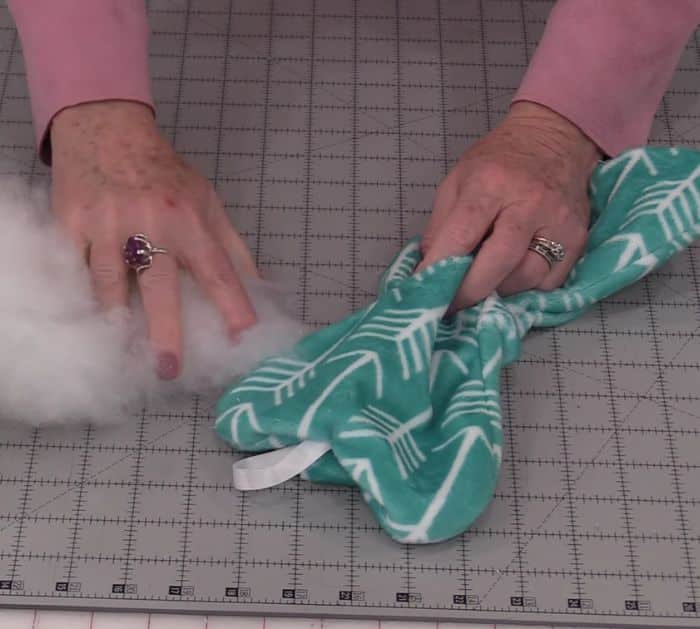
Sew around one side of the fabric, then stop right at the midpoint on each side, and open up the fabric. Lay the last cutout fabric on top with its right side facing down, then sew around the side leaving a gap for turning later, and notch around the sides. Turn the piece right side out through the opening, then poke the corners nicely, and start filling it with polyester fiber. Once done filling the pillow, sew the opening close, and you’re done!

*All image credit belongs to SewVeryEasy via YouTube. Follow and subscribe to her channel for more!


