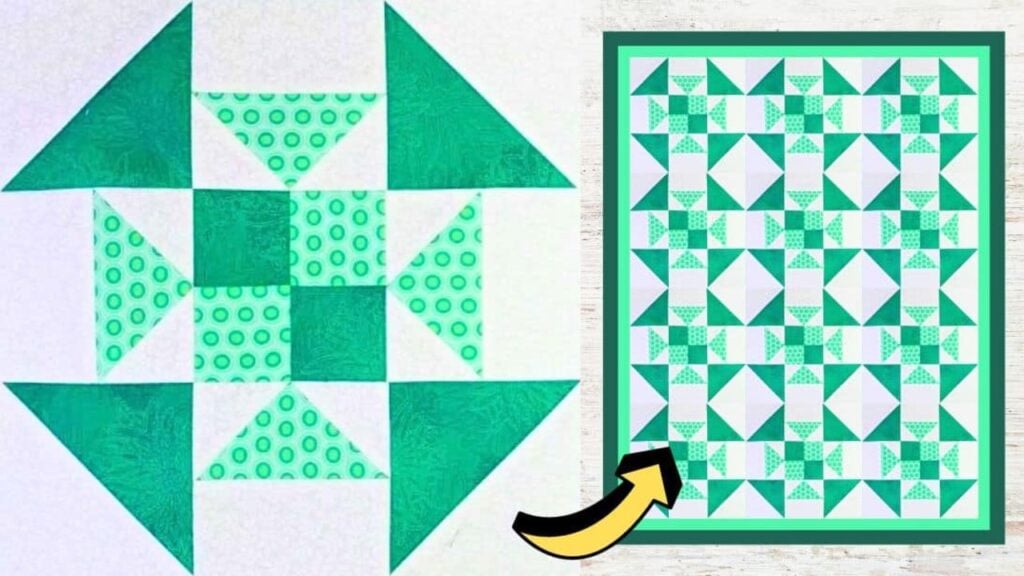
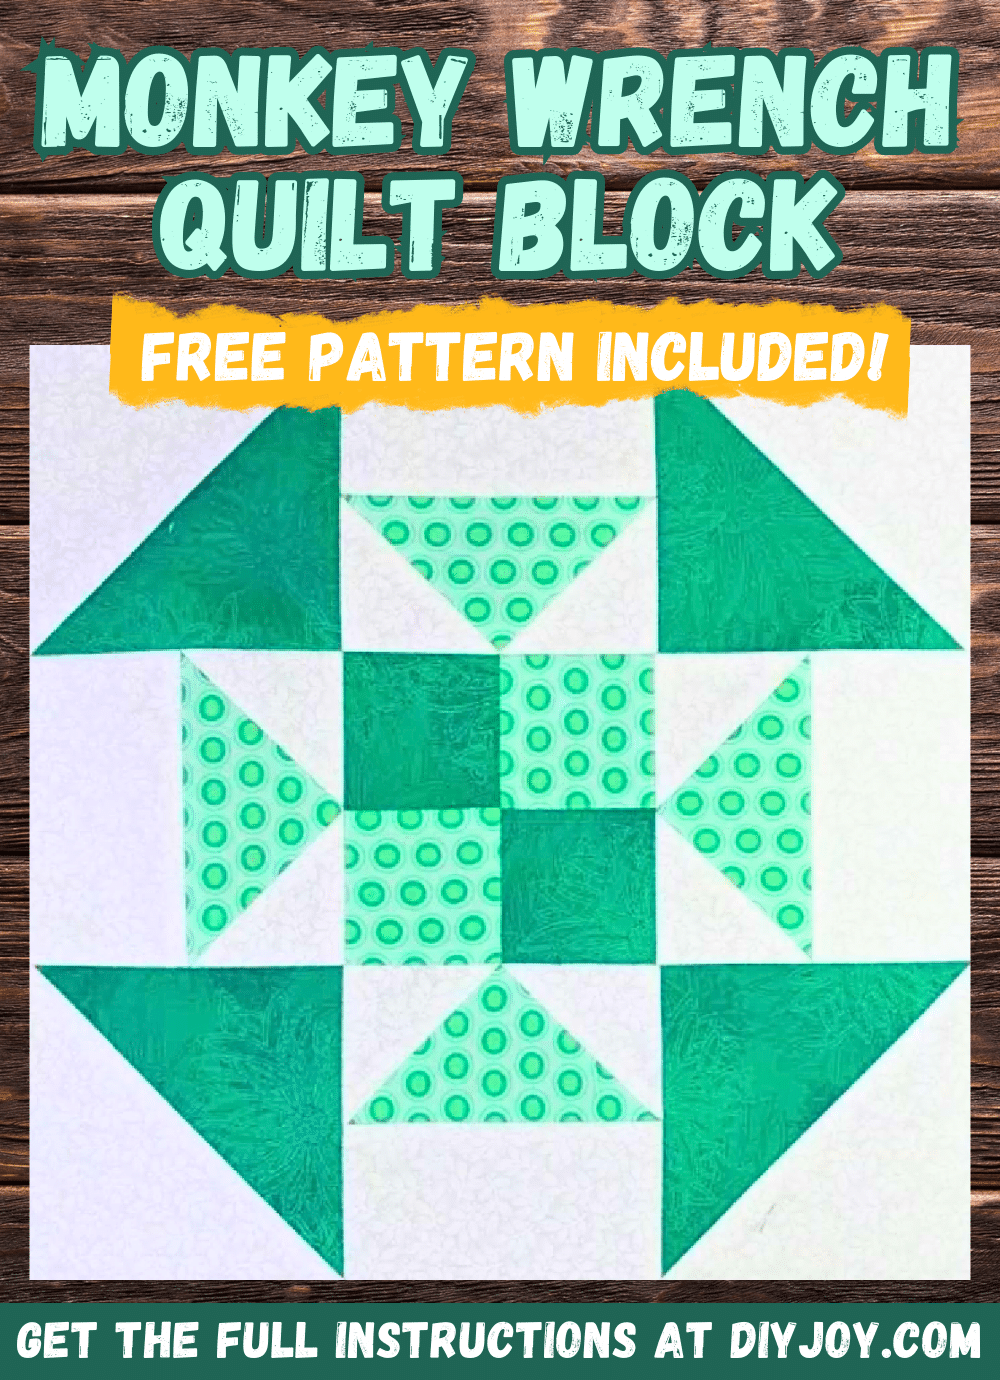
You may have tried making a monkey wrench quilt block before, but have you tried this variation by Carol Thelen on YouTube yet? This quilt block is super fun and interesting to make, and at first, it may seem difficult or complicated, but once you’ve tried it or watched the video tutorial, you’ll see that it’s actually quite easy to sew together. Check out this video tutorial now and see for yourself!
Materials:
- Light print fabric
- Dark print fabric
- Background fabric
- Marking pen, pencil, or chalk
- Ruler
- Scissors or rotary cutter and a cutting mat
- Needle and thread
- Iron, for pressing
- Sewing machine
- Pattern (Click here to download for free)
Directions:
Step 1
Cut the fabrics to size, then get 1 large dark square and 1 large background square, draw a line on the back of the lighter fabric diagonally from corner to corner, and then lay them together with their right sides facing. Stitch them together on each side of the line, then cut them apart along the drawn line, press the seams open, and cut off the nubs.
Step 2
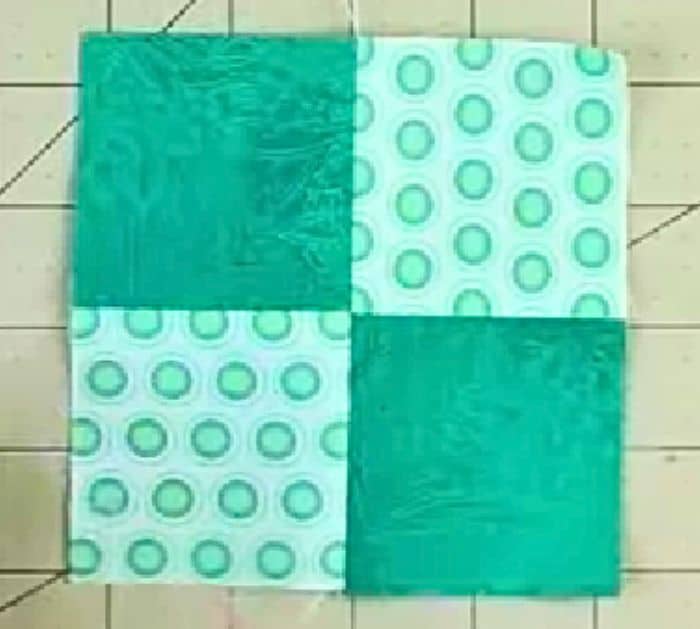
Repeat this step with the other large dark print and background squares, then get the 2 smaller dark print squares as well as the 2 light print squares, and lay them out into a 4-patch block making sure to alternate the colors. Sew the top pieces together, then the bottom pieces making sure to press as you go, and then sew them together giving them a good press as well.
[social_warfare]
Step 3
Next, take the large light print square along with the 4 small background squares, then draw a diagonal line at the back of the background squares, and place 2 of them on opposite corners of the large square. Make sure that the edges are matched nicely and the drawn lines are also lined up, then stitch them together on each side of the line, and cut them apart.
Step 4
Press the seams open, then rotate the unit, and place another background square on the empty corner making sure that the line is in the right direction. Stitch it on each side of the line, then cut them apart, and press it open. Repeat the same steps with the remaining unit and cut off the nubs after, then stitch a background rectangle on each flying geese unit to make it square, and press them open.
Step 5
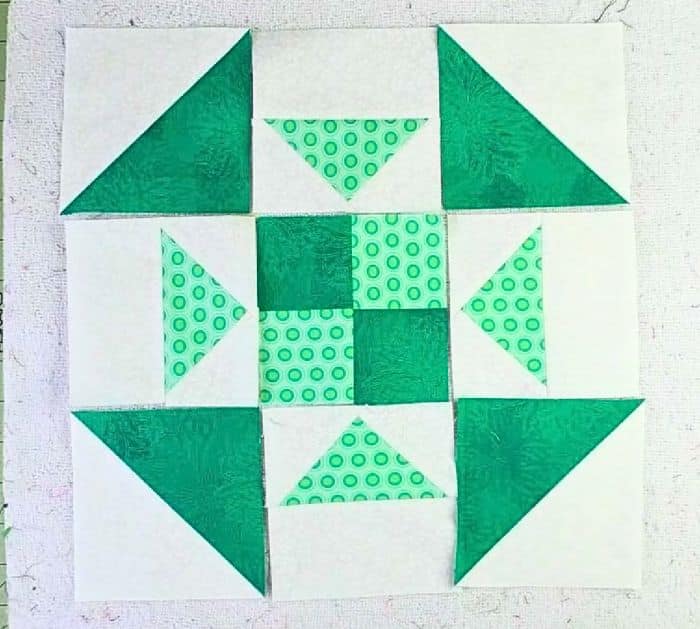
Now, Assemble the block units together as shown in the video and as demonstrated in the pattern, then start stitching them together per row, and press the seams open. Once done sewing each row, stitch them to each other, then press the block flatly, and you’re done. You can now make more blocks, then create and finish a whole quilt project.
*All image credit belongs to Carol Thelen via YouTube. Follow and subscribe to her channel for more!
Simple Monkey Wrench Variation Quilt Block Tutorial (with Free Pattern)


