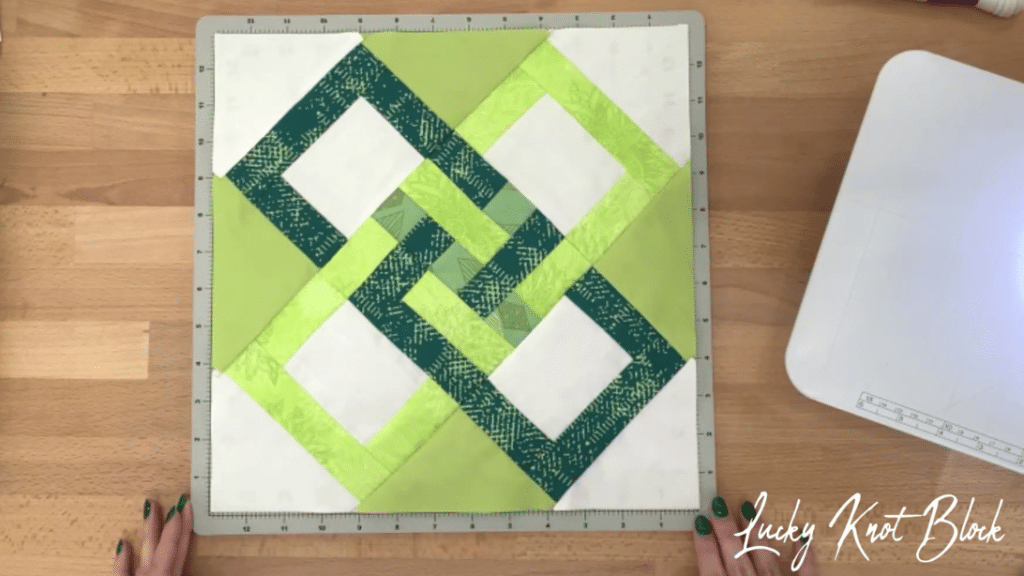
Out of all the knot quilt block variations that I’ve tried before, this one by Art Gallery Fabrics on YouTube has got to be the prettiest and most challenging for me. It’s made up of small pieces of rectangles and squares and those contribute to the intricate and beautiful details of the quilt block.
RELATED: Easy Slip Knot Quilt Block Tutorial
So if you’re looking for a quilt block to challenge your skills, then I highly recommend that you give this one a try. Simply follow the instructions written down below and make sure to watch the video tutorial as well for more details. If you want, you can also change the fabric colors and print into whatever you prefer.
Materials for Lucky Knot Quilt Block:
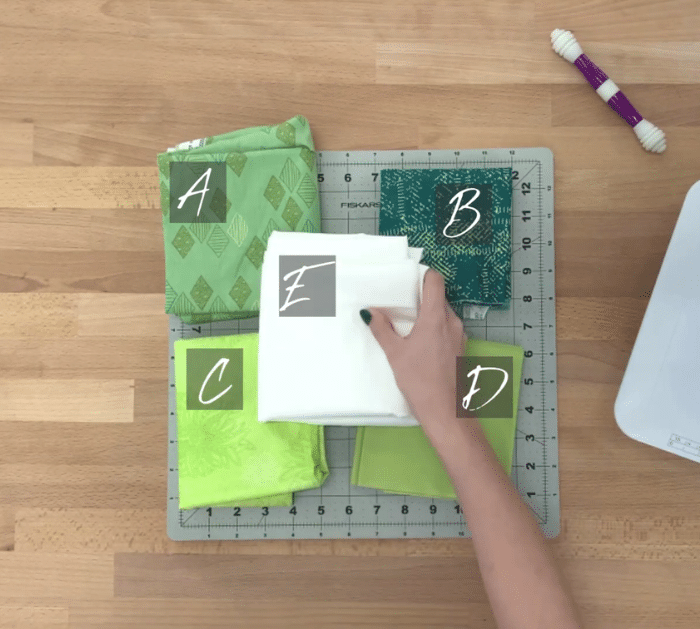
- Quartz Foliage (Dark Green)
- Expressions Foliage (Dark Blue)
- Floral Elements in “Kiwi” (Light Green)
- Pure Solids in “Appletini” (Solid Medium Green)
- Fabric E – Pure Solids in “Snow” (Solid White)
- Marking pen, pencil, or chalk
- Ruler
- Scissors or rotary cutter and a cutting mat
- Fabric pins
- Needle and thread
- Iron, for pressing
- Sewing machine
Fabric Requirements
Quartz Foliage (Dark Green)
- (4) 1.5 x 1.5 inches
Expressions Foliage (Dark Blue)
- (1) 1.5 x 1.5 inches
- (2) 3.5 x 1.5 inches
- (2) 2.5 x 1.5 inches
- (4) 3 x 1.5 inches
- (2) 5.5 x 1.5 inches
Floral Elements in “Kiwi” (Light Green)
- (2) 3.5 x 1.5 inches
- (2) 2.5 x 1.5 inches
- (4) 3 x 1.5 inches
- (2) 5.5 x 1.5 inches
Pure Solids in “Appletini” (Solid Medium Green)
- (4) 4 x 4 inches
Fabric E – Pure Solids in “Snow” (Solid White)
- (4) 5.5 x 5.5 inches
- (4) 3 x 3.5 inches
How to Make a Lucky Knot Quilt Block:
Step 1
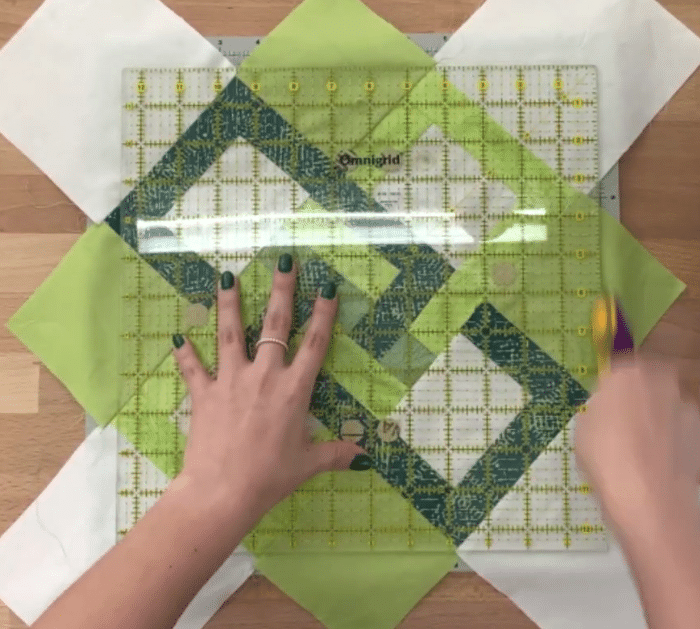
Cut the fabrics to size, then assemble them as shown in the video, and separate them into units. Start working on the center first, then stitch them one at a time, and press as you go.
Step 2
Next, stitch together the corner units and press nicely, then fill the empty corners with the solid green squares, and stitch all of the units together.
Step 3
Give the block a nice press, then place the white squares on the center of each side, then stitch them in place, press, and square the block.
*All image credit belongs to Art Gallery Fabrics via YouTube. Follow and subscribe to her channel for more!
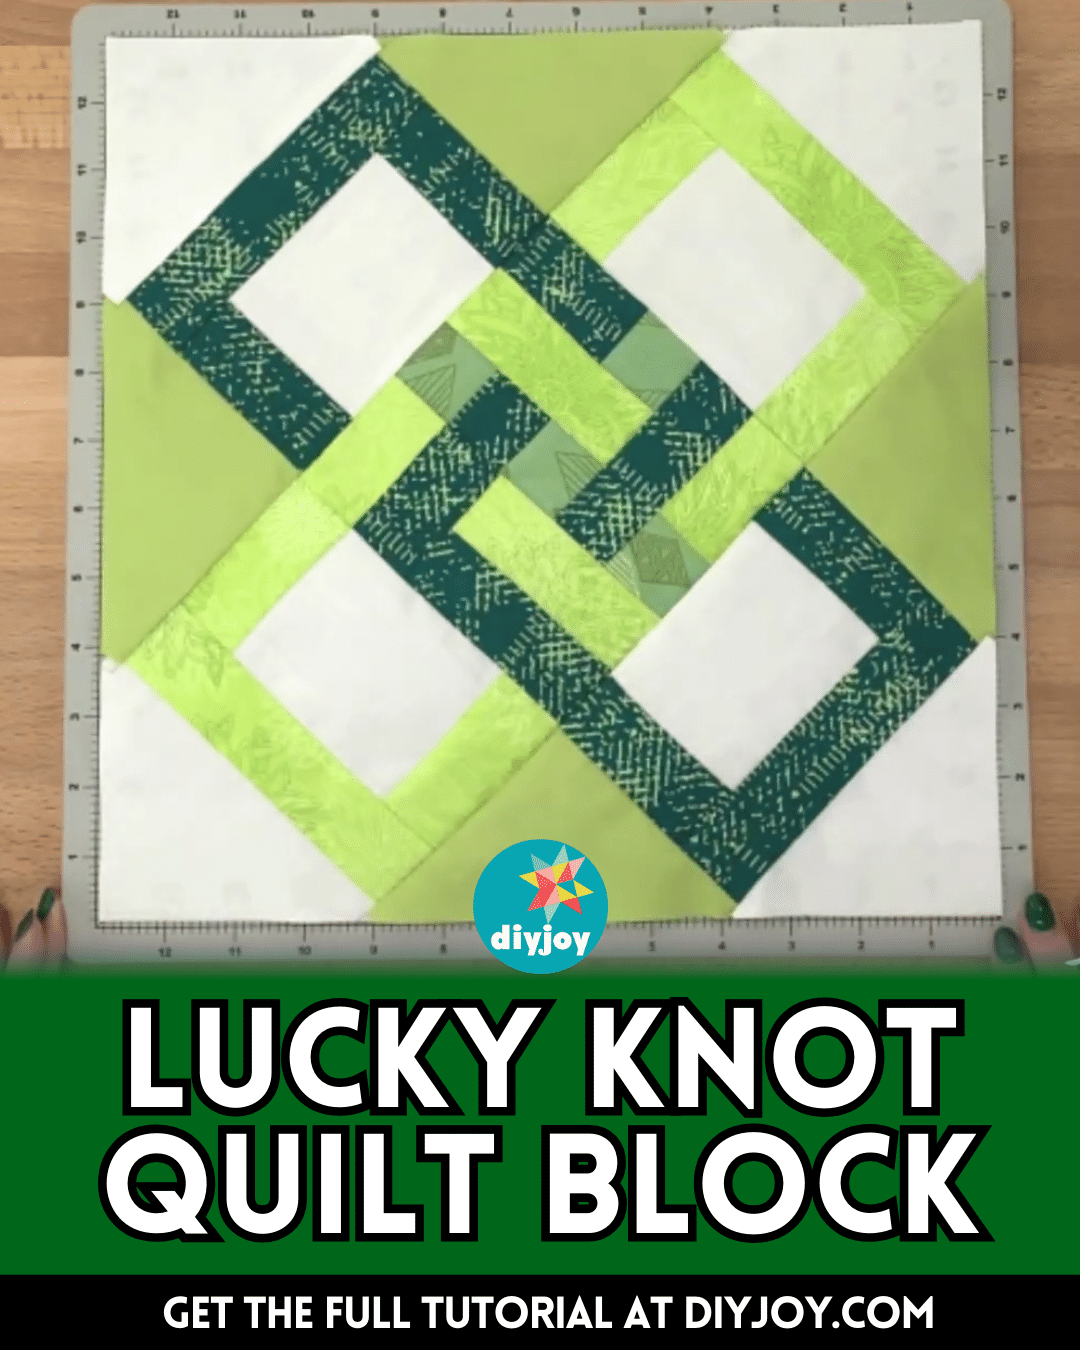
Easy Lucky Knot Quilt Block Tutorial


