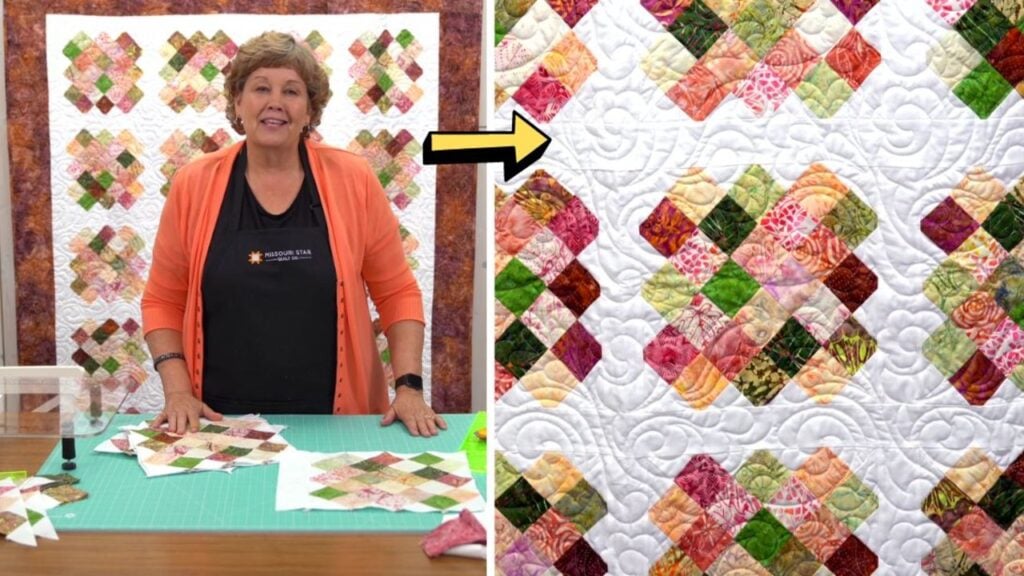
Granny squares quilts are lovely and often as complicated as they look, but this tutorial by Missouri Star Quilt Company on YouTube made the impossible happen by making this quilt more simple and easier to understand.
Materials:
- 1 packet of 2½-inch print strips
- 1 pack of 2 ½ inch white strips
- 1¼ yards of fabric, for the outer border
- ¾ yard of binding fabric
- 4¾ yards of backing fabric
- Scissors or rotary cutter and a cutting mat
- Ruler
- Needle and thread
- Sewing machine
- Iron, for pressing
Directions:
Step 1
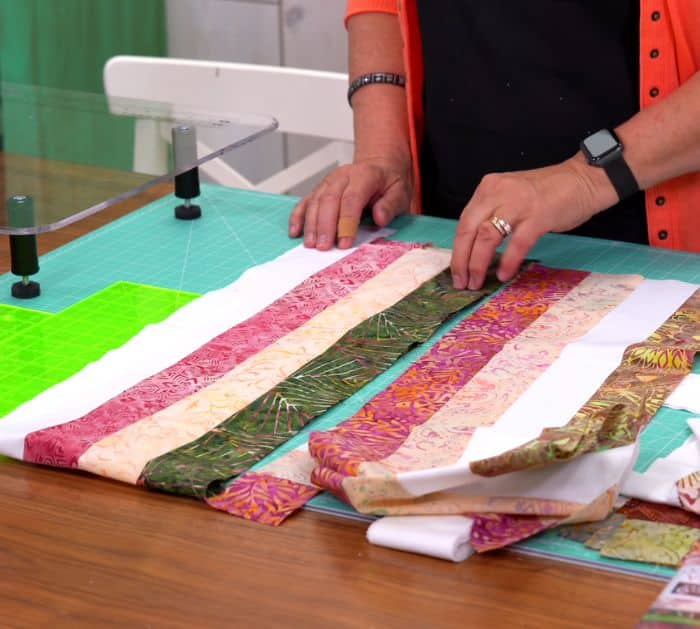
Sew 2 sets of strips, the first one should consist of two strips that are colored, and the other with one colored and one white. Lay them together with the white strip at the very top, then sew them together with a ¼-inch seam allowance, and press nicely from the top. Flip it over, then press at the back with the seams going in the same direction, and set it aside. Sew another set of strips but this time the white strip should be located should be third with one colored strip above it, sew these four strips together, then press, and set aside. Repeat this process creating 5 pieces from each set.
[social_warfare]
Step 2
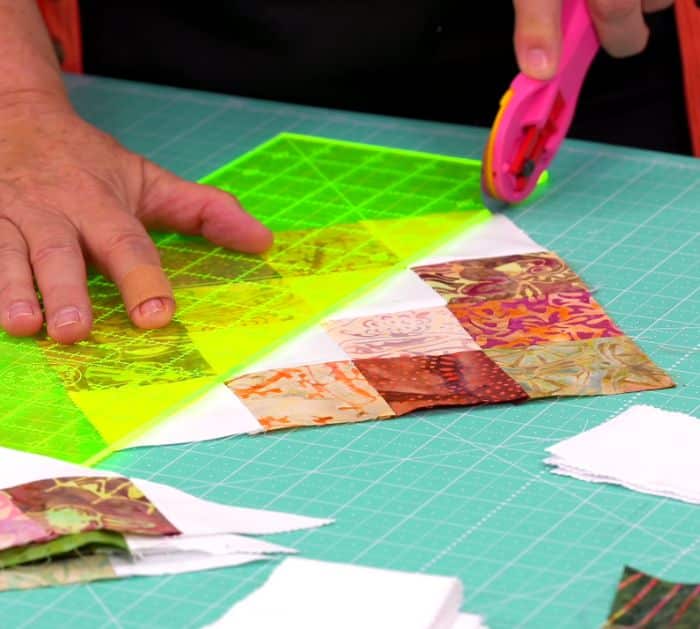
Fold them in half, then trim their edges to straighten, and cut them into 2½-inch strips. Separate them into 2 piles putting together those with the same pattern, then arrange four strips alternately with the white blocks in the middle in a cascading manner as illustrated in the video tutorial, sew them together, and press open. Pivot the block so that it looks like a diamond shape and the white blocks at the center are straight in the middle and cut each block in half. Lay them together with the white parts facing outside until you build a block, then sew them together, and press nicely. Now, finish your quilt with a sash in between each block, then add the border as well as the backing, and you’re done!
*All image credit belongs to Missouri Star Quilt Company via YouTube. Follow and subscribe to his channel for more!
Easier Version Of Granny Squares Quilt Tutorial


