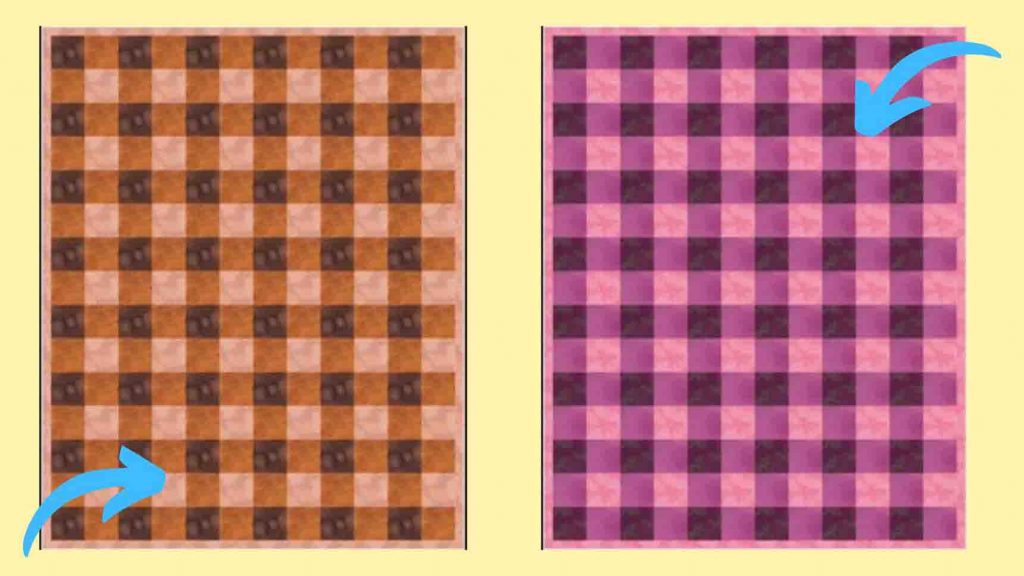
If you like the gingham pattern and you’re just a quilting beginner, don’t worry, as this tutorial from Teresa DownUnder on Youtube is just right for you. The gingham pattern is not as hard as it looks; it’s actually pretty easy to make. It’s one of my favorite quilt patterns, especially if I’m looking for a project to just kill time. It’s also a classic pattern if you like to make a personalized gift for your friends and family; you can never go wrong with a classic gingham quilt. And if you’re practicing your skills, this is the right project to do so. Now, if you’re still not convinced about this one, try watching the video tutorial below and see how it’s super easy to make.
Materials:
For a 48″ x 60″ quilt size:
- 3/4 yard dark-colored fabric
- 1 1/4 yard medium-colored fabric
- 1-yard light-colored fabric
- rotary cutter
- cutting mat
Directions:
Step 1
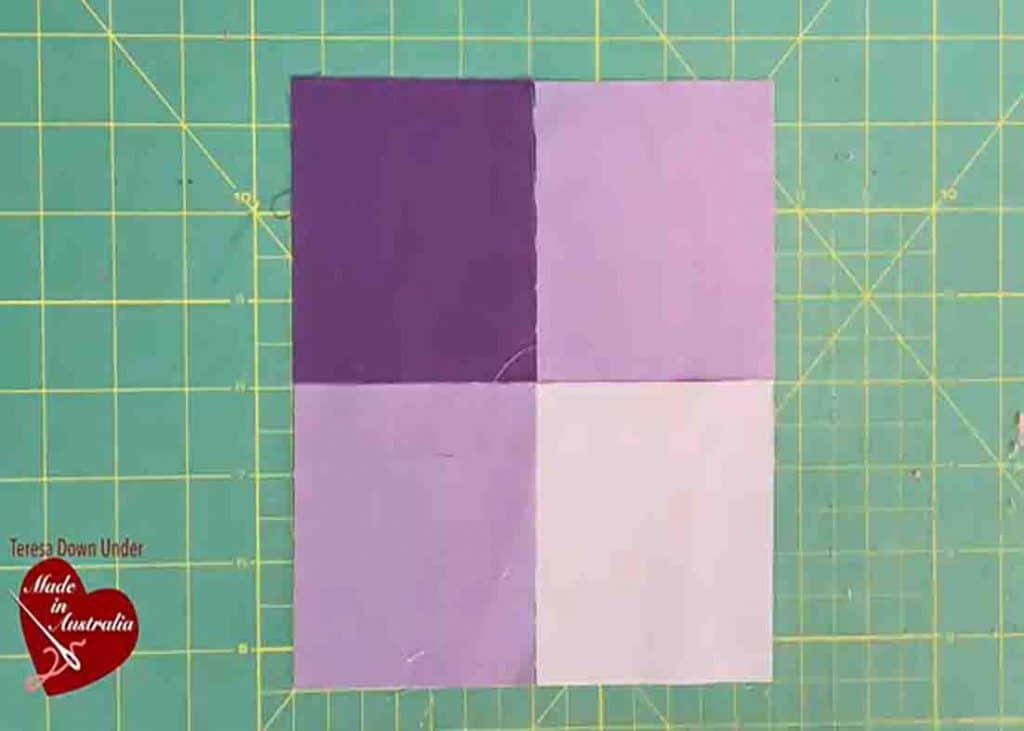
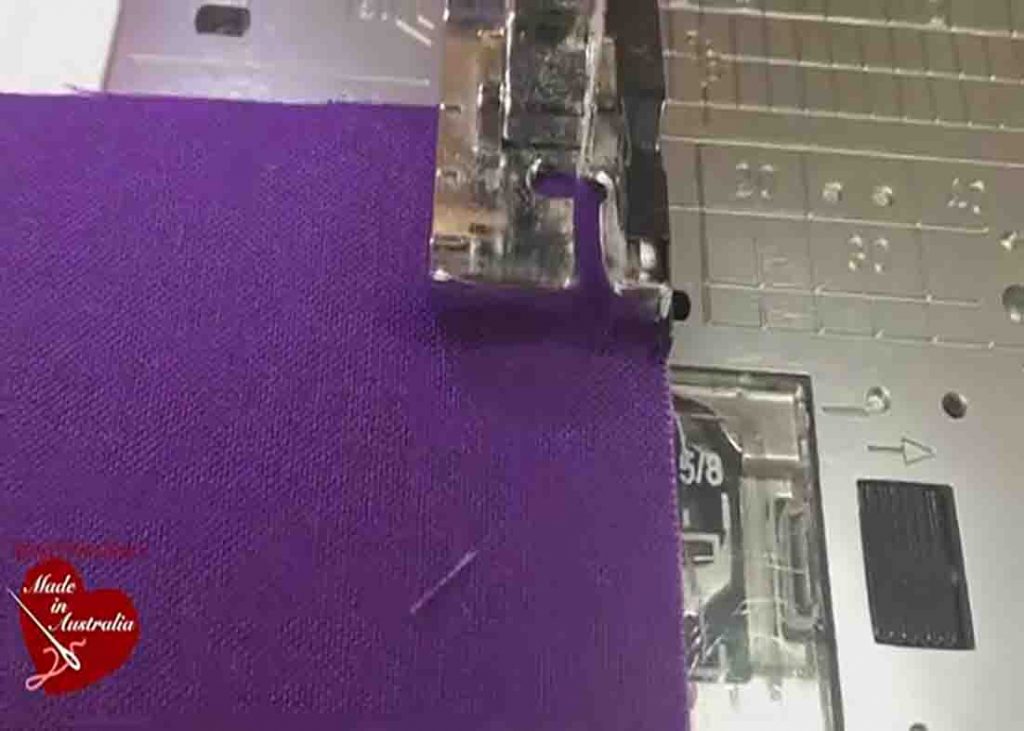
Cut four squares with 3 1/2″ x 3 1/2″ measurements. One in a dark shade, two in a medium shade, and one in a light shade. (It’s recommended to have the varying shades in the same color family.) Once you have all your squares, lay them on a gingham pattern, starting from the darkest shade, then the two medium ones, and finally the lightest shade. Sew it in rows with a 1/4″ seam allowance. The finished size should be 6″ x 6″.

[social_warfare]
Step 2
Moving on to the next block, cut 4 1/2″ x 4 1/2″ squares: One in a dark shade, two in a medium shade, and one in a light shade. After this, lay them up in a gingham pattern: the darkest shade, the two medium ones, and finally the lightest shade. Sew it in rows with a 1/4″ seam allowance. The finished size should be 8″ x 8″. Now, make as many as needed for the quilt size you desire.


