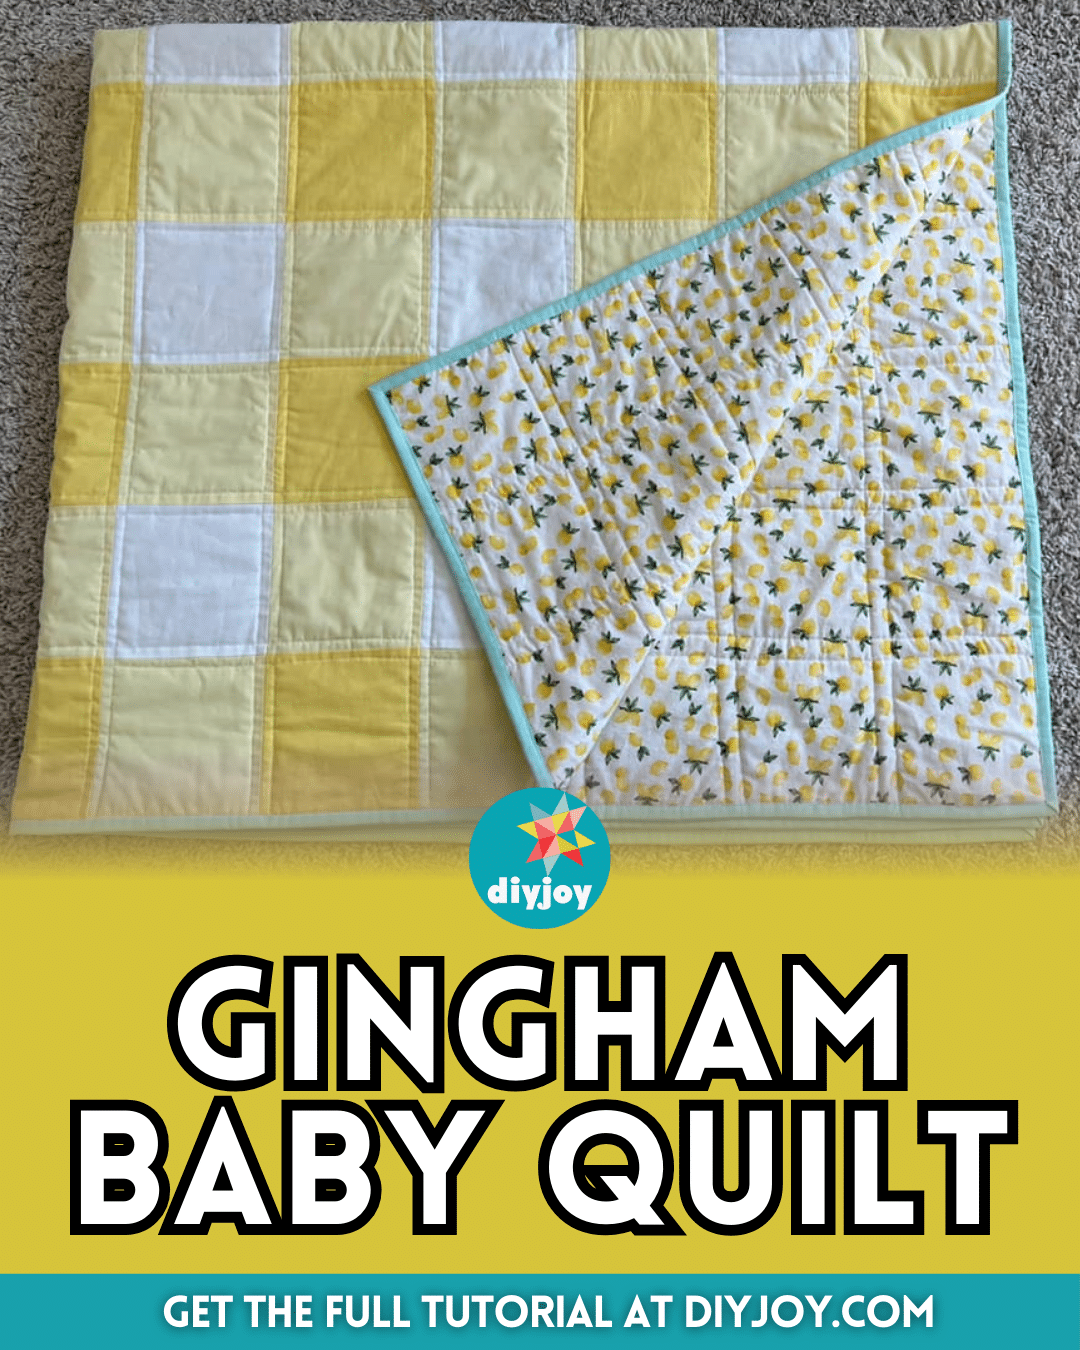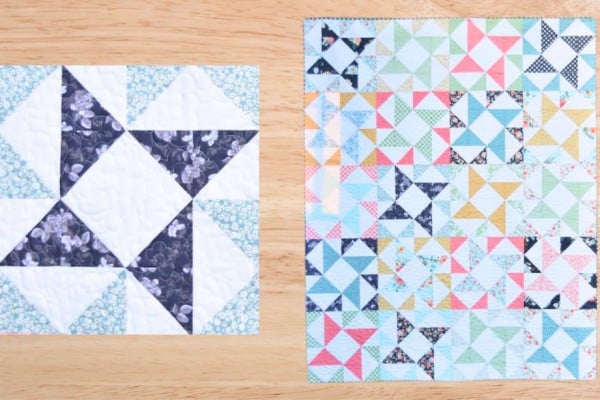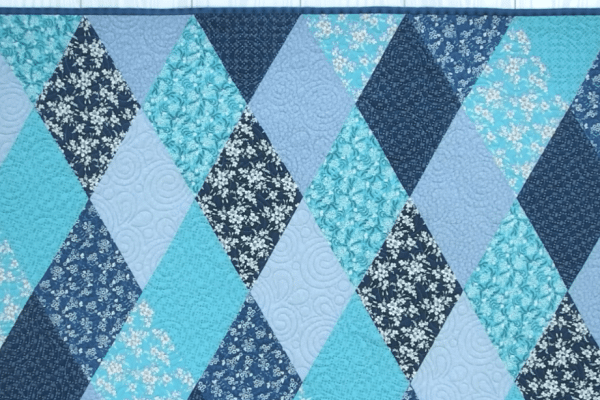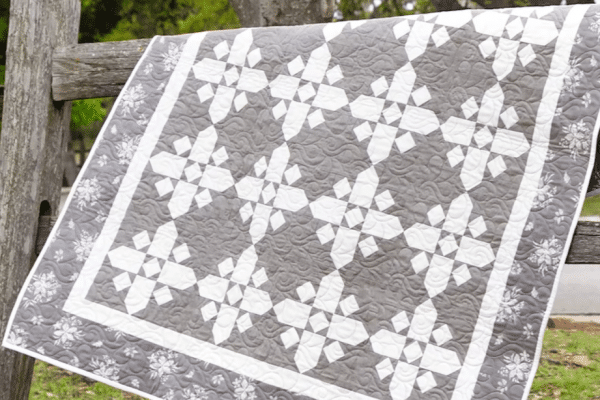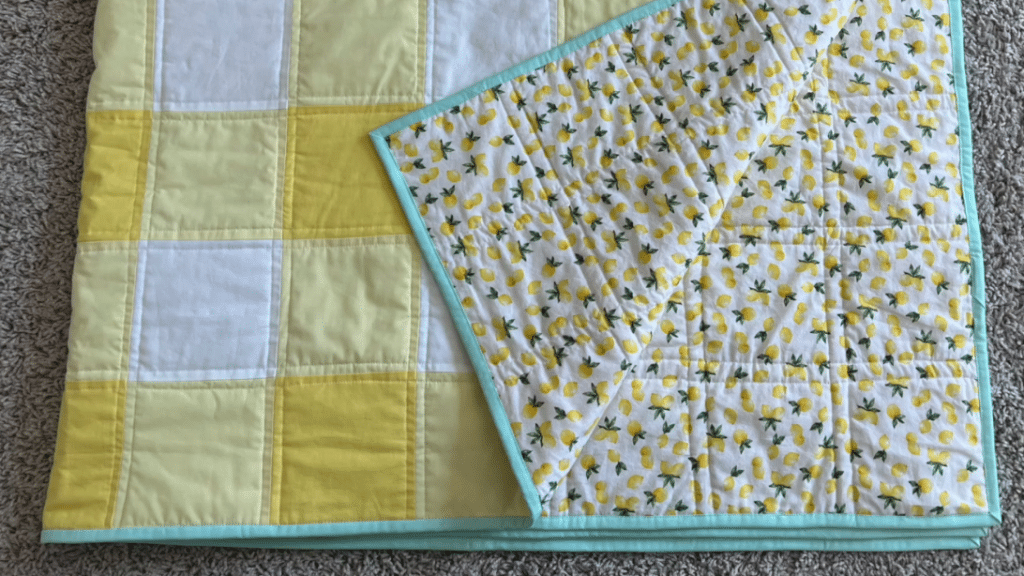
This gender-neutral baby quilt by ElenaMarieSewing on YouTube is so pretty and simple to make. It’s the perfect project for beginner quilters to try and it would also make a great baby shower or holiday gift to the new member of the family!
RELATED: Simple Baby Quilt Using 1 Panel & 1 Charm Pack
This quilt project only requires 3 different fabrics to make and you can choose any combination of colors that you want, you can even personalize it depending on who you’re giving it to. For now, learn the basics of making this gingham baby quilt by watching the video tutorial below.
Materials for Gingham Baby Quilt:
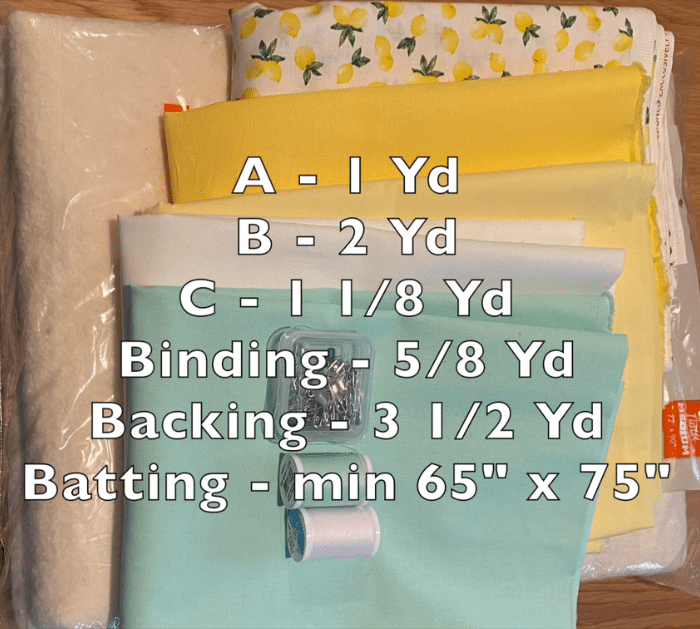
- 1 yard of light fabric
- 2 yards of medium fabric
- 1-⅜ yards of dark fabric
- ⅝ yards of binding fabric
- 3½ yards of backing fabric
- 65″ x 75″ of batting fabric
- Marking pen, pencil, or chalk
- Ruler
- Scissors or rotary cutter and a cutting mat
- Fabric pins
- Needle and thread
- Iron, for pressing
- Sewing machine
- Pattern (Click here to download the pattern)
How to Make Gingham Baby Quilt:
Step 1
Cut everything you need, separate the pieces, and group them as shown in the video, then prepare your backing and binding fabrics. Take a fabric B and fabric A strip, then stitch them together down the long side, and stitch another fabric B strip on the other side of fabric A. Keep adding the strips alternating the colors, then do the same steps with the other group of fabric strips, and trim them into rectangles cutting the edges straight.
Step 2
Fold the sheet to a smaller size, then sub-cut the sheet into strips with a 5½ inches width, and rearrange the strips as demonstrated in the video. Start stitching the strips together making sure the colors are alternating and the seams are nesting, then lay the giant backing piece smoothly to the floor, and tape it down to make sure it doesn’t move around.
Step 3
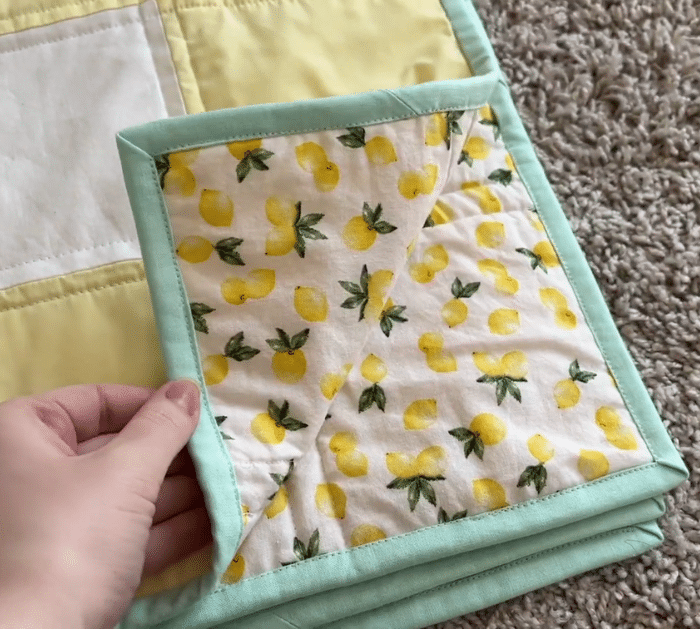
Place the batting on top and smooth it out, then lay the front of the quilt on top smoothing it out, and then pin the center of every other square. Stitch the layers together down the lines of the squares, on either side, or however you want, then trim off the excess layers of fabric all around, and bind the edges.
*All image credit belongs to ElenaMarieSewing via YouTube. Follow and subscribe to her channel for more!
