This tutorial by Carol Thelen on YouTube will teach you how to make a floating 4-patch quilt block with only a few simple steps. This quilt project is fail-proof and is highly recommended for beginners to try because they can make this perfectly even if it’s their first time. You can make this as scrappy as you want and guarantee it will still look lovely, with that being said, this is also a great project to use your stash of leftover fabrics with. Learn how now by reading the instructions down below and while you’re at it watch the video tutorial as well.
Materials:
- 12 assorted fabrics
- Marking pen, pencil, or chalk
- Ruler
- Scissors or rotary cutter and a cutting mat
- Needle and thread
- Iron, for pressing
- Sewing machine
- Pattern (Click here to download the pattern)
Directions:
[social_warfare]
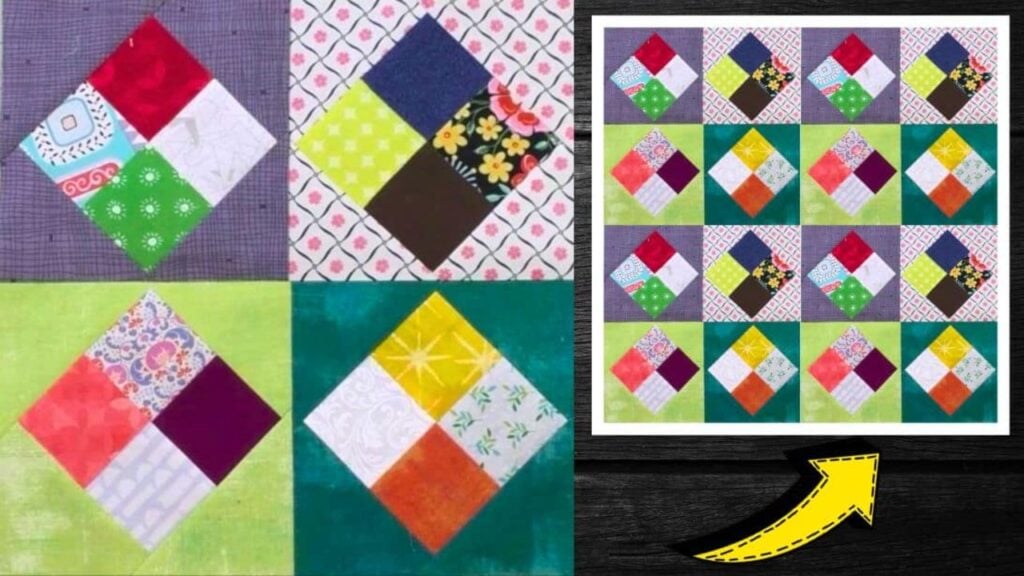
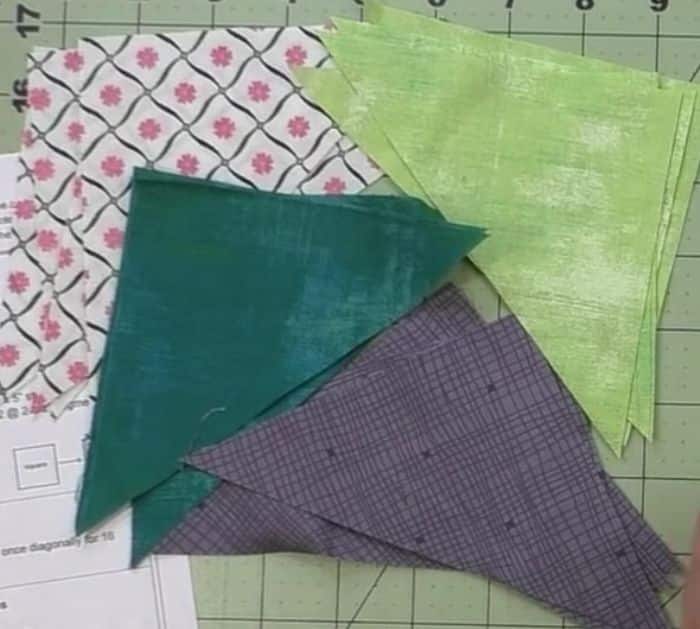
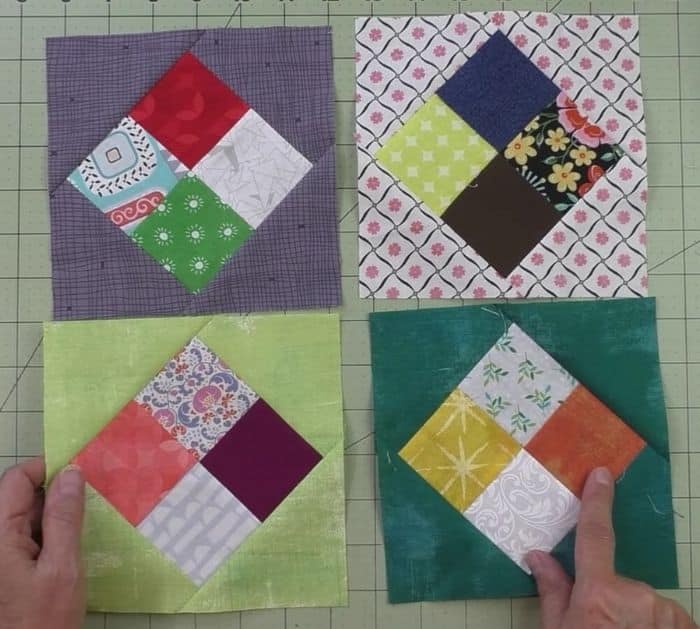
Download the pattern and cut the fabrics to size, take 4 different fabric squares, then lay 2 together with their right sides facing and edges matching, and stitch them together. Press their seams open, then stitch them to each other to make a 4-patch square, and give them a good press. Lay a triangle on top of the 4-patch square making sure their right sides are facing and edges are matching, then stitch them with a ¼-inch seam allowance, and stitch another triangle on the opposite side. Flip them open, then press the seams open, and cut off the nubs. Rotate the patchwork, then stitch a triangle on each empty side, press open, and trim the block into a square.
*Thanks to Carol Thelen via YouTube for all the images used here. If you love this project, then you’ll surely love her other video tutorials too, so give her channel a visit and subscribe!
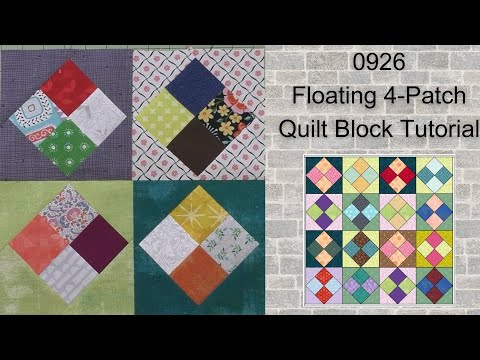
How to Make a Floating 4-Patch Quilt Block