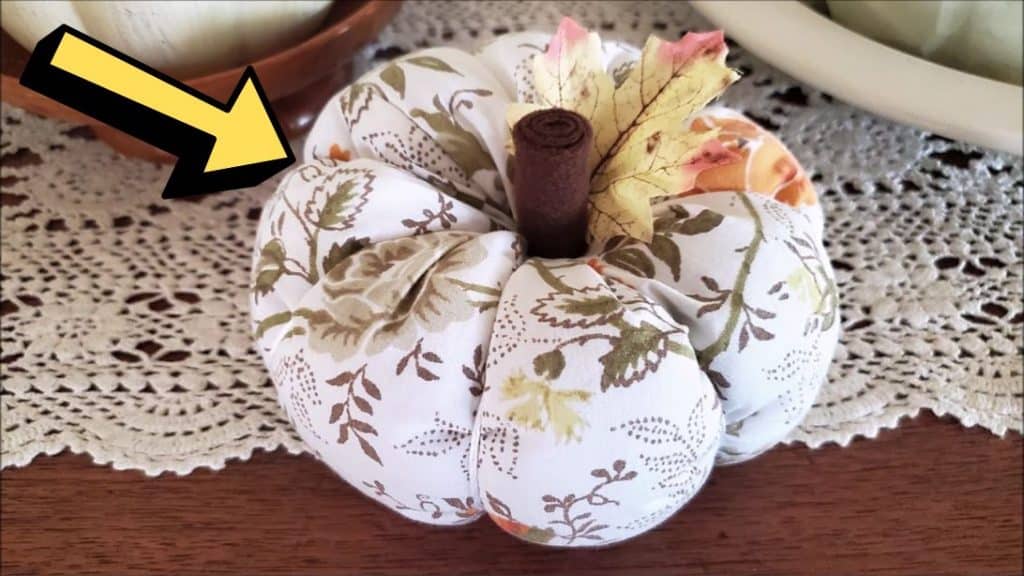
If you’re looking for a quick and easy project idea to add to your Fall decor, then you might love this beautiful and realistic pumpkin made out of some fabric by Robin Johnson DIY on YouTube. You also don’t have to worry if you don’t have a sewing machine because you can sew this project by hand and this is also pretty easy even for beginners.
Materials:
- Fabric
- Polyester fiberfill
- Needle and matching thread
- Coordinating embroidery thread
- Hot glue gun and glue sticks
- Scissors
- Fabric pins and clips
- Brown felt fabric
- Pumpkin leaf embellishment
- Sewing machine, optional
Directions:
Step 1
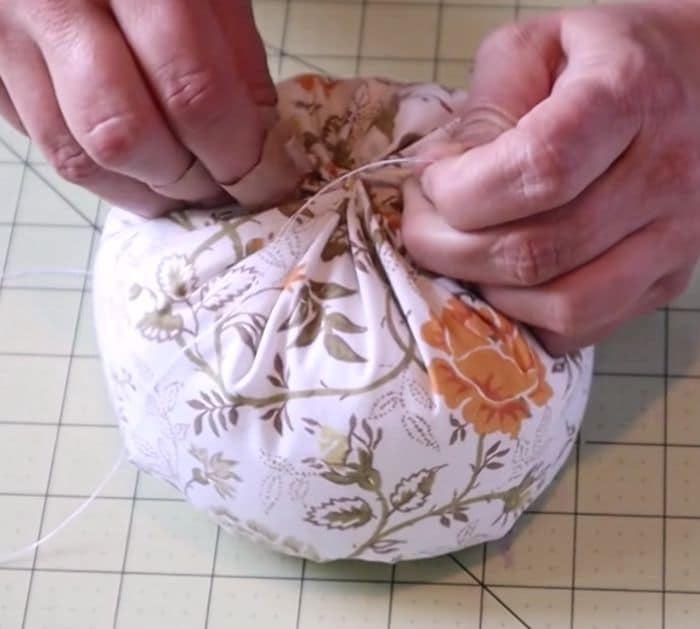
Cut your fabric to 8×18 inches, then fold it across with its right sides facing and short edges matching, and pin the edges together in place. Sew the sides together with a quarter-inch seam allowance, then remove the pins, and use a normal thread to sew one of the open edges. Choose which side you’d like to sew which will be the bottom of the pumpkin, then start to sew and gather the edges together, and pull the thread tightly to close and lock the stitch. Turn the piece right side out, then sew around the edges of the other open side to gather the fabric, and fill it with polyester fiberfill before pulling the thread close tightly. After making sure that the stitch is locked and secure, change to an embroidery thread.

[social_warfare]
Step 2
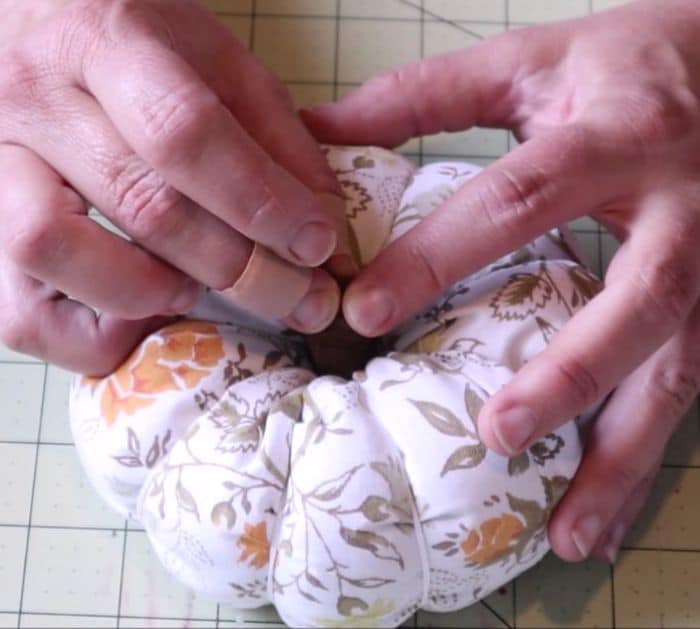
Insert the needle through the bottom center and up the top of the fabric ball, then wrap the thread around tightly until you reach the bottom center again, and insert the needle through the bottom up to the top. Next, wrap the thread around the ball but on the opposite side, keep repeating the steps to imitate the shape and texture of a pumpkin, then lock and secure the stitch. Cut a piece of brown felt fabric to 4×1½ inches, then roll it over through the short side, and dab hot glue every now and then to lock the roll. This will be the stem of the pumpkin, apply hot glue at the bottom edge of the roll, then adhere it to the top center of the pumpkin, and hot glue a pumpkin leaf at the side of the stem as well.

*All image credit belongs to Robin Johnson DIY via YouTube. Follow and subscribe to her channel for more!


