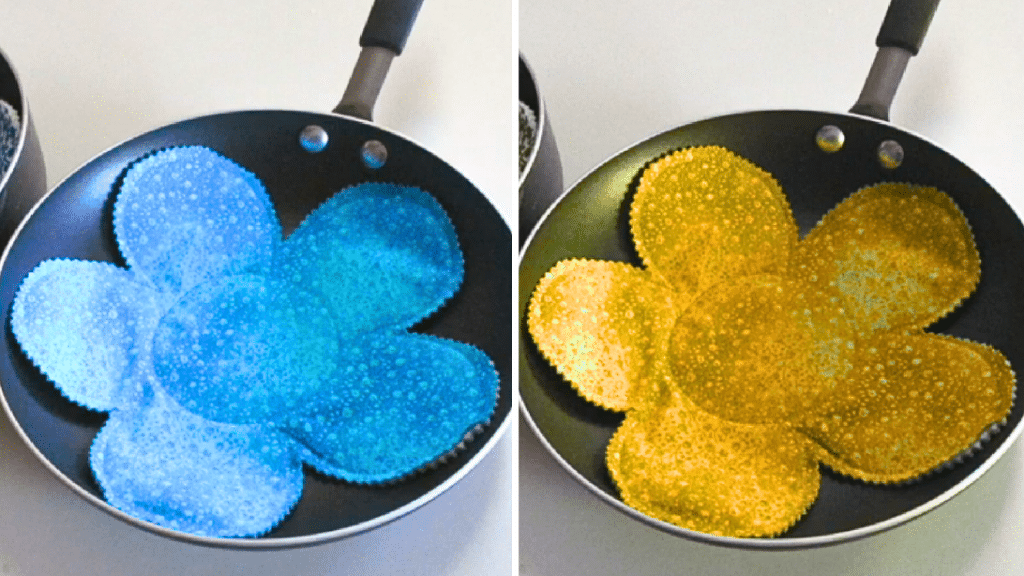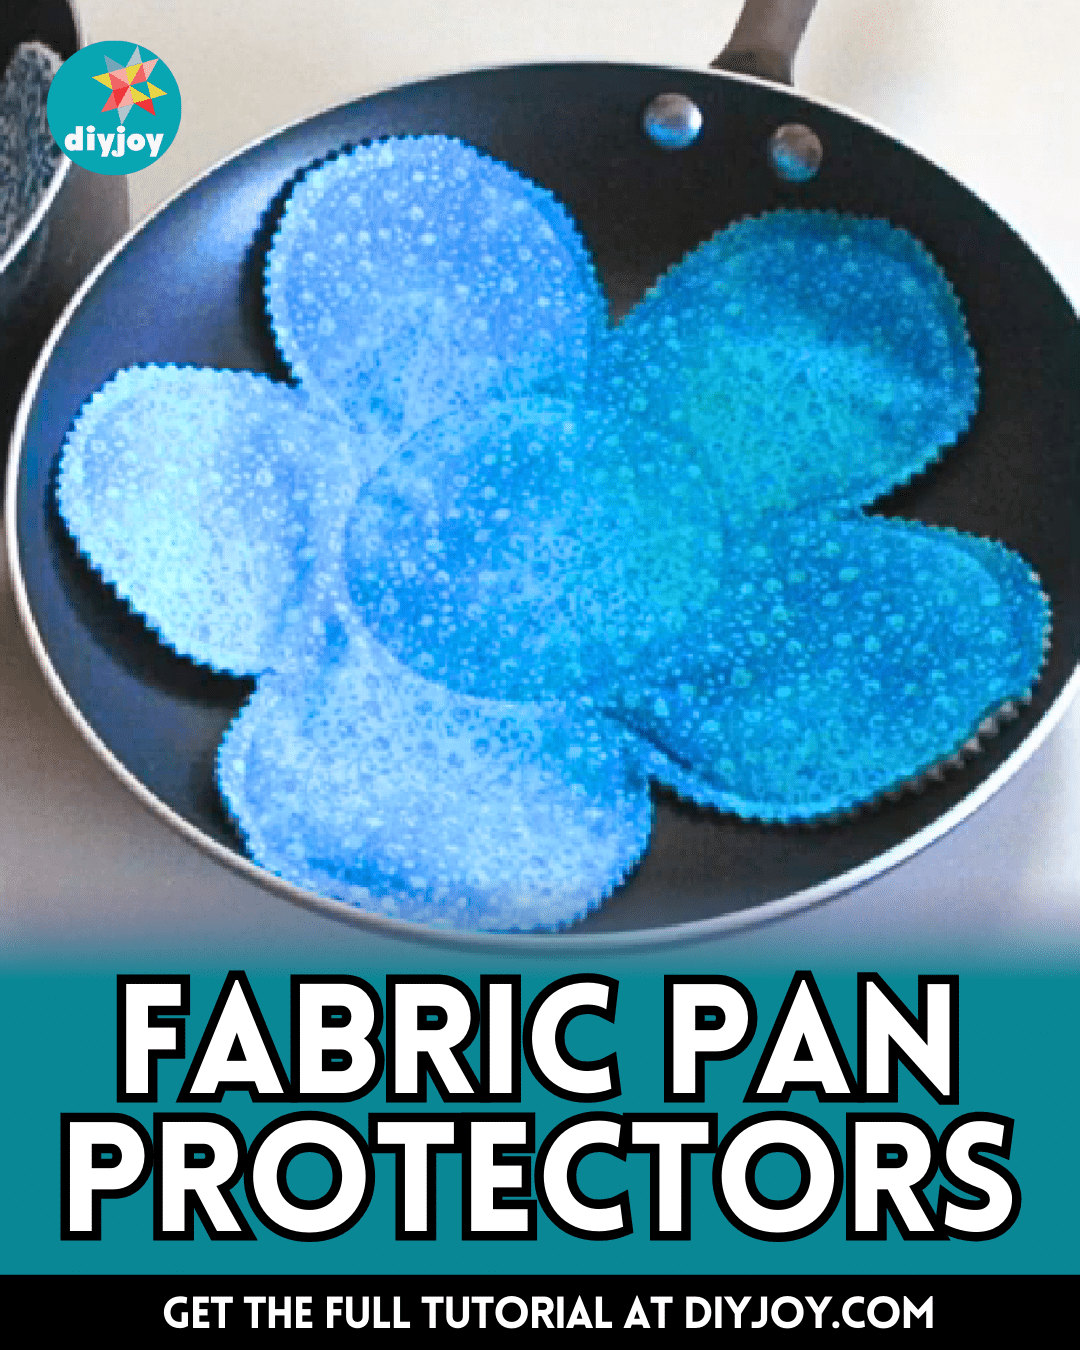
When storing your pans away, it’s inevitable to stack them together to save space if you can’t hang them, and this is a very effective and neat idea. However, one disadvantage of this method is that your pans could have scratches on them or sometimes they might slip out of place which will then cause the stack to fall over.
RELATED: Easy Skillet Handle Cover Sewing Tutorial
Fortunately, there are pan protectors that you can find online and use to add some grit to your pan so that they don’t easily slide and even protect them from scratches. But, if you don’t want to purchase online, then make them on your own instead, and learn how with the help of this video tutorial by Debs Days on YouTube.
Materials for DIY Fabric Pan Protectors:
- Fabric
- Batting fabric
- Pinking shears
- Marking pen, pencil, or chalk
- Ruler
- Scissors or rotary cutter and a cutting mat
- Fabric pins
- Needle and thread
- Iron, for pressing
- Sewing machine
- Template (Click here to download the template)
How to Make Fabric Pan Protectors:

Step 1
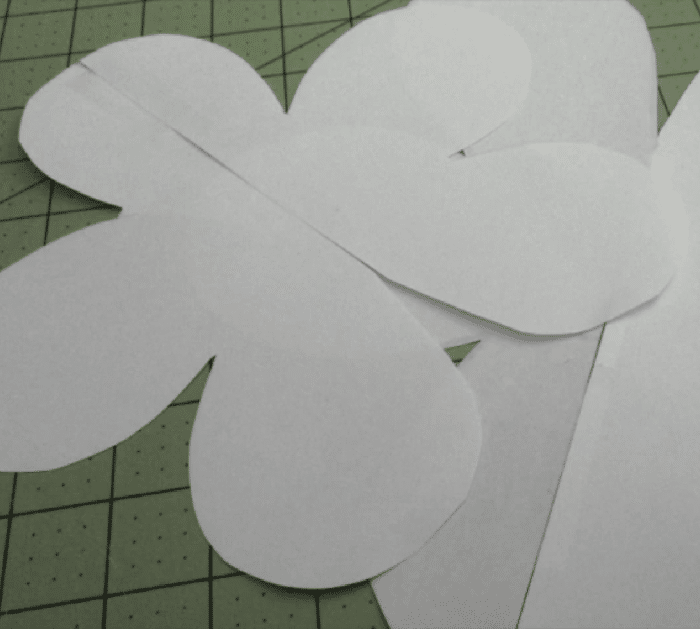
Print the template, then cut the pieces out, and piece them together as indicated in the pages. Place the fabric on your work surface with its right side down, then place the batting on top, and align it with the shorter end of the fabric. Fold the other half of the fabric over the batting with the right side of the fabric facing up, then baste all the layers together, and then arrange the templates on top.
Step 2
Make sure they’re at least an inch from the edge of the fabric and from each other depending on the templates, you should be able to get 3 to 4 flowers in half a yard of fabric. Pin the flower template in place, then roughly cut around, and stitch the layers together making sure to sew around the outside of the template but very close to the edges of the paper.
Step 3
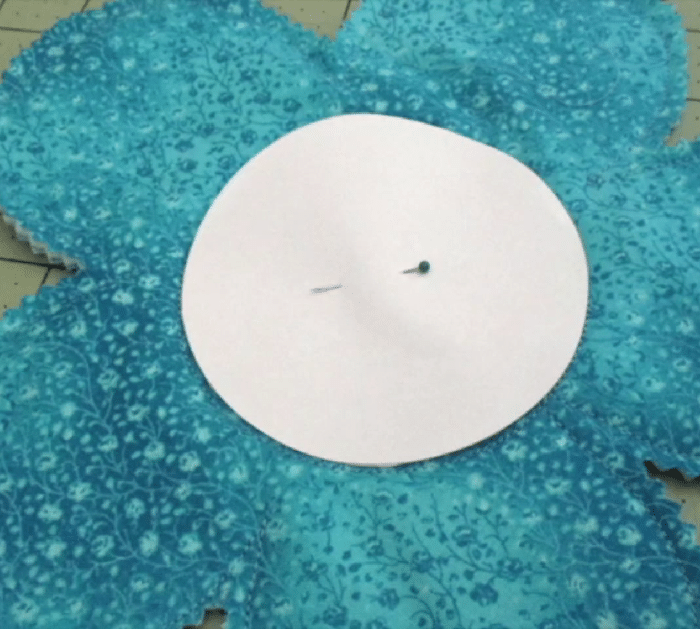
Remove the templates, then using pinking shears, trim ¼ to ½ inches away from the stitching lines, then place the circle template in the center of the pan protector, and pin it securely in place. Stitch around the outside of the circle but very close to the edges of the paper, then do the same with the rest of the pieces, and you’re done!

*All image credit belongs to Debs Days via YouTube. Follow and subscribe to her channel for more!


