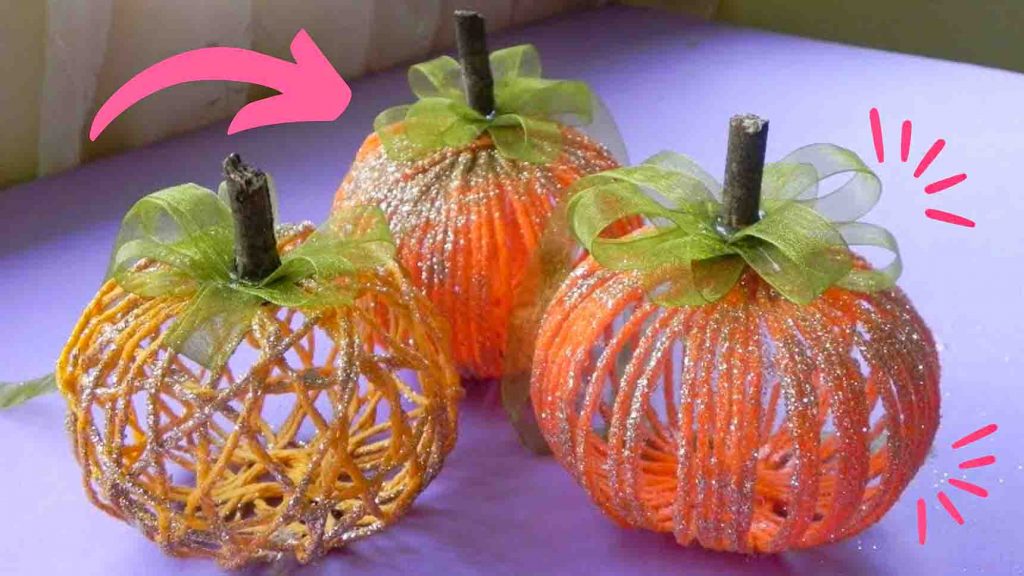
These yarn pumpkins from Handmade Treasures on Youtube are a great addition to your fall decorations this year. It’s cute, fun, and will definitely add a lot of character to your decors. What’s more, you only need a few simple craft items for this. It’s also a great project to bond with your kids! Watch the video below to learn the step-by-step tutorial.
Materials:
- orange-colored yarn
- 7″ balloons
- small elastic rubber band
- all-purpose glue
- glitter
- needle
- green ribbon
- hot glue gun
- several sticks cut out to about 1″
Directions:
Step 1
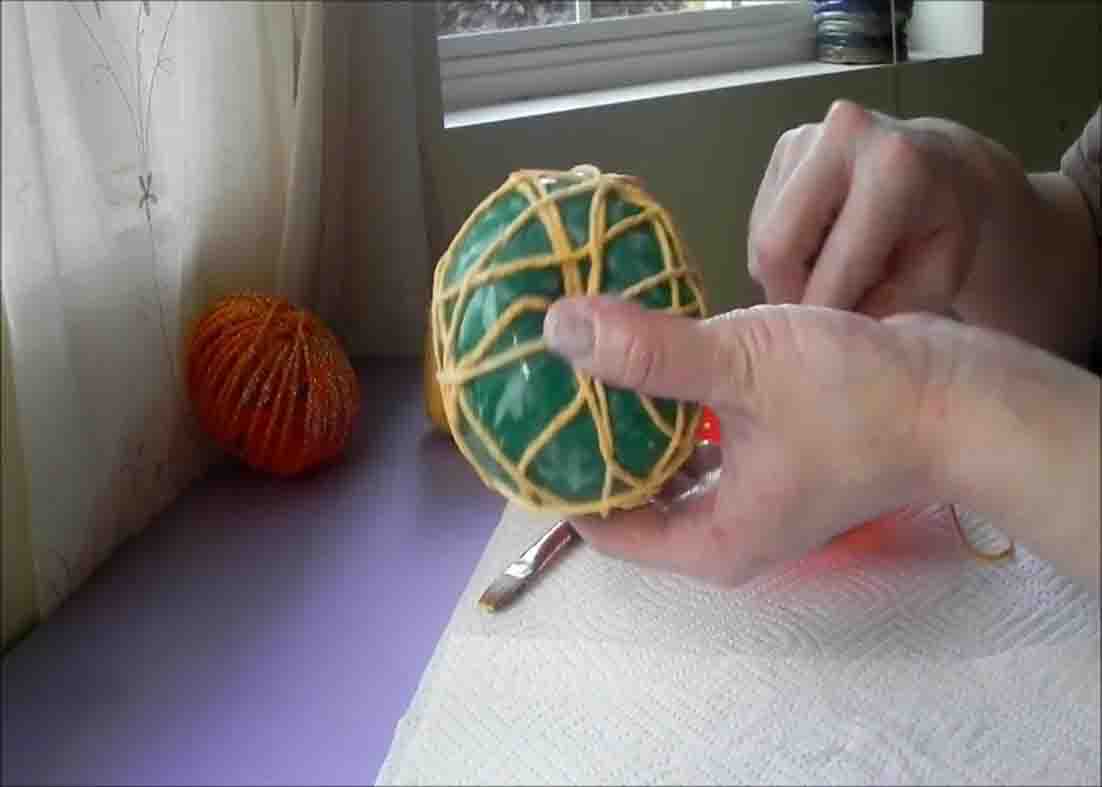
First, using a balloon, make a pumpkin-shaped template to mold the yarn into. Blow the balloon to about 3″ in diameter, tie it off, and make sure to make the knot toward the end of the balloon spout. Now, push the spout down through the balloon to the bottom end, then gather the pushed spout at the bottom together, and tie it off with an elastic band. You now have your template. Next, for the first pumpkin design, hold down the yarn at the top of the balloon and wrap it vertically down to the bottom, then back to the top. Continue wrapping vertical lines around the balloon in a clock-like pattern, making sure you keep your index finger and thumb at the top and bottom respectively to keep the yarn secure. If you see gaps, slide the yarn strands over. After this, it’s time to add glue to the balloon with yarn using a mix of one part water and one part glue. (You can cut your yarn at this point.)

[social_warfare]
Step 2
Apply the glue mixture with an old paintbrush. Make sure to completely cover the yarn with the glue mixture. After this, sprinkle the glitters and allow them to dry. For the next pumpkin style, soak the yarn in the glue mixture first so that the yarn will stick in place on the balloon. Now, wrap the yarn in the balloon in a random pattern. Try to alternate the direction of the strand as you wrap. If you need more string, unroll more yarn and soak in glue and continue to wrap. After this, you can cut the yarn from the roll and apply more glue mixture to areas that look dry. Finally, add glitters and let it dry. Let it completely dry for two days. After it dries out, unstick the balloon from the yarn using a blunt object, then deflate it gently using a needle. Decorate the pumpkins with some leaves made out of ribbons.
Easy DIY Yarn Pumpkin Tutorial


