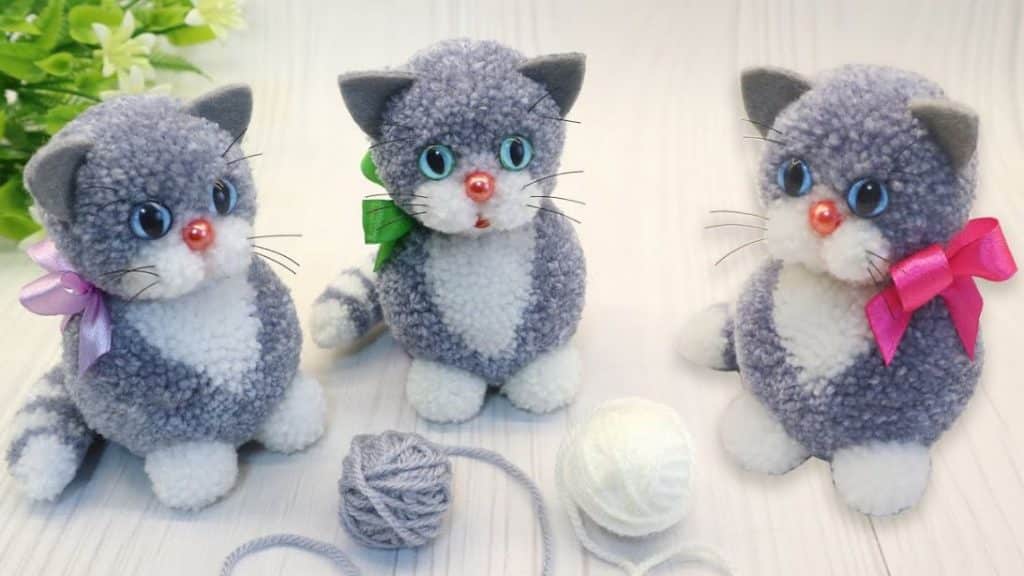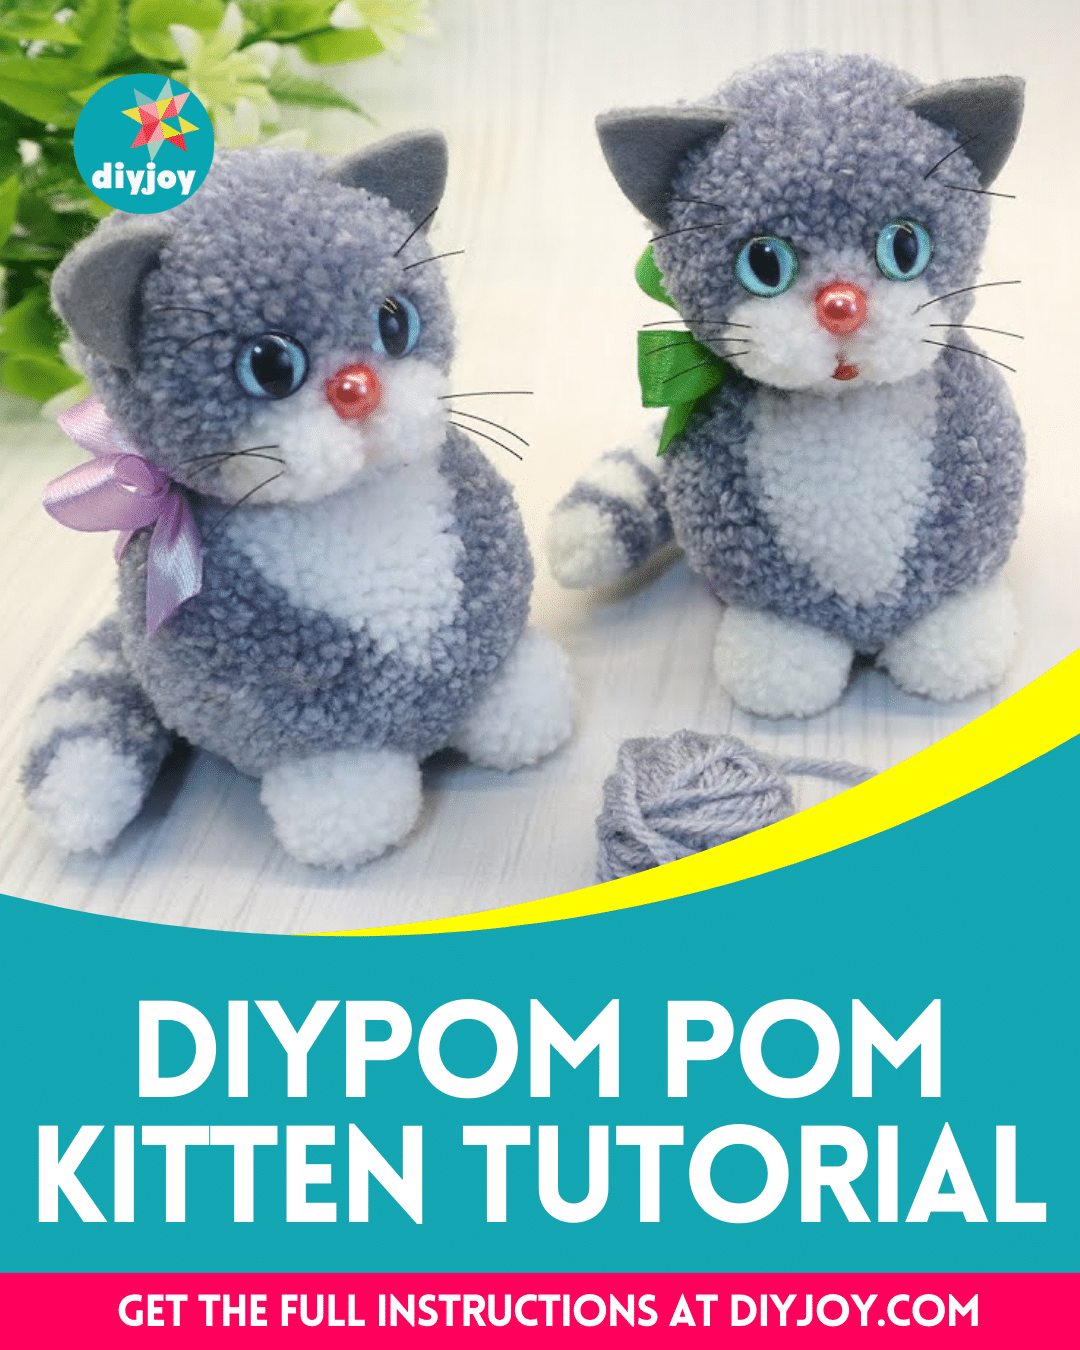
This adorable project idea by MARLENA-Hand Made on Youtube is so easy and fun to make, and is entirely made out of yarn! It’s a handmade craft that you can use as decor, gift box filler, or a gift itself. This is also a great activity to pass the time and you can probably make a couple of these within just a few minutes.
RELATED: Easy DIY Yarn Pom-Pom Chick Tutorial
This yarn kitten can also be made in different sizes if you want it smaller to use as a keychain or larger for display. You can also change the color of the yarn and personalize the kitten to your preference. Making this kitten is very simple and easy, you just have to follow the instructions written below and make sure to watch the video tutorial as well for more details.
Materials for DIY Pom Pom Kitten:
- Yarn, white and gray
- Gray felt, for the ear
- 8mm glass eyes or beads, for the eyes
- 8mm bead, for the spout
- Half-bead, for the mouth
- Black fishing line, tendrils
- Fork
- Scissors
- Hot glue gun and glue sticks
- Toothpick
How to Make a DIY Pom Pom Kitten:
Step 1: Head
- First, make a cardboard template with a 6.5cm or 2.5 inches width and another with a 5cm or 2 inches width. Cut the middle of the template lengthwise to make a slit as shown in the video, then grab the smaller template, and start making the head of the kitten.
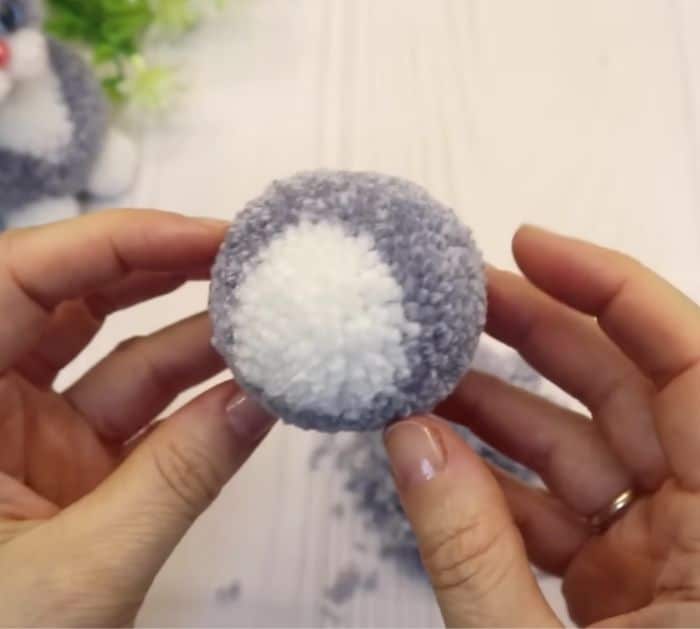
- Cut a piece of gray yarn, then insert it through the slit, grab another strand of gray yarn, and wrap it around the template crosswise 110 times. Wrap white yarn beside it 30 times, then tie them together with the piece of gray yarn on the slit, and remove the looped yarn from the cardboard.
- Pull the yarn tightly around the loop, then knot it securely, and make another set with just gray yarn wrapped around 140 times. Place them on top of each other, then tie them together tightly, and cut through the loops. Fluff it out, then trim it until round-shaped, and set it aside.

[social_warfare]
Step 2: Body and Feet
- Get the 6.5cm template, then do the same process above, and wrap the gray yarn 160 times. Beside it wrap the white yarn 40 times, then make another set with just gray yarn wrapped 200 times, and time them together. Cut through the loops, then shape it into a round ball, and set it aside.
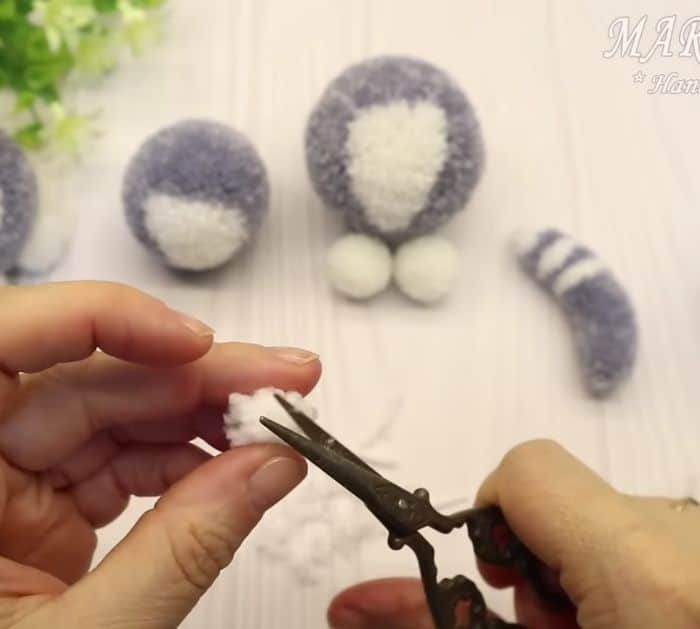
- Grab a fork, then wrap the white yarn around it 40 times, tie it tightly, then remove it from the fork, and cut through the loops. Fluff it out, then trim it until round, and make another piece.

Step 3: Tail, Cheeks, and Assembly
- Wrap the white yarn 15 times around the fork, then tie it tightly with a long strand of yarn. Wrap around the gray yarn 15 times, then use the excess tail of the previous white looped yarn to tie them together, and keep repeating the same steps until you’ve completed the tail as demonstrated in the video. Cut through the loops, then fluff them out, and trim until shaped like a tail.
- Wrap the white yarn around 3 prongs of the fork 20 times, then tie it together, and knot tightly. Cut through the loops, then trim it into a ball, and make another piece for the cheeks.
- Now, insert a piece of toothpick through the center of the kitten’s body vertically, then dab some hot glue, and push the head of the kitten down to adhere them together. Prepare the ears, eyes, spout, and mouth, then adhere them to the head of the kitten, and add the whiskers.
*All image credit belongs to MARLENA-Hand Made via YouTube. Follow and subscribe to her channel for more!


