If you have lots of empty soup cans in your kitchen just like me, and you don’t know what to do with them just yet, then you might want to consider turning them into a pretty wind chime! This video tutorial by Chalk It Up Fancy on YouTube will show you how to make it with easy step-by-step instructions using only a few simple materials that you can find from the nearest Dollar store.
Materials:
- 3 soup cans, of different sizes
- White paint
- Foam paint applicator
- Decoupage napkin
- Mod podge
- Cling wrap
- Floral wire
- Drill
- Small chain and hook
- Wooden bead
- Wind chimes
Directions:
Step 1
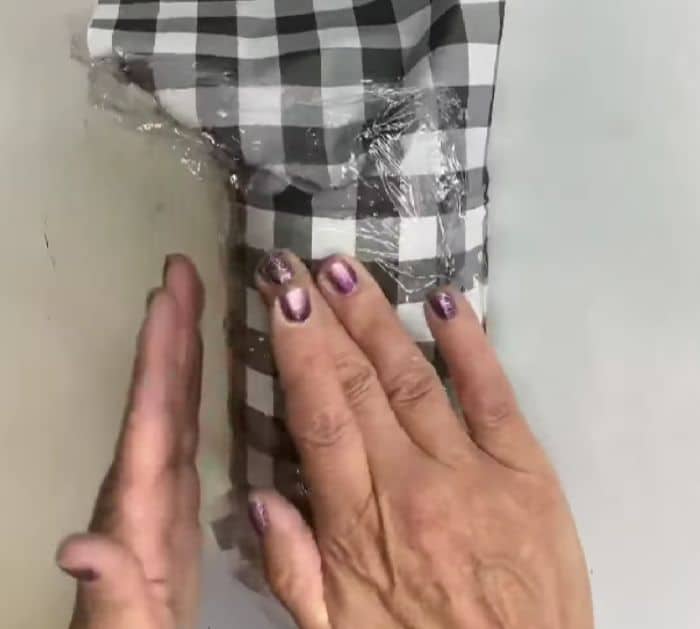
Remove the labels off of each can and make sure to wash them clean, then make sure to dry the cans completely, and apply 2 coats of white paint all over the can making sure to let the paint dry in between each application. Allow the paint to dry for at least 1 hour, then drill holes at the center of the bottom of each can, and then cover them all over with a mod podge. Wrap the decoupage napkin around the body of the can, then lay a piece of cling wrap on top, and smoothen out any bubbles or wrinkles on them.

[social_warfare]
Step 2
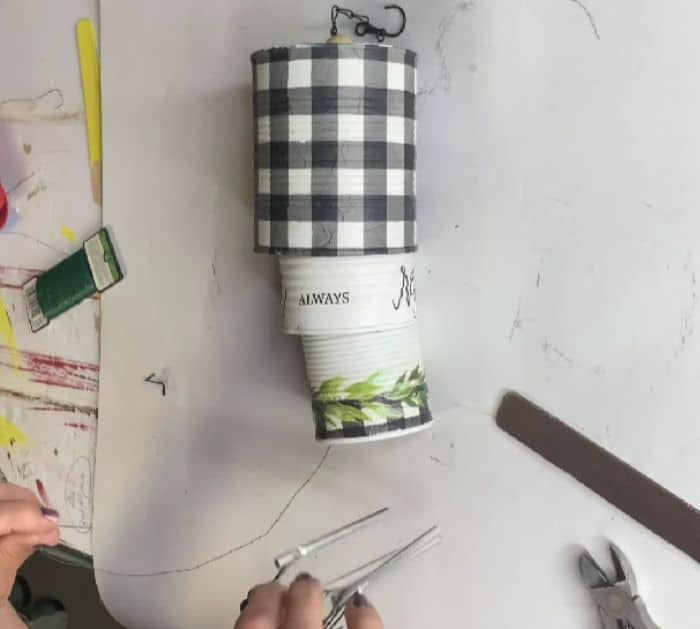
Apply more mod podge all over the decoupage, then tear out the excess napkin on each end of the cans, then smoothen the edges out, and let them dry completely. Connect the cans together by inserting a floral wire through the holes on each bottom of the can, then make sure to insert a wooden bead on each can to serve as a stopper, and cut off the excess wire. Attach a small piece of chain at the top of the largest can, then insert a hook as well, and attach the detached bottom of the chime to the smallest can with a floral wire.

*All image credit belongs to Chalk It Up Fancy via YouTube. Follow and subscribe to her channel for more!


