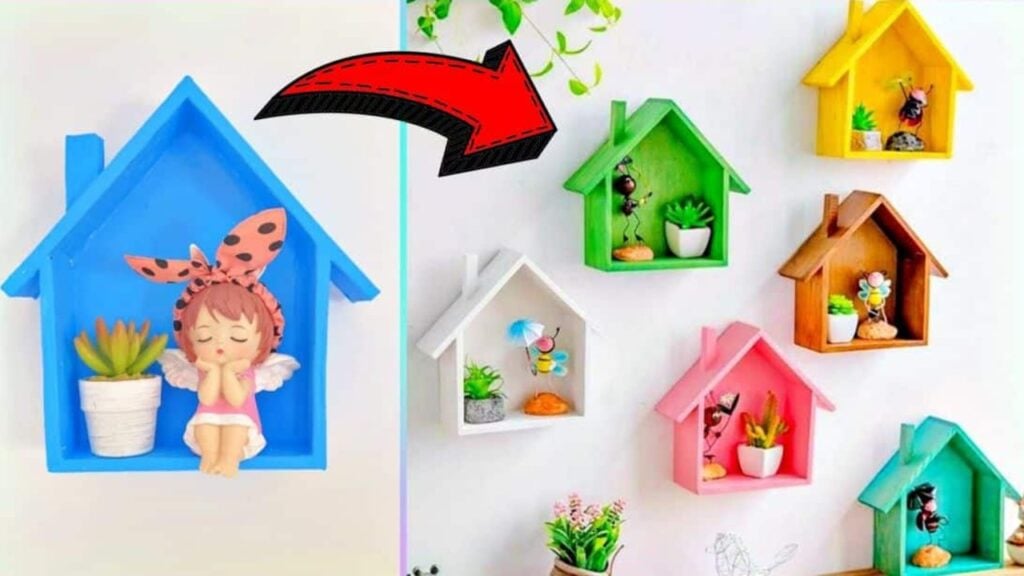
Do you often find small stuff spread around your house or on random surfaces and places that eventually become clutter? Then, you might need to make a storage for them that is also very easy to find and reach such as a place where you can hang or put your keys, a random small trinket, or small figurines that you still can’t figure out where to put.
RELATED: DIY Shelf Organizer Using Cardboard Boxes
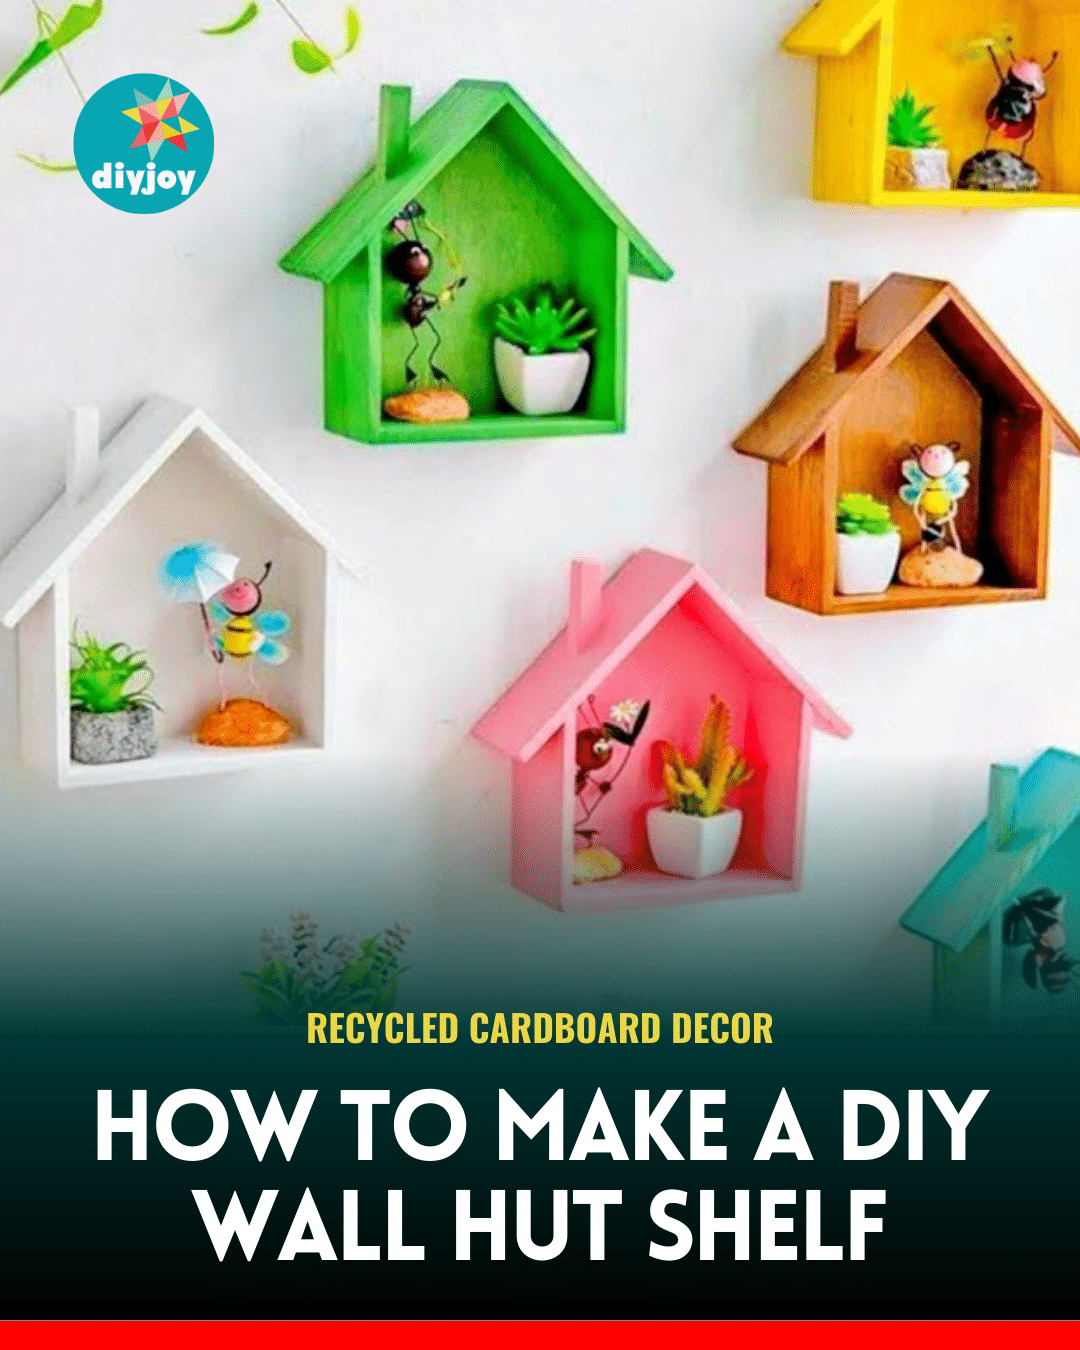
This recycled project idea is made out of cardboard, this is a brilliant handmade craft that also serves as functional handmade decor. This simple DIY project is beginner-friendly, too, so you don’t have to worry about messing this up because this is fail-proof. You can make this into any size and color that you want, and if you want to learn how now, then watch this video tutorial by Girl Crafts on YouTube.
Materials for Wall Hut Shelf:
- Cardboard, thick
- Scissors
- Cutter
- Pen or pencil
- Hot glue gun and glue sticks
- Masking tape
- Paintbrush
- White paint
- Any other color of paint
- Adhesive
How to Make Wall Hut Shelf:
Step 1
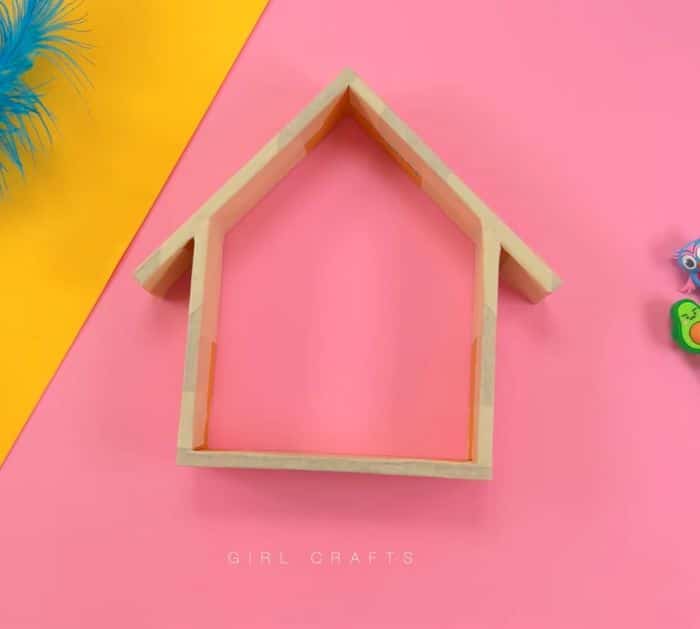
Cut a piece of cardboard at 14cm x 4cm and 13.4cm x 4cm, then connect them with hot glue, and set the piece aside as the glue dries. Cut 2 pieces of cardboard at 10cm x 4cm and 1 piece at 14cm x 4cm, and hot glue the 3 pieces together securely.
Step 2
Once that dries, hot glue the pieced cardboard together to form the hut, then apply an ample amount of glue on the connecting parts securely, and apply a strip of tape on the edges as shown in the video.
[social_warfare]
Step 3
Place the hut frame on top of the cardboard, then trace the inside of the hut, and cut the shape out. Next, hot glue the cutout to the back of the hut, then make a chimney out of a cardboard piece and attach it to the roof of the hut.
Step 4
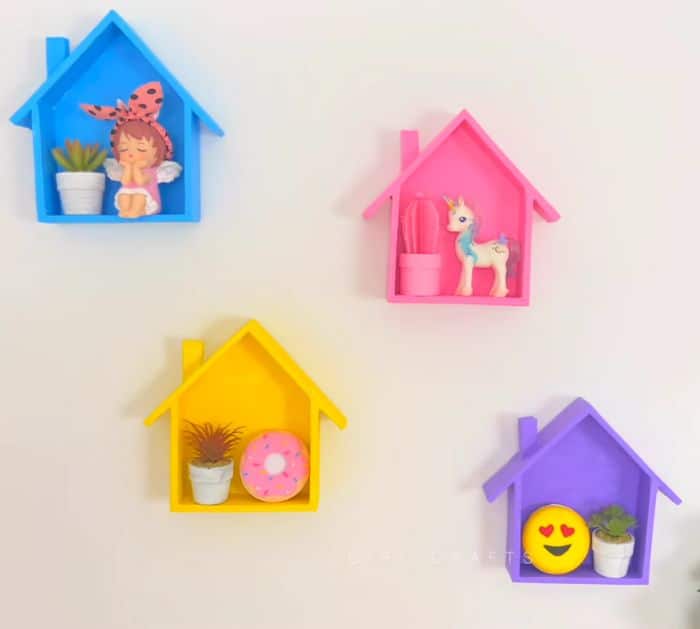
Start painting the interior and exterior of the hut with white, then let dry completely, and apply a coat of any paint color that you want. Place adhesive at the back of the hut, then attach the hut shelf to the wall, and make more as you like.
*All image credit belongs to Girl Crafts via YouTube. Follow and subscribe to her channel for more!
How to Make a DIY Wall Hut Shelf


