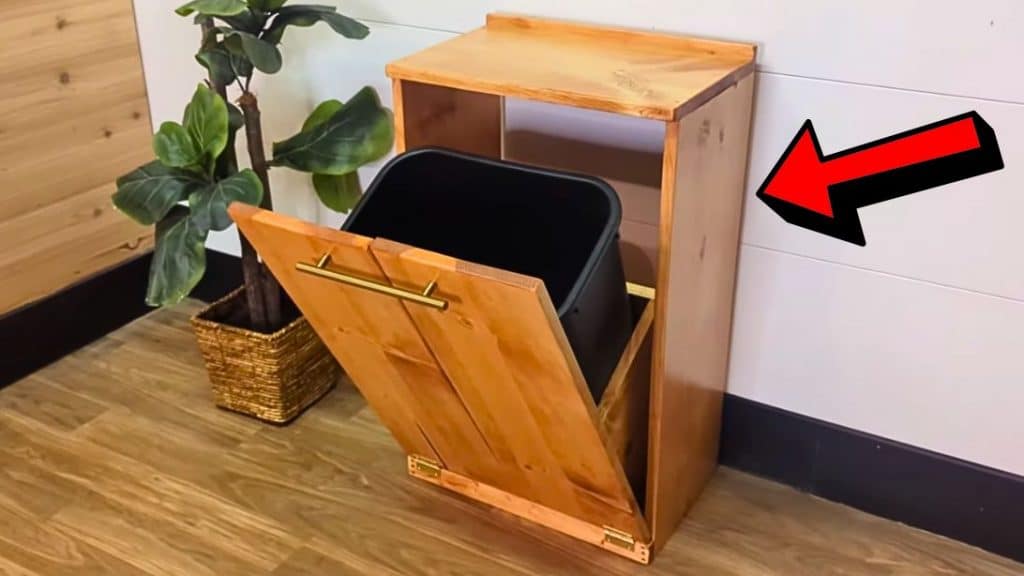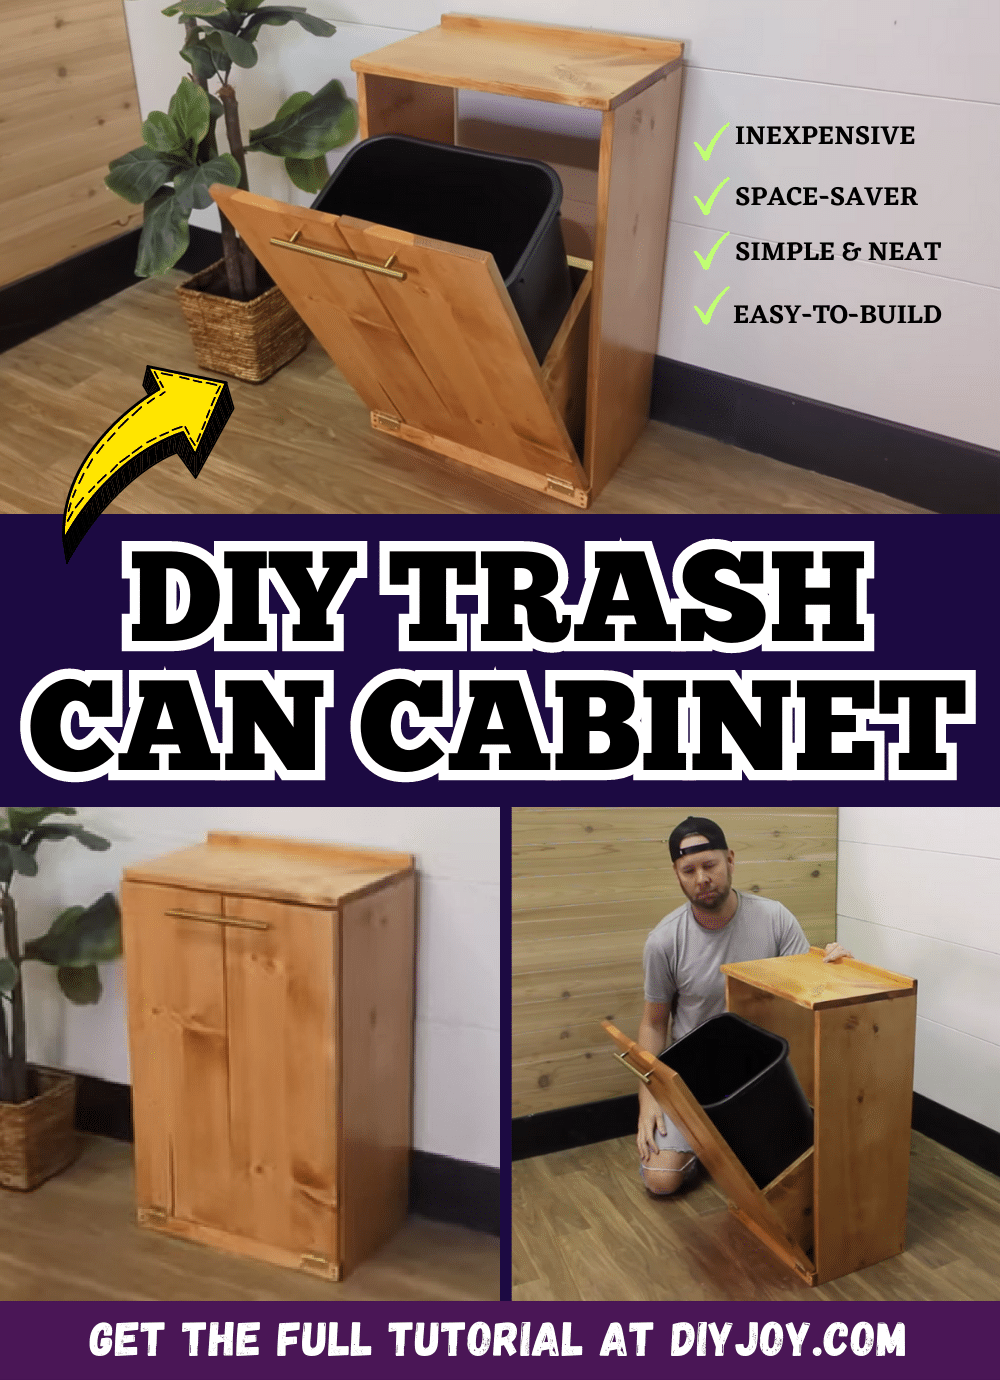
A few days ago, I stumbled upon this video tutorial by The Rehab Life and I immediately went to give it a try at home, and it was one of the best project ideas I have ever done! It was definitely easier to hide the trash can and it also looks more neat than before, plus, it is visually pleasing because it looks just like any other cabinet in my house. You can make one on your own, too, at only around $100 or even less!
Materials:
- 1 board @ 1x12x8 ft
- 1 board @ 1x10x8 ft
- 1 board @ 1x2x6 ft
- 1¼-inch trim head screws
- Wood filler
- Sanding block
- Wood stain
- Polyurethane
- 1 cabinet pull
- 2 hinges @ 2 inches
- 6-inch small chain with ½-inch screws
- 1 trash bin approximately 20 inches tall
Directions:
Step 1
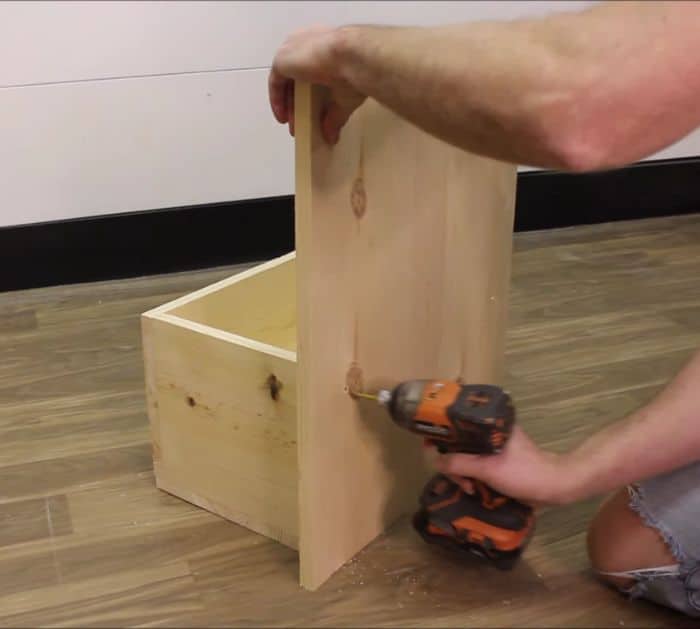
Cut the wood pieces to size, then take 2 pieces of 1x10x10½ and 1 piece of 1x10x14½, and assemble them together securing them with screws. Turn the piece over to its side, then place a piece of 1x12x14½ across the top, and secure it in place with screws. Flip the piece over making sure the that 1×12 piece is on the bottom, then mark the midpoint, and stand a piece of 1x10x27 on the midpoint marking. Screw them in place, then repeat the same step on the other side, and set the whole piece aside.

[social_warfare]
Step 2
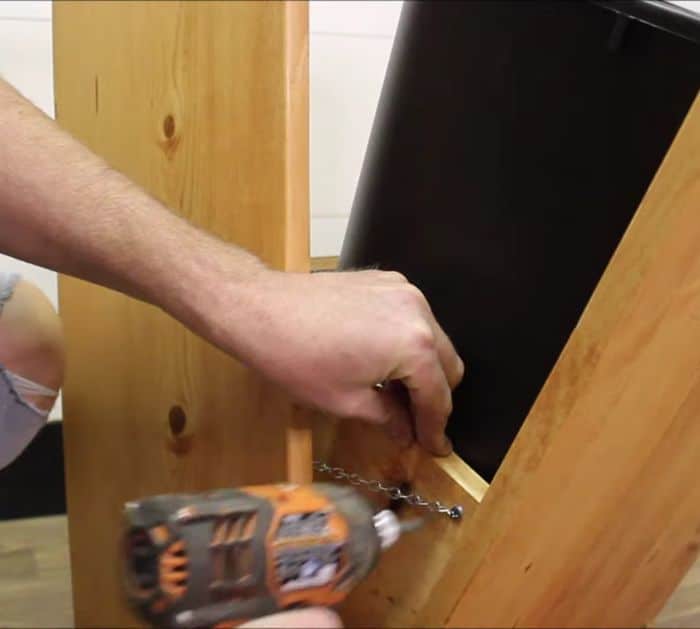
Next, assemble the rest of the wood pieces, then apply wood filler on the pocket holes that you made, and allow it to dry completely before sanding them until smooth. Stain all of the pieces, then let them dry, and apply coats of polyurethane. Attach the handle to the front piece you’ve assembled, then assemble the front and back pieces together, and attach the hinges as well as the chain.

*All image credit belongs to The Rehab Life via YouTube. Follow and subscribe to their channel for more!


