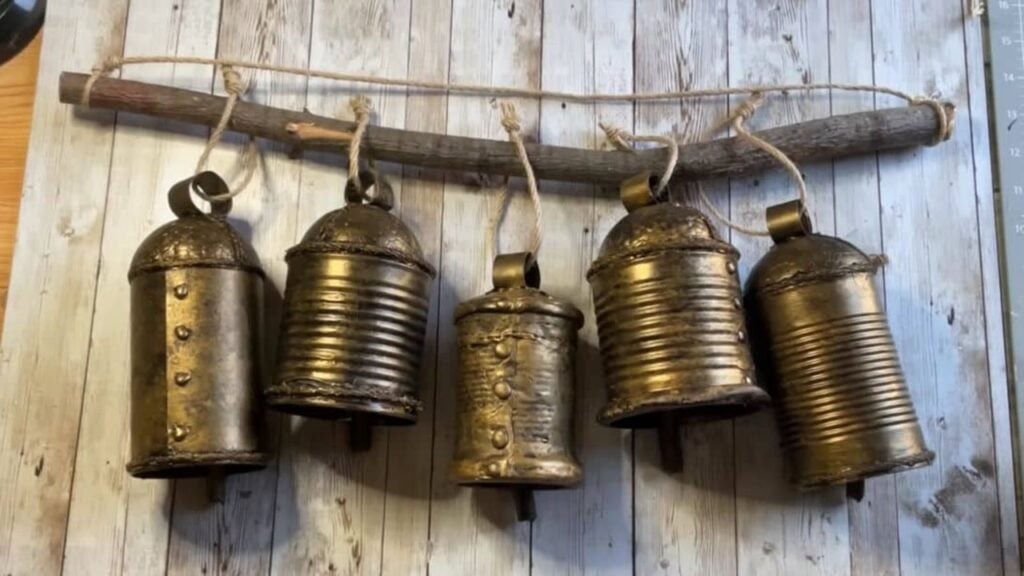
This DIY decor idea by Kat’s Studio on YouTube is one of my favorite handmade decor yet! It’s the perfect wall accent for the holidays and is made out of recycled materials. You can hang these lovely tin can bells wherever you want and decorate them to your preference.
RELATED: Repurposed Tin Can Storage Craft Idea
Learn how to make this decor now by reading the written instructions down below, and while you’re at it, make sure to watch the video tutorial as well for more details. I hope you love this project as much as I did. Enjoy crafting!
Materials for Tin Can Holiday Bells:
- Tin cans
- Paint and a paintbrush
- Styrofoam balls
- Hot glue gun and glue sticks
- Craft paper
- Jute cord
- Sticks
- Scissors
- Pencil
- Cutter
How to Make Tin Can Holiday Bells:
Step 1
Place the styrofoam ball inside the mouth of the open can, then mark around it right where it connects with the rim, and cut the ball along those markings. Turn the can upside down, then hot glue the half ball on top of it, and press it down firmly.
Step 2
Cut the craft paper or card stock width to the same height as the can, then hot glue it around the can until completely covered cutting off the excess paper, and then hot glue the jute cord around the edges of the ball and paper.
[social_warfare]
Step 3
Cut off the excess sideways and do the same to the bottom edges as well, then cut a strip of card stock for the handle, and roll it around your fingers to make a ring shape.
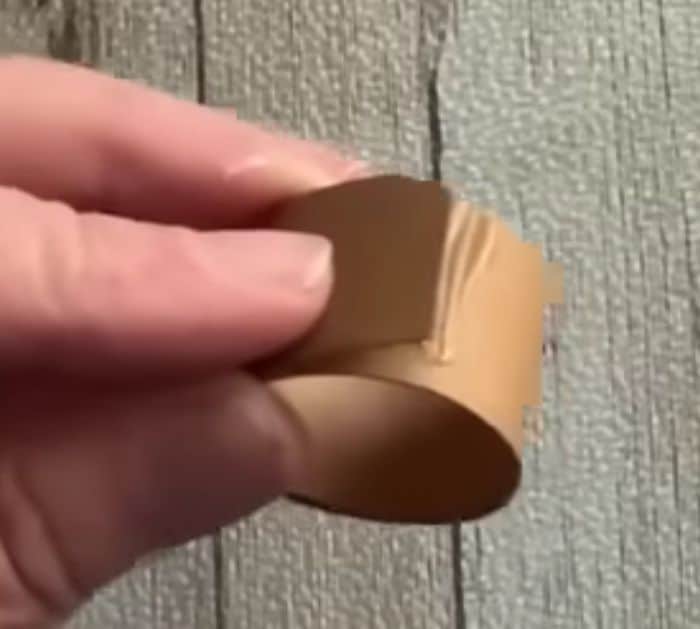
Step 4
Hot glue the edges securely, then adhere it to the top of the ball with the seam side down, and attach 2 strands of thinner jute cord through and across the handle and attach paper clip pieces for extra security as shown in the video.
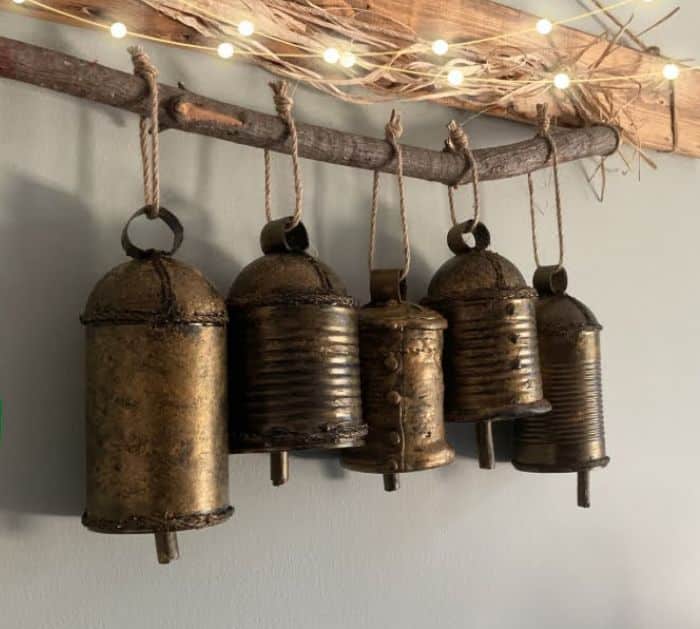
Step 5
Dab hot glue dots along the side of the seam for details, then start painting the can and let it dry completely. Make a couple more bells, then tie them to a twig, and hang them wherever you want.

*All these amazing images are thanks to Kat’s Studio via YouTube. Do visit her channel to see more videos like this!
Easy & Inexpensive DIY Tin Can Bells Tutorial


