I’ve always been intrigued by how a flower is made out of a satin ribbon and I thought it would be pretty complicated until I found this tutorial by FLOWEE on YouTube. This technique makes the process of making a ribbon flower easier and perfect every time.
RELATED: How to Make a DIY Lily Flower Using Satin Ribbon
After learning this trick, this is the only way that I make flower ribbons and I use them in a lot of my craft projects and DIY decor. I’m sure that you will also find this trick very easy even if you’re a beginner, so go ahead and learn the steps now by reading the instructions down below, and while you’re at it make sure to watch the video tutorial as well for more details.
Materials for DIY Ribbon Flower:
- 2.5cm or 2-inch satin ribbon
- Cardboard
- Rope
- Needle and thread
- Scissors
- Ruler
- Marker, pen, or pencil
- Lighter
How to Make a DIY Ribbon Flower:
Step 1
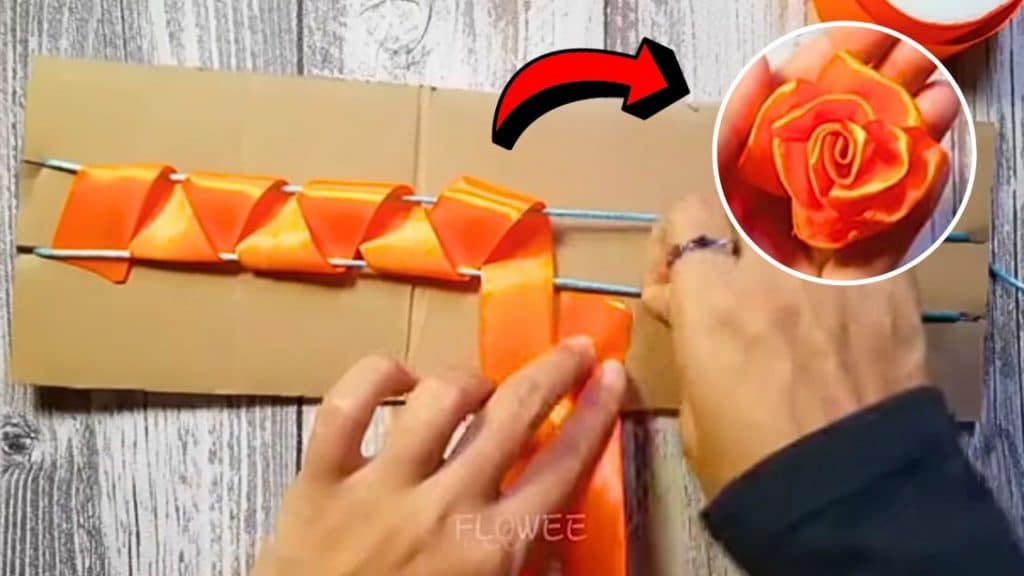
Get a long piece of cardboard, then lay a 30-inch long ruler over it, and mark each side and end as shown in the video. Notch each marking, then insert a rope horizontally, and you should end up with 2 parallel strands that are about an inch apart.
Step 2
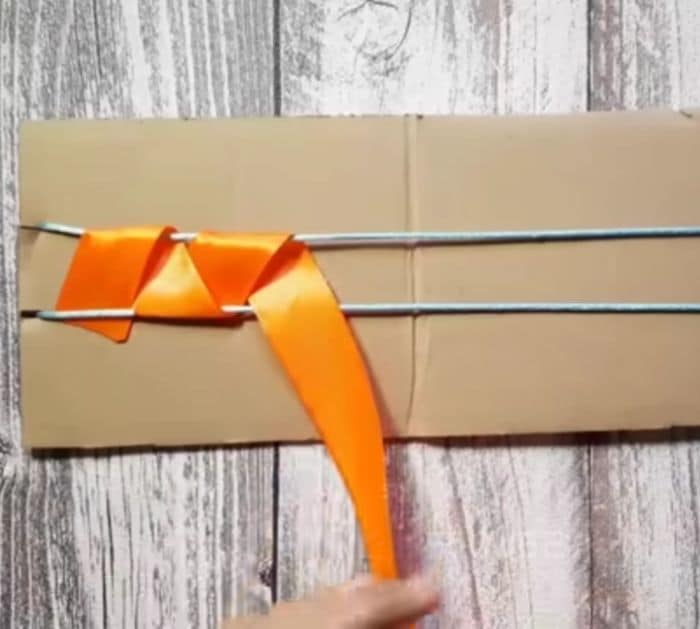
Cut a piece of ribbon at 70cm or 27.5 inches long and burn the edges with a lighter, then insert one end underneath the lower strand, and loop the longer end over the upper strand. Pull the long end of the ribbon, then bring it over the upper strand, and pull it underneath.

[social_warfare]
Step 3
Lay the ribbon over the lower strand, then insert it underneath looping it, and pull it over the upper strand. Continue repeating this motion until you’ve reached the other end of the rope strand, then pull and adjust them tighter as demonstrated in the video, and start sewing the upper edges with a running stitch.
Step 4
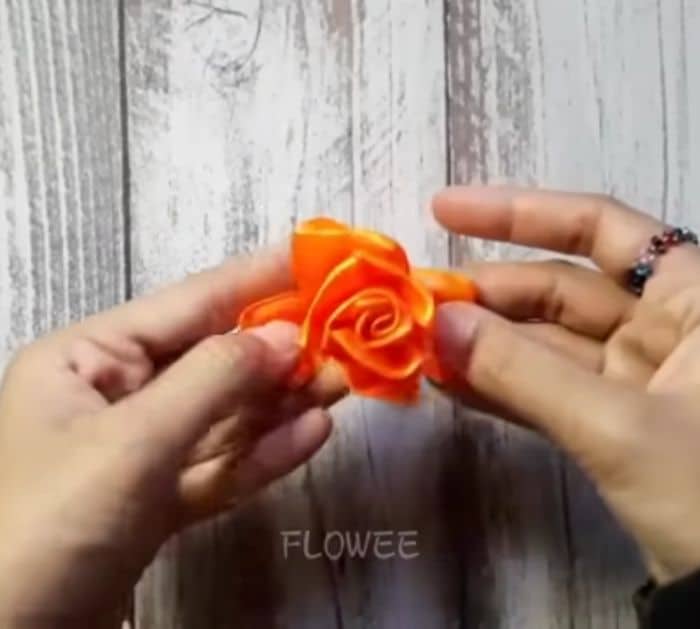
Carefully pull the strings out of the ribbon, then pull the thread to gather the looped ribbon, and roll one end over a little at a time. As you roll, stitch the bottom securely, then continue to do so until a flower is formed, and stitch the bottom securely with a tight knot.

*All image credit belongs to FLOWEE via YouTube. Follow and subscribe to her channel for more!


