Cleaning is a very therapeutic activity to me and I think it’s a great way to take your mind off of something while staying productive. Eventually, it became some kind of hobby for me, and before I knew it, I’d been collecting a couple of cleaning tools and supplies. One of my favorites to use is a Swiffer Dust because I find it very easy to get into corners and clean even the most awkward shapes with it.
RELATED: How To Sew Reusable Swiffer Pads
However, constantly purchasing duster refills can be pricey, too, this is why I tried looking for a better alternative at a cheaper price. That’s when I stumbled upon this brilliant idea by ehow on YouTube, and it was clearly the best project I did in a while because not only is this a budget-friendly choice but it’s also convenient since it’s reusable, there’s no need to make a bunch, a single piece will go a long way already.
Materials for DIY Reusable Swiffer Duster Cloth:
- (2) 5″x7″ flannel cut on the bias
- (2) 4½”x7″ flannel cut on the bias
- (2) 4″x7″ flannel cut on the bias
- (2) 3½”x7″ flannel cut on the bias
- Ruler
- Marking pen, pencil, or chalk
- Fabric pins
- Pinking shears
- Scissors or rotary cutter and a cutting mat
- Swiffer duster handle
- Needle and thread
- Sewing machine
How to Make Reusable Swiffer Duster Cloth:

Step 1
Stack the 5″x7″ flannel pieces with their wrong sides facing and edges lined up, then draw a line down the center, and draw two more lines on each side making sure they are ¾ inch apart from the center line. Pin them in place, then stitch along those marked lines, and make sure to remove the pins as you go.
Step 2
Place the 4½”x7″ piece on top making sure it’s centered, then place the 4″x7″ on top of that, and center the 3½”x7″ piece on the very top. Flip the stack over carefully and do the same to the other side, then draw a line down the center of the stack of fabric, and pin them in place.
Step 3
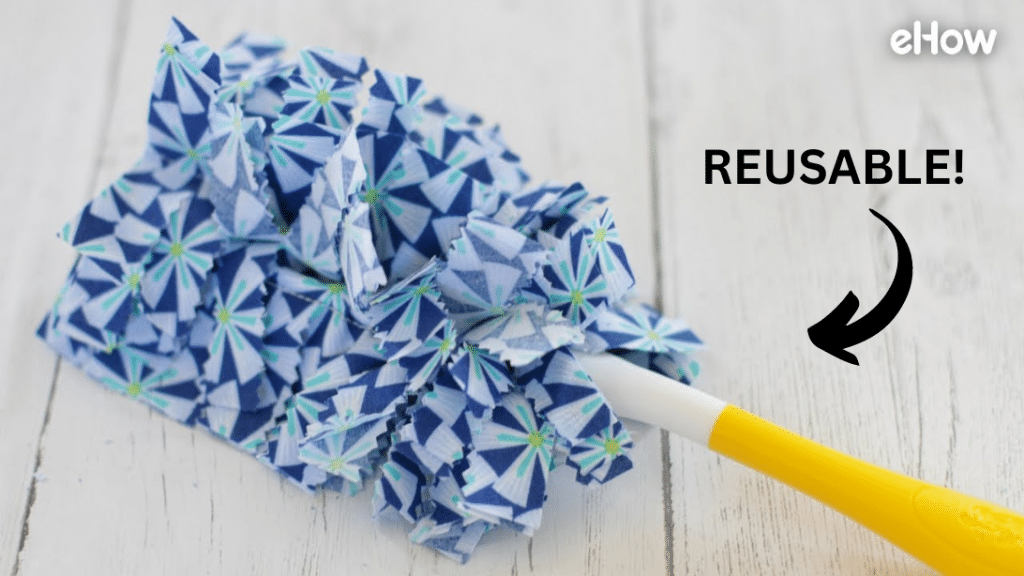
Stitch along the line at the center and through all of the layers of fabric, then remove the pins as you go, and then cut slits to the fabric layers as demonstrated in the video. Insert the Swiffer duster handle into the pocket created in the center, then fluff the fabric strips, and you’re duster is ready for use!
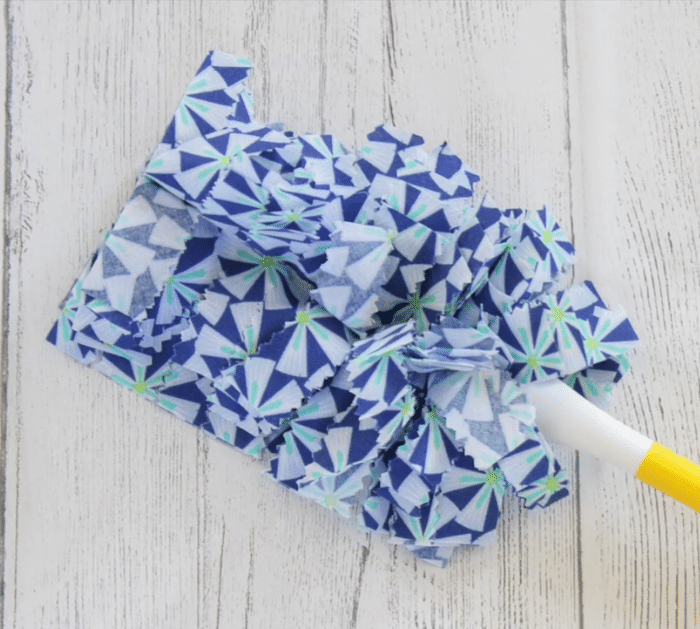
*All image credit belongs to ehow via YouTube. Follow and subscribe to their channel for more!
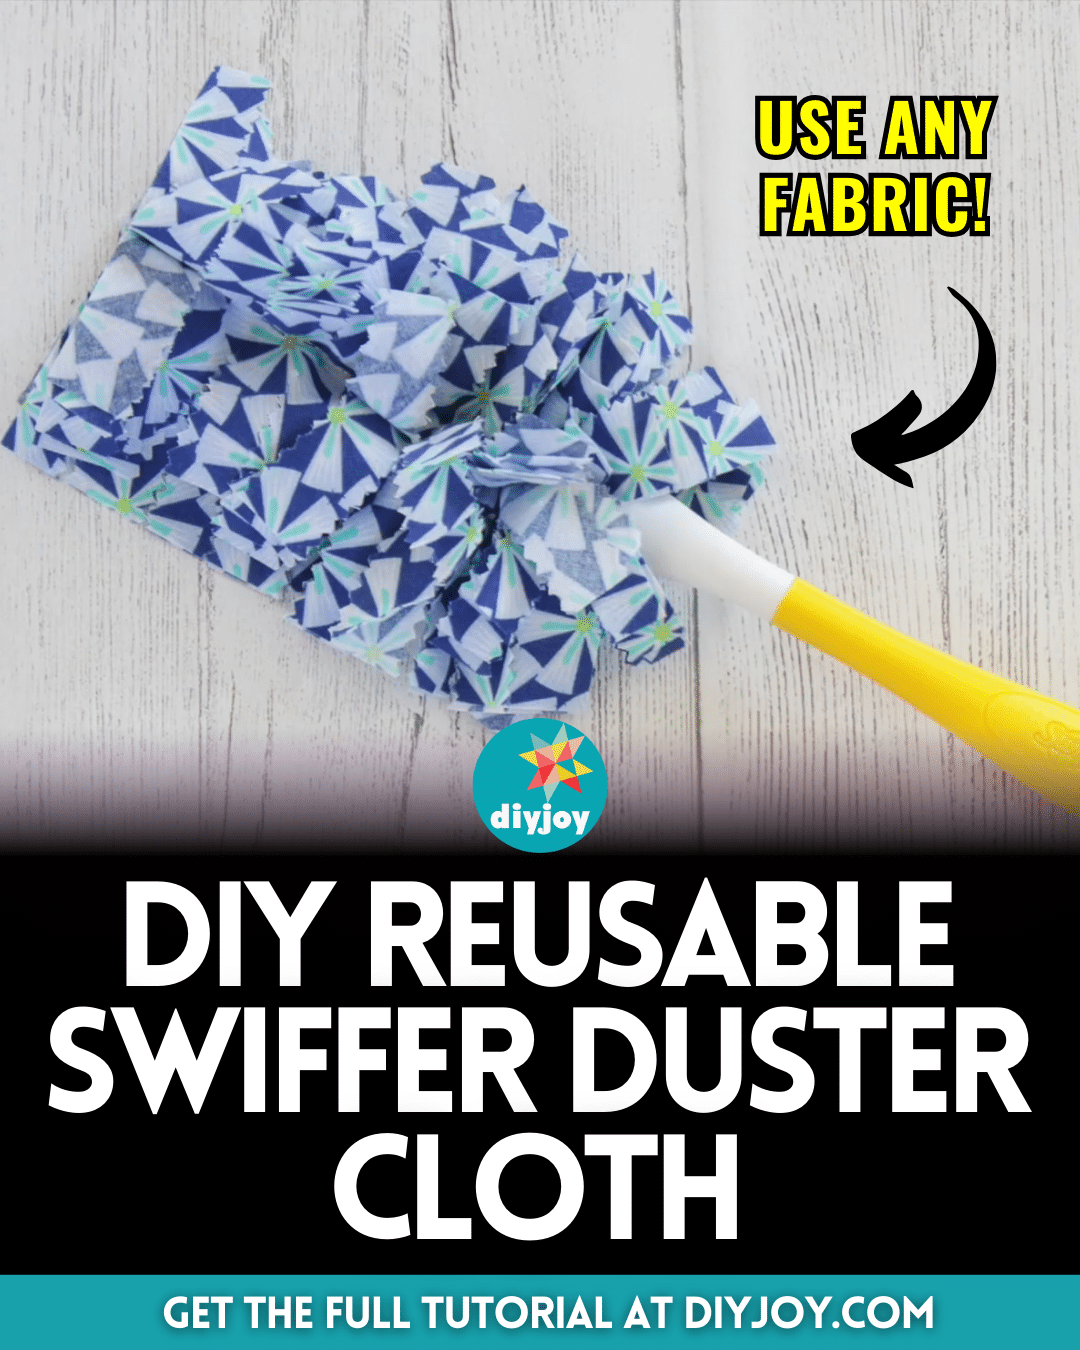
Easy DIY Reusable Swiffer Duster Cloth Tutorial


