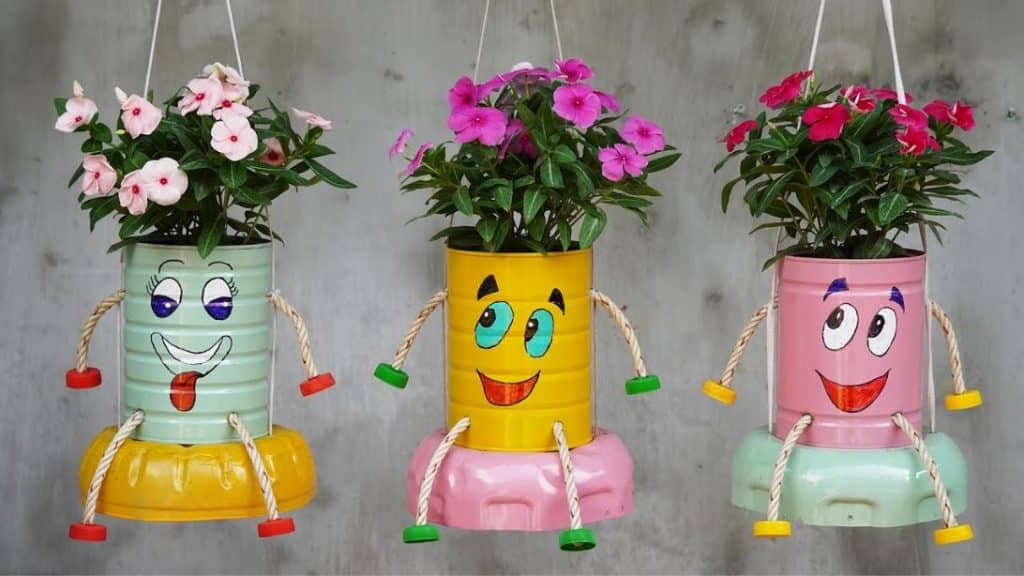
Pretty planters don’t always have to be expensive, they can be completely DIY but still look incredibly adorable, just like this project idea by Balcony & Garden on YouTube! Learn how to repurpose some old materials that may find in your home using only a few simple tools and this easy-to-follow video tutorial now. Sure enough, your garden will look more fun and lively when you use these planters.
Materials:
- Large tin can
- Large plastic bottle
- Spray paint
- Different colors of marker pen
- Rope
- Scissors or cutter
- Bottle caps
- Nail
- Hammer
- Tongs
- Zip ties
- Hot glue gun and glue sticks
Directions:
Step 1
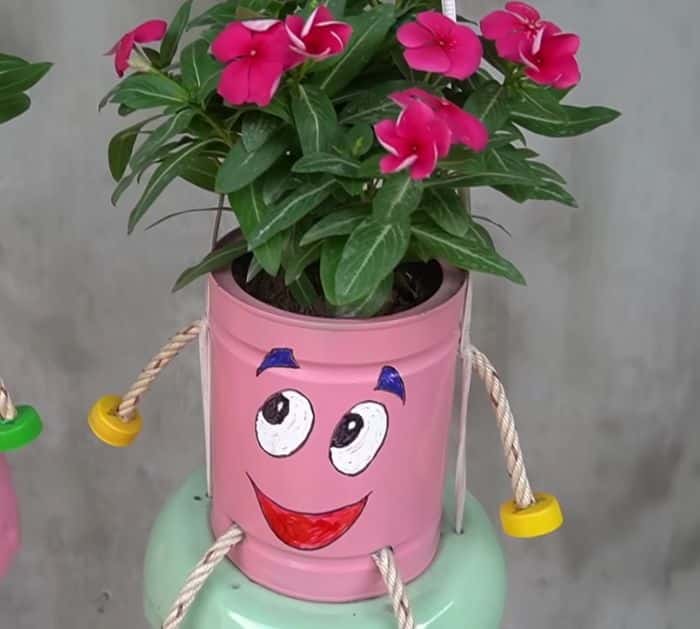
Remove the labels off of the can, then make sure to remove all residue and smoothen, and then spray paint with whatever color you want until completely covered. Allow it to dry completely, then add another coat of paint if desired or needed, and once dry, draw the brows, eyes, and mouth as shown in the video. Fill them in with different colors of a marker pen, then drill holes at the bottom of the can to drain off excess water, and drill holes at the center of 4 bottle caps as well.

[social_warfare]
Step 2
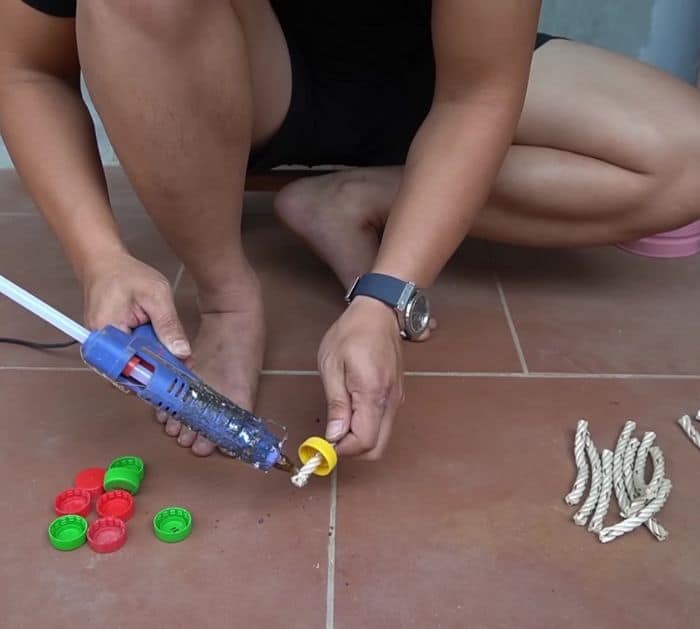
Insert each end of the rope through the bottle caps, then cut the bottom of a large plastic bottle, and punch holes around the bottom edges. Place the can on top, then insert the rope through the holes at the side and bottom, and hot glue the rope to secure it in place. Insert rope through the bottom of the planter, then tie it together with the rope arms using zip ties, and fill the planter with soil followed by the plant or flower.

*These amazing images are all credited to Balcony & Garden via YouTube. Check his other content and follow for more!


