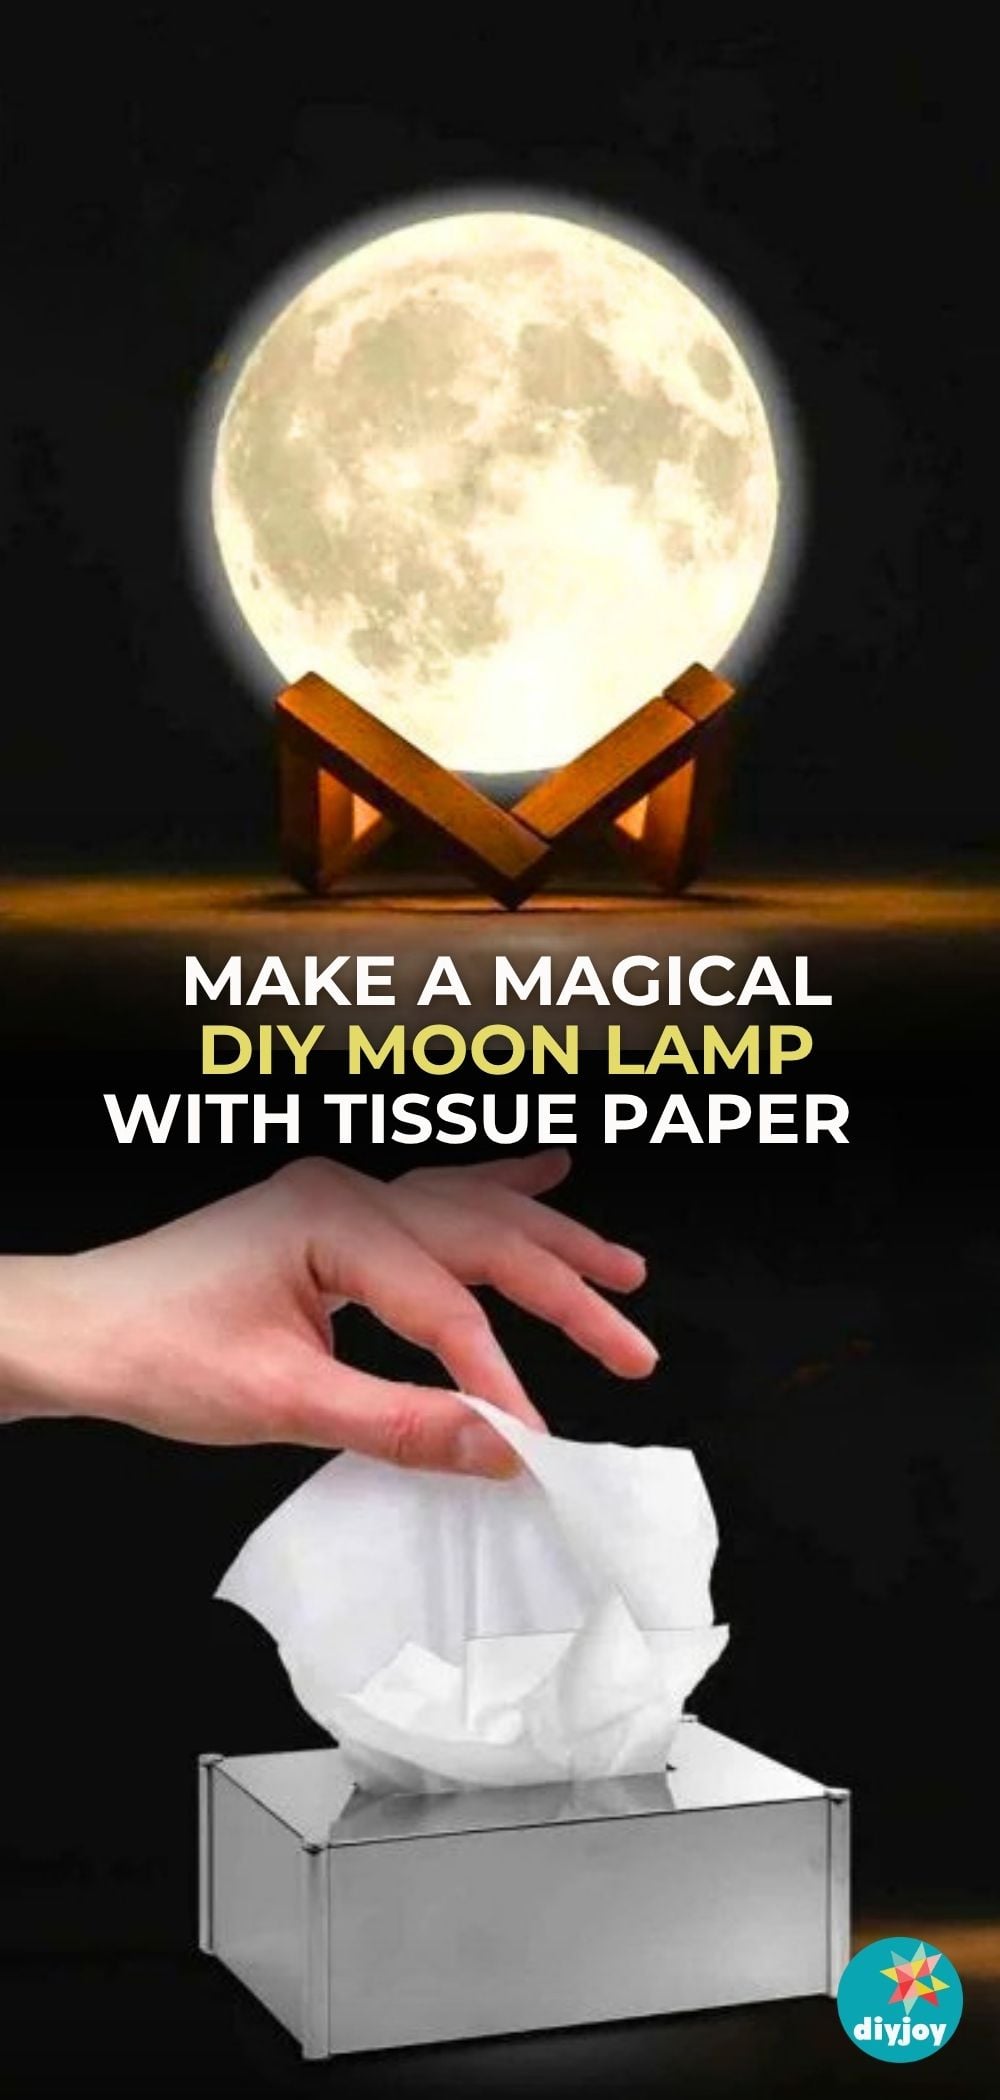
Who would have thought you could make this stunning DIY moon lamp from Crafts Junction with just simple crafting materials? That’s right! You probably already have all the items lying around your house. So if you’re looking for a weekend project you can make, try this DIY moon lamp; I’m sure you’ll gonna love it!
Materials:
- tissue paper
- plastic ball (or a round shape balloon)
- crafting glue
- glue gun
- cutter
- scissor
- acrylic paint
- empty disposable food container
- wire
- bulb holder
- CFL bulb
- paint brush
- sponge
Directions:
Step 1
To start, put glue all over the balloon using a paintbrush, putting pieces of tissue paper while doing it. (The size of the balloon will be the size of your moon lamp.) Make multiple layers of tissue paper and leave it to completely dry. After it dries, paint it with white acrylic paint and leave it to dry completely again. Once it dries, blot a super light gray paint all over it using a sponge for the moon effect.

[social_warfare]
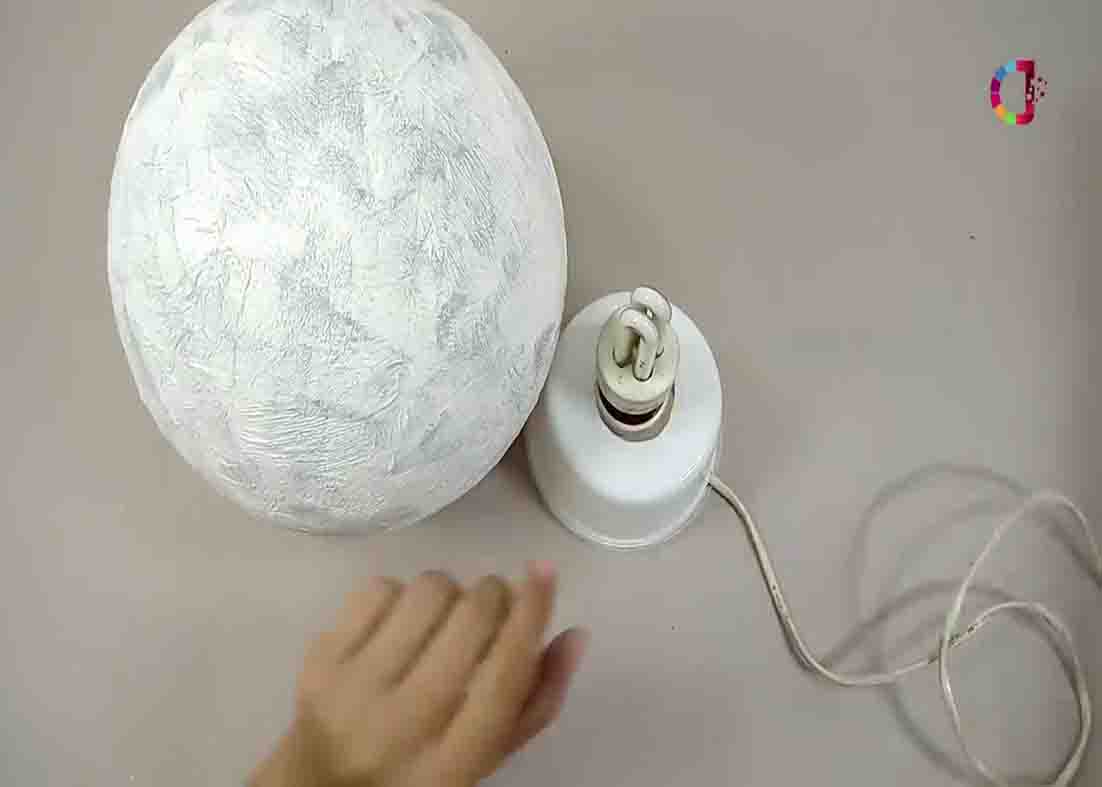
Step 2
Now, assemble your bulb holder by attaching a wire plug to it. Attach the bulb holder to a cover of an empty food container by gluing it with hot glue. After this, grab the empty food container and make a hole in the bottom, big enough for the bulb to go through, then attach them together. Back to the moon lamp, draw a circle on one area and slice it open with a cutter. Remove the balloon inside and insert the bulb. Your DIY moon lamp is now finished.
Easy DIY Moon Lamp Tutorial