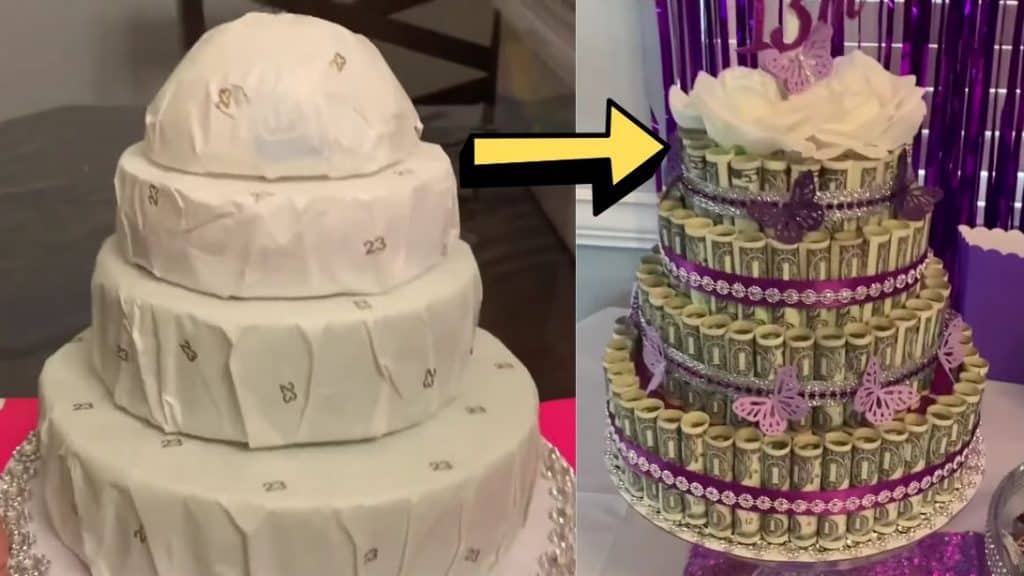
This craft project is a unique version of making a cake, instead of baking an edible one, try making this money cake with only a few materials and simple steps! Learn how to do it with this video tutorial by Miss Regi on YouTube. Proceed to read down below for the full instructions, then try making this for a loved one who’s having a birthday, and share with us the results. Hope you enjoy this craft project as much as I did!
Materials:
- Styrofoam dummy cake
- Any paper for wrapping
- Cake board
- Plastic
- Tape
- Hot glue gun and glue sticks
- Ribbon
- Ribbon bling
- Decorations and embellishments
- Dollar bills
Directions:
Step 1
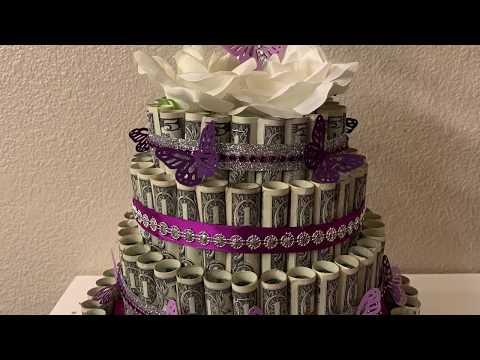
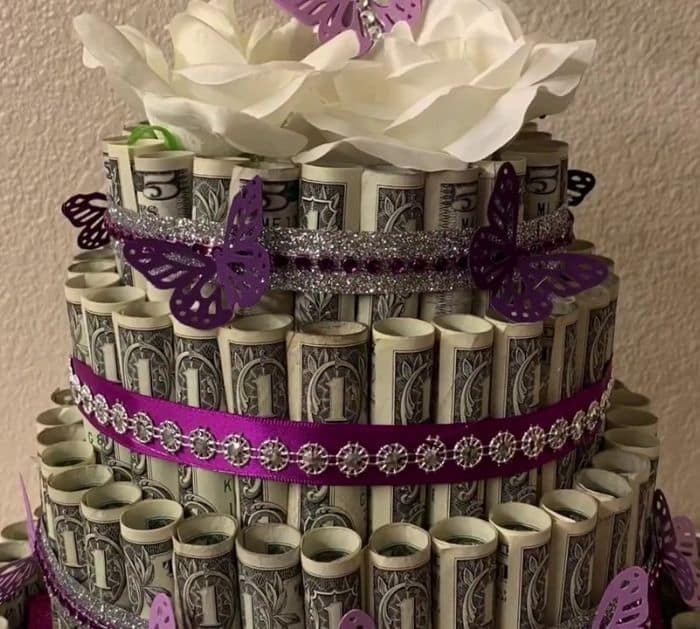
Wrap each styrofoam dummy cake with paper, then stack them until the desired tier count, and adhere them together using hot glue. Attach the cake tier to a cake board, then decorate the outer edges with some ribbon bling, and set it aside. Roll each Dollar bill, then wrap it with plastic, before securing it with tape, this will prevent the money from tearing. Place the rolled bills around each tier standing right up.

[social_warfare]
Step 2
Wrap a ribbon around the bills to hold them in place, then cut, and glue the ends of the ribbon together. You can add some bling around the middle of the ribbon, then alternate the design and color of the ribbon you’re using for each tier. Once you reached the top dome, hide it with some flowers or other decorations you want to use, you can also insert a cake topper at the top.
*Thanks to Miss Regi via YouTube for all images used here. If you loved this video tutorial, then you’ll surely love her other projects too, so give her channel a visit and subscribe!
How To Make A DIY Money Cake