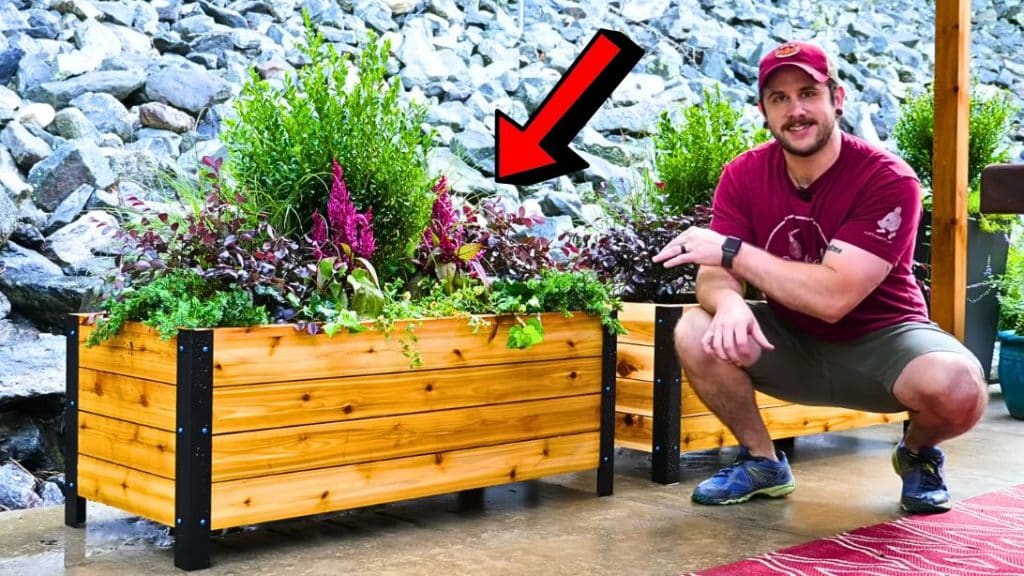
Building DIY projects is one of the best hobbies that you can get yourself into because you will certainly keep yourself busy for a good amount of time and the finished products are very pleasing, too. So, if you ever find yourself looking for something to do, then consider making a fun project such as this planter box by Crafted Workshop on YouTube!
Materials:
- Cedar Boards
- Treated Pines
- Miter Saw or Circular Saw
- Marking Pen or Pencil
- Clamps
- Angle Metal
- Drill
- Screws
- Galvanized Steel Mesh
- Metal Cutter
- Plastic
- Wood Glue
- Plan (Click here to download the plan)
Directions:
Step 1
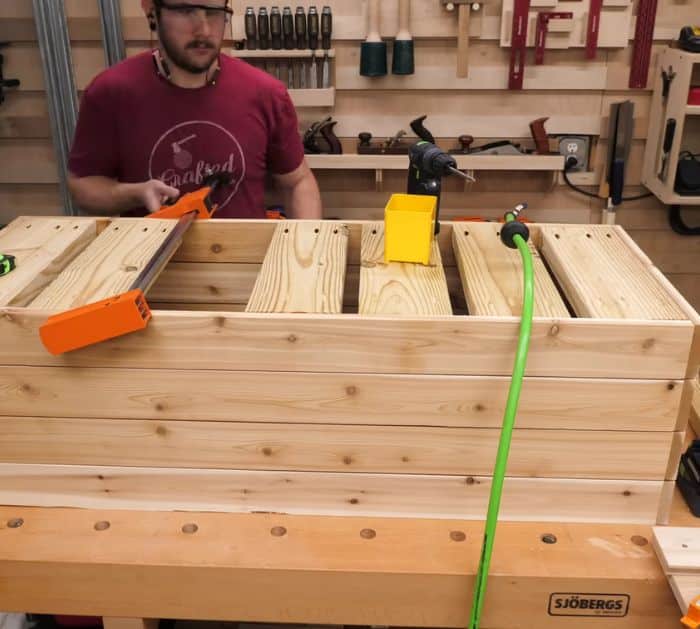
Cut the board pieces according to the plan, then start lining up the bottom of the box, and mark where the spacers would be installed. Dab some wood glue along the short ends where you made the markings, then attach the small would piece for the spacers and screw them in place, and repeat the same process with the side panels. Once done piecing together the bottom and side panels, assemble them together as shown in the video, then hold them in place using clamps, and attach them together with screws.
[social_warfare]
Step 2
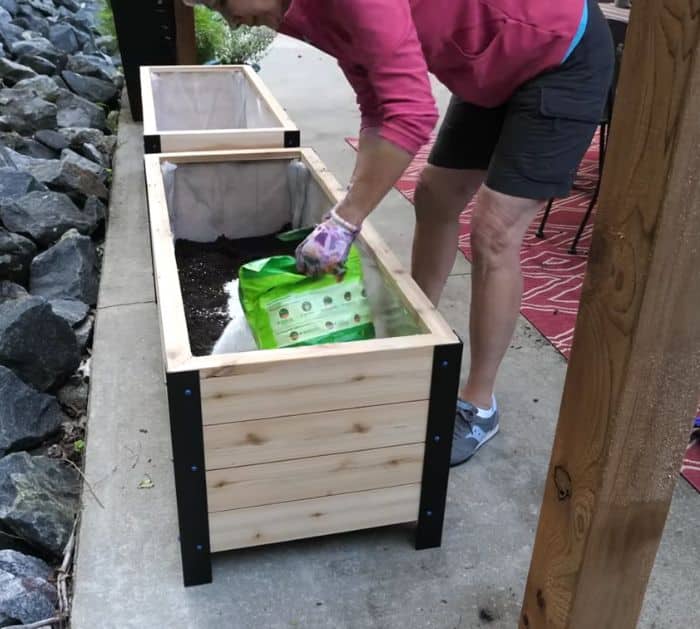
Place the small panel pieces for the upper edges of the box, then sand them to smoothen, and cut the galvanized mesh to line the bottom of the box with it. Secure the mesh in place, then line the inside with plastic, and punch some holes all over the bottom to let the excess water drain. Lastly, cut the angle metal pieces for the legs of the box, then attach them with screws, and then place them where you want them to be. Pour the soil inside and place your plants.
*Thanks to Crafted Workshop via YouTube for all images used here. If you loved this project idea, then you’ll surely love his other videos too, so give his channel a visit and subscribe!


