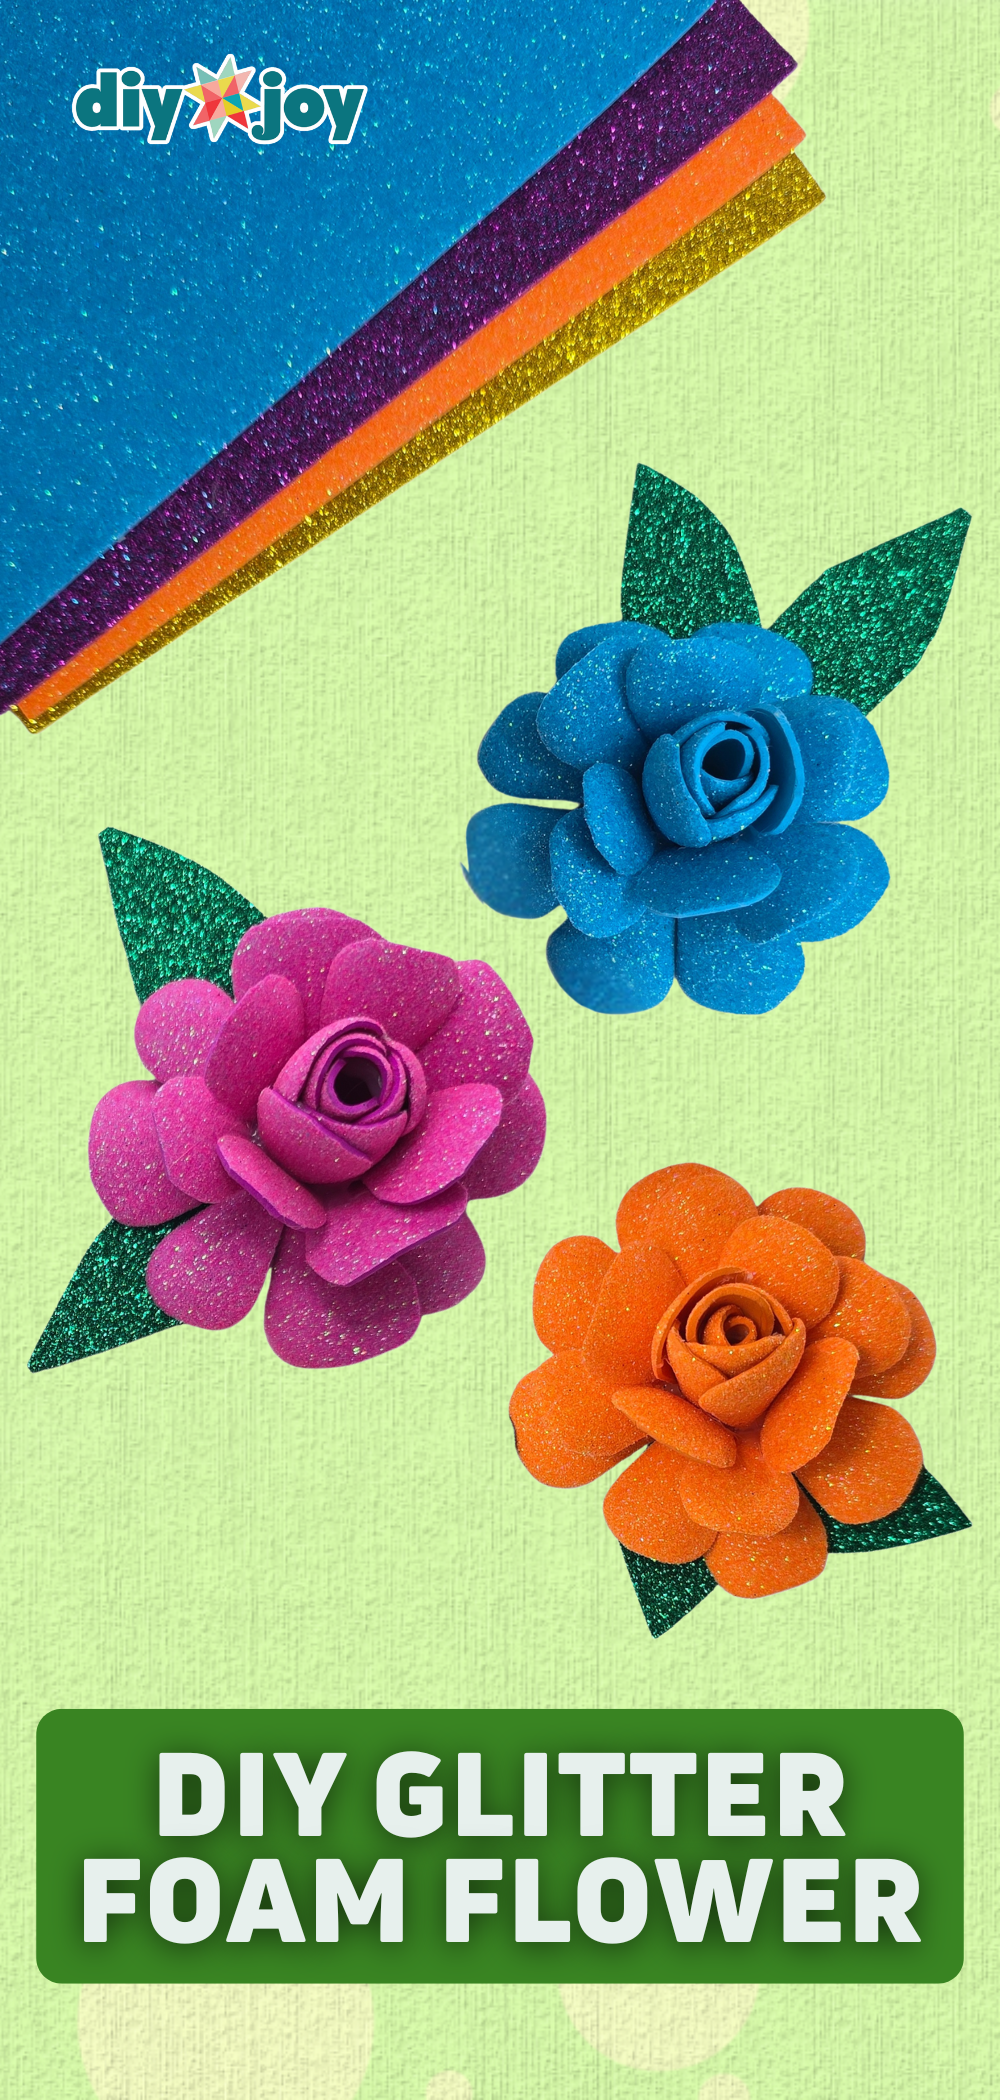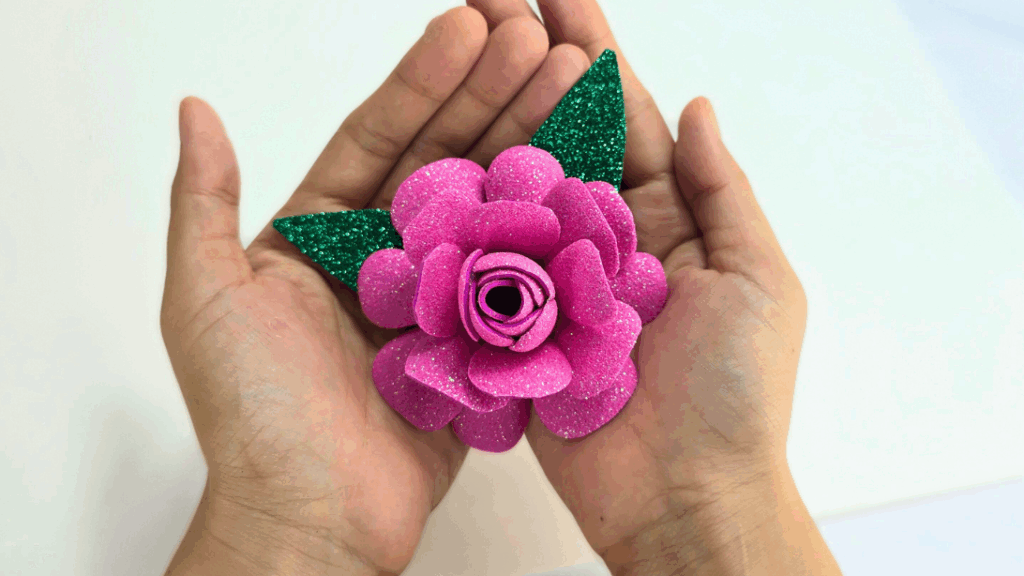
If you’ve got leftover glitter foam sheets lying around, this one’s for you.
This easy DIY is all about turning those sparkly foam pieces into cute, colorful flowers. It’s beginner-friendly, doesn’t require any fancy tools, and is perfect for a chill afternoon craft session. Whether you’re into scrapbooking, decorating gifts, or just love making something with your hands, this project is the one for you.

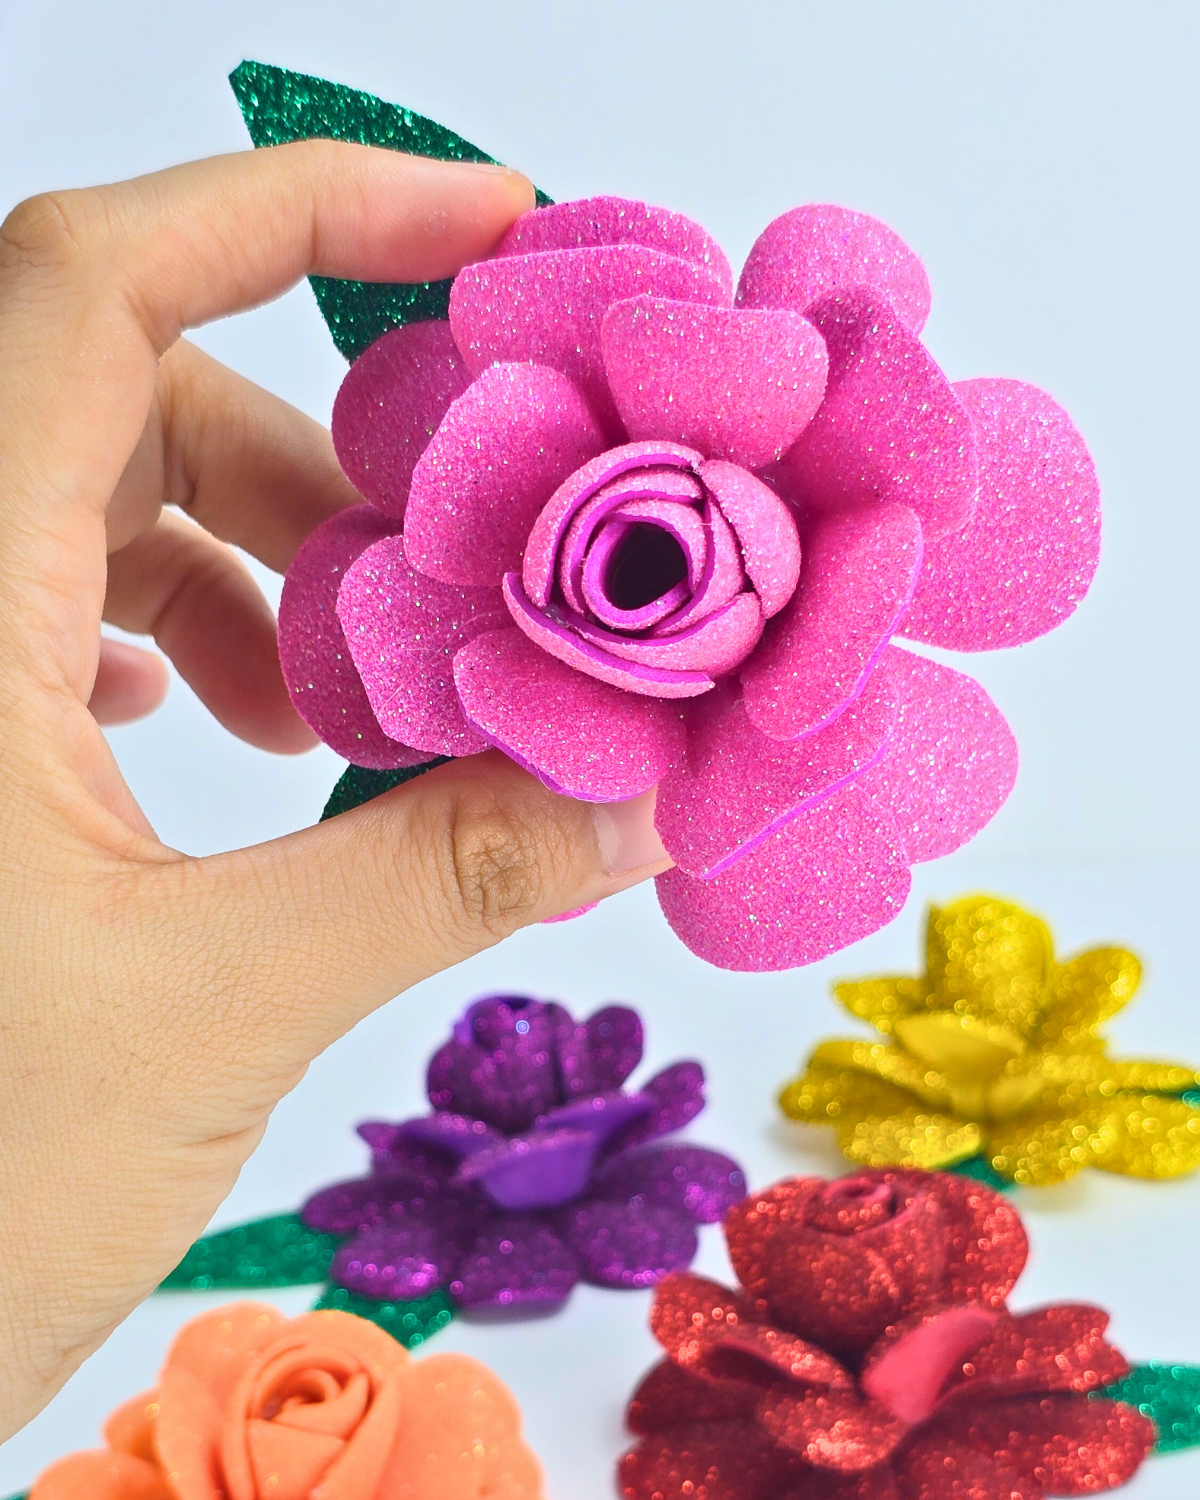
One of the best things about these glitter foam flowers is how versatile they are.
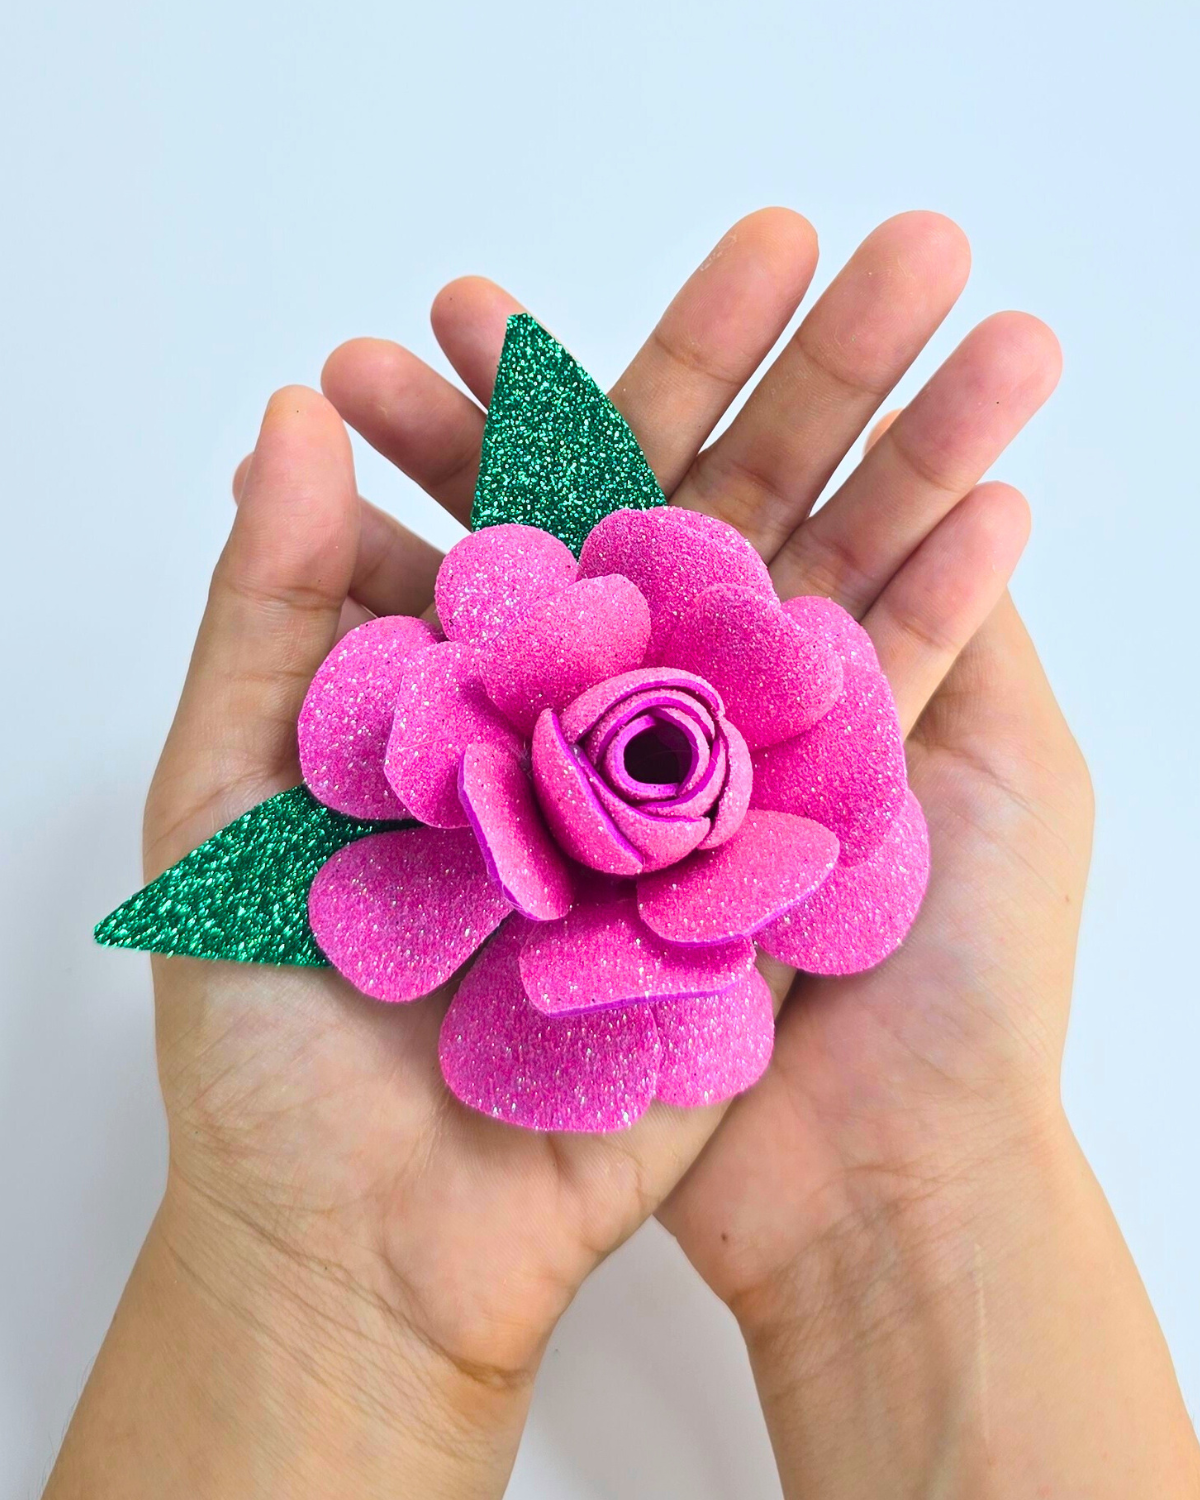
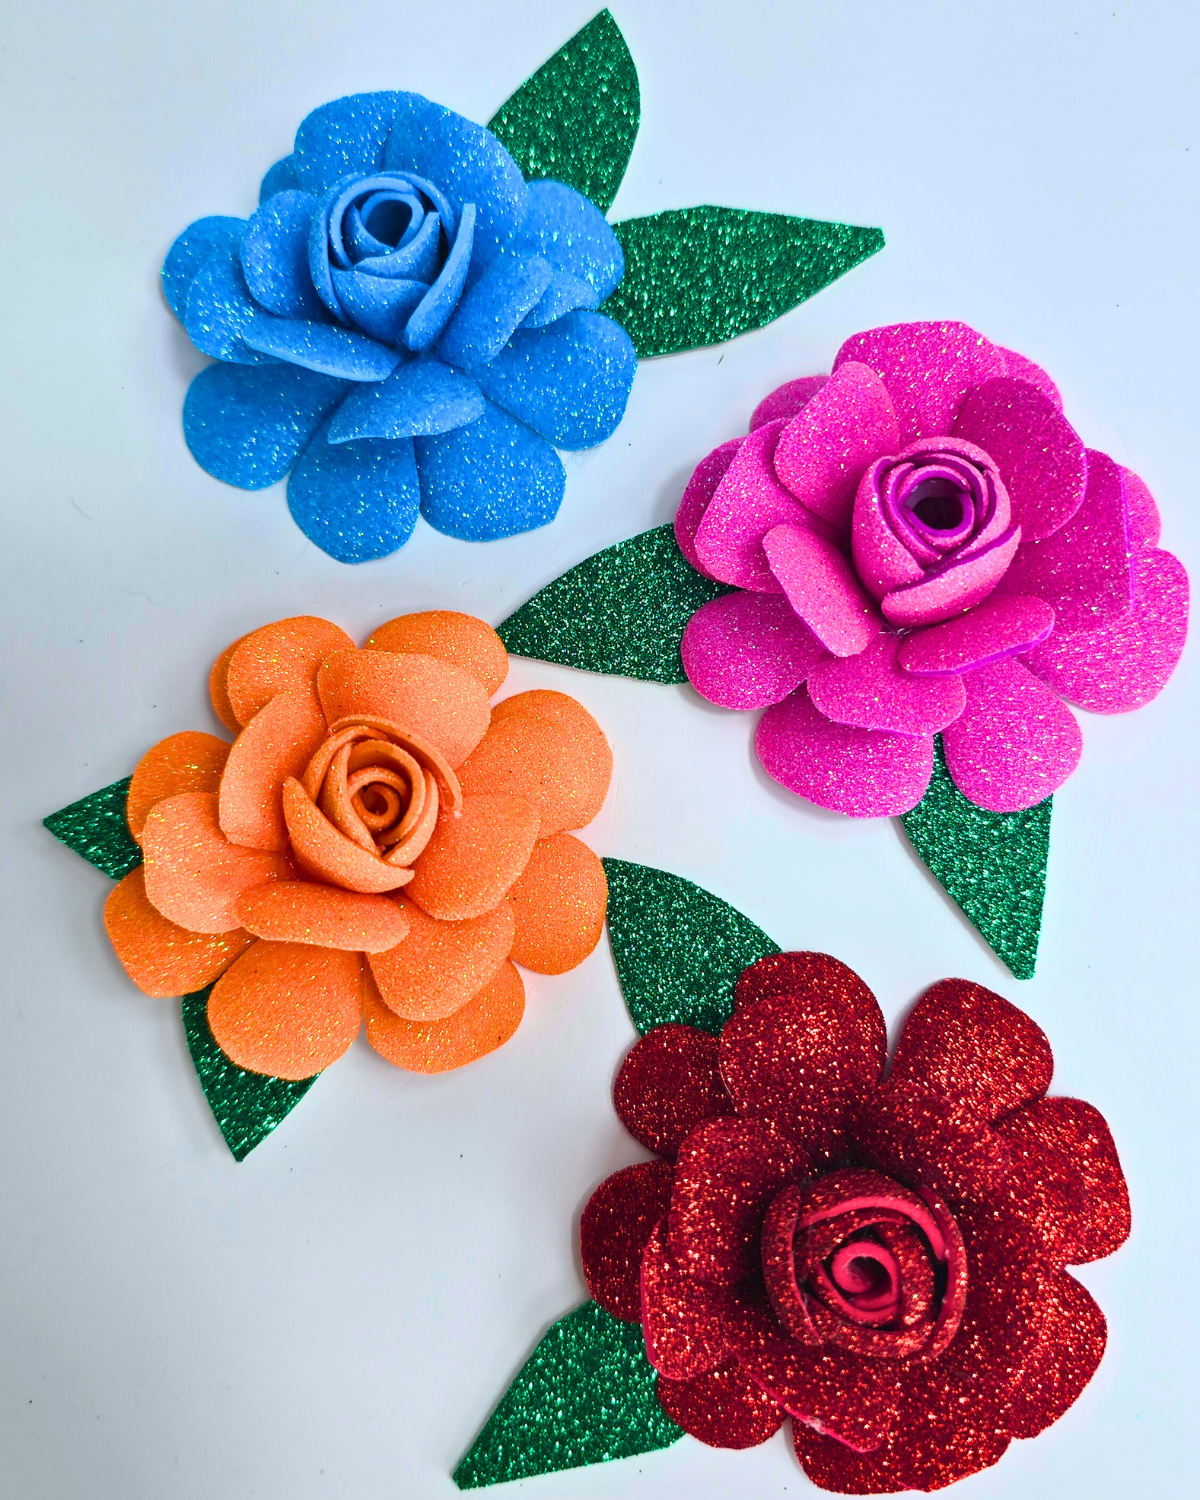
You can use them as party decor, attach them to hair clips, turn them into pencil toppers, or even glue them onto gift bags for a personal touch. Plus, they’re super lightweight and durable, so they won’t get crushed like paper flowers. You can also mix and match foam colors to match your theme or mood — go pastel, neon, or classic red and gold.
RELATED: DIY Pipe Cleaner Lilies
No sewing, no stress — just simple cutting, layering, and gluing.
This craft is great for kids, teens, or anyone who wants something fun but low-effort to make. It’s one of those projects you can do while watching a show or hanging out with friends. Ready to try it? Grab your foam sheets, scissors, and glue gun — let’s make something cute!
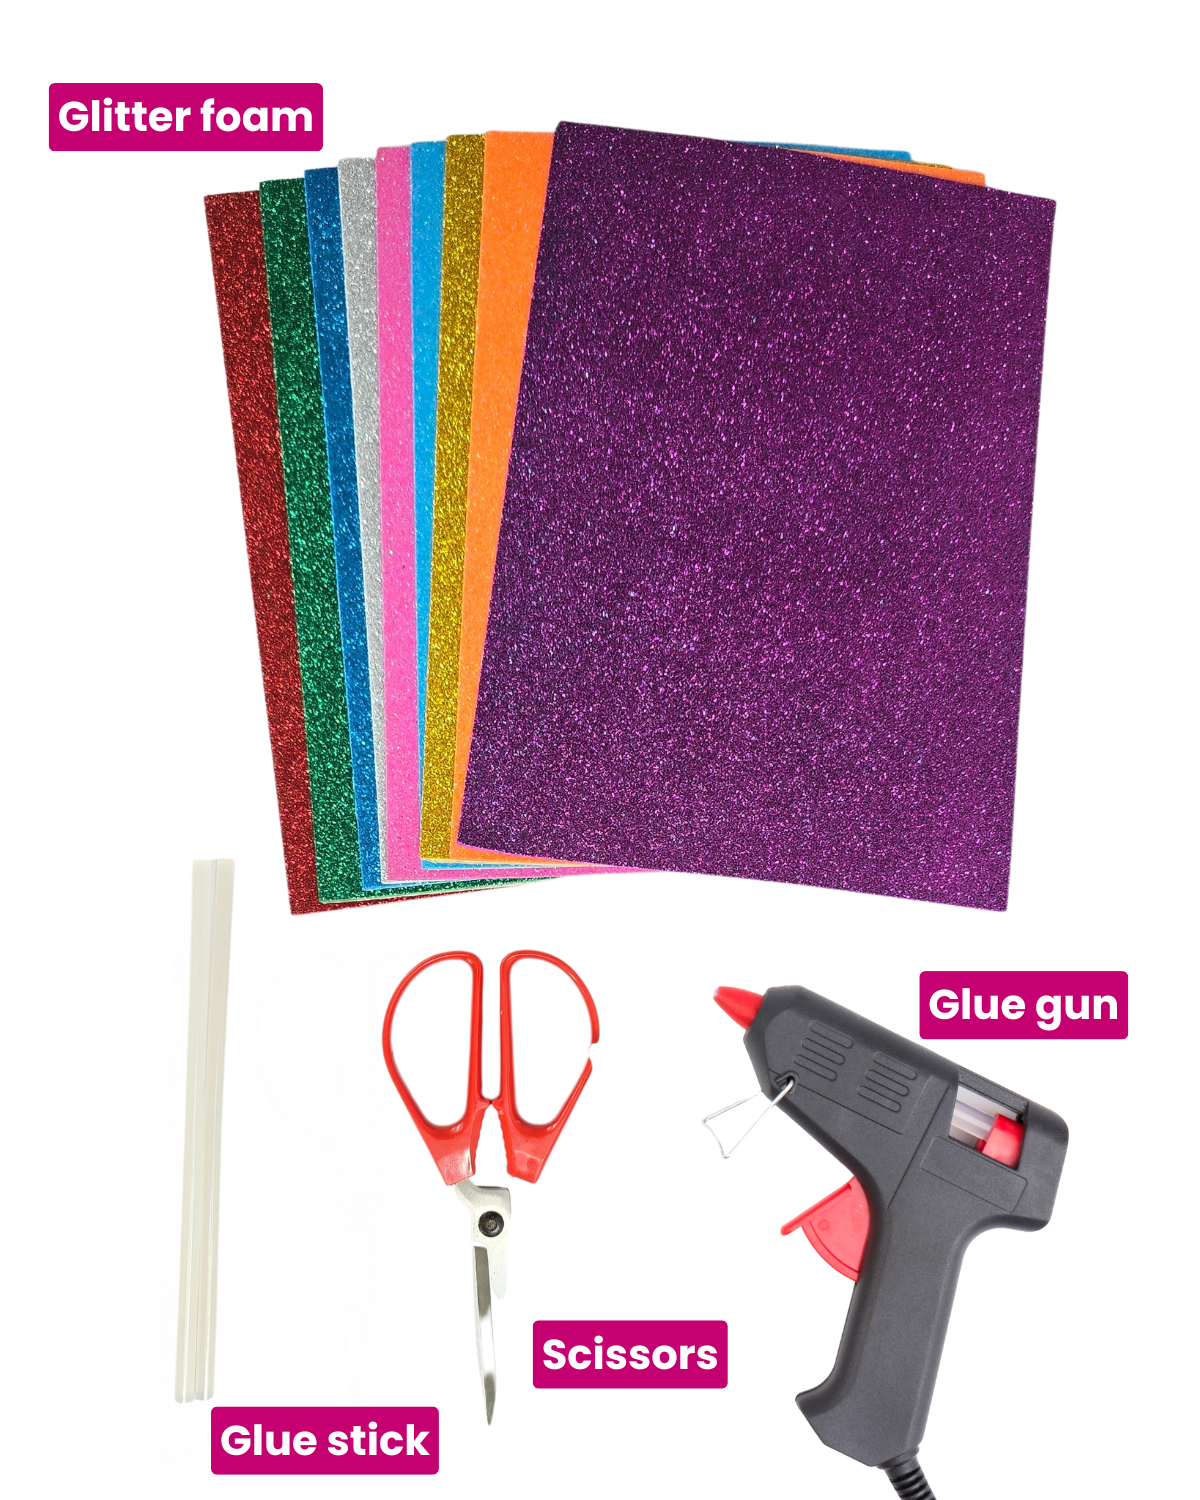
What You’ll Need for Glitter Foam Flowers
How to Make Glitter Foam Flowers
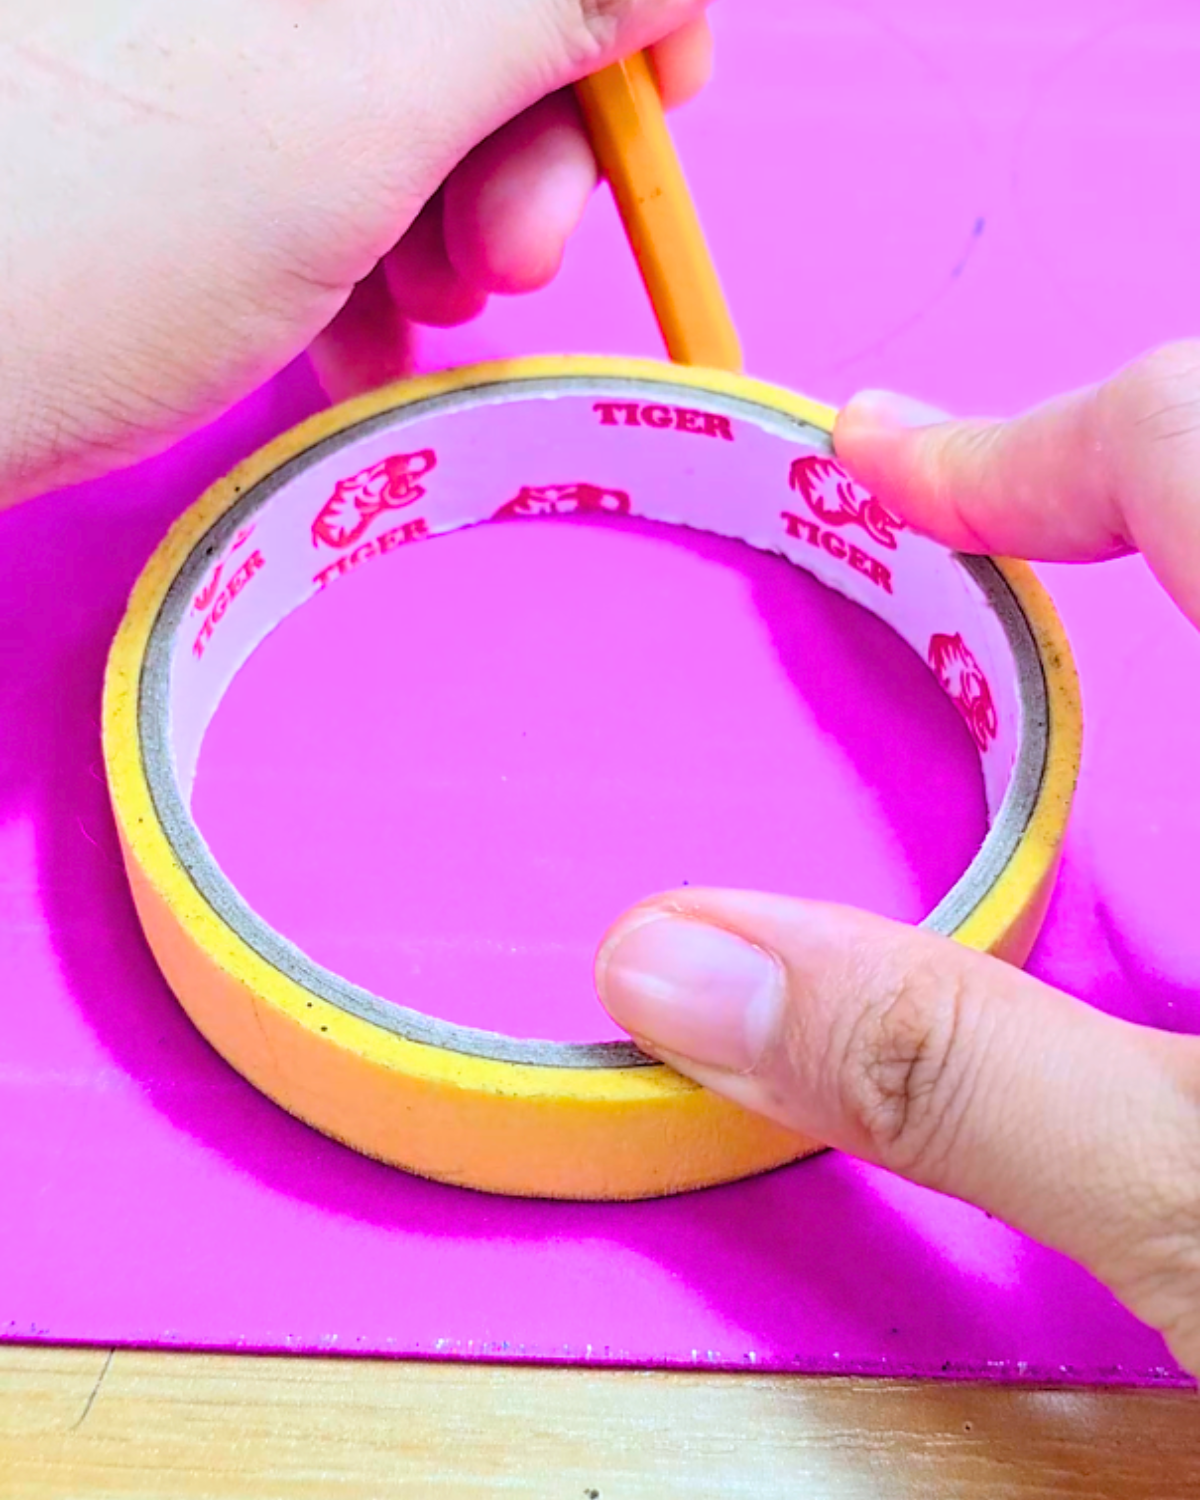
Step 1: Tracing the glitter foam

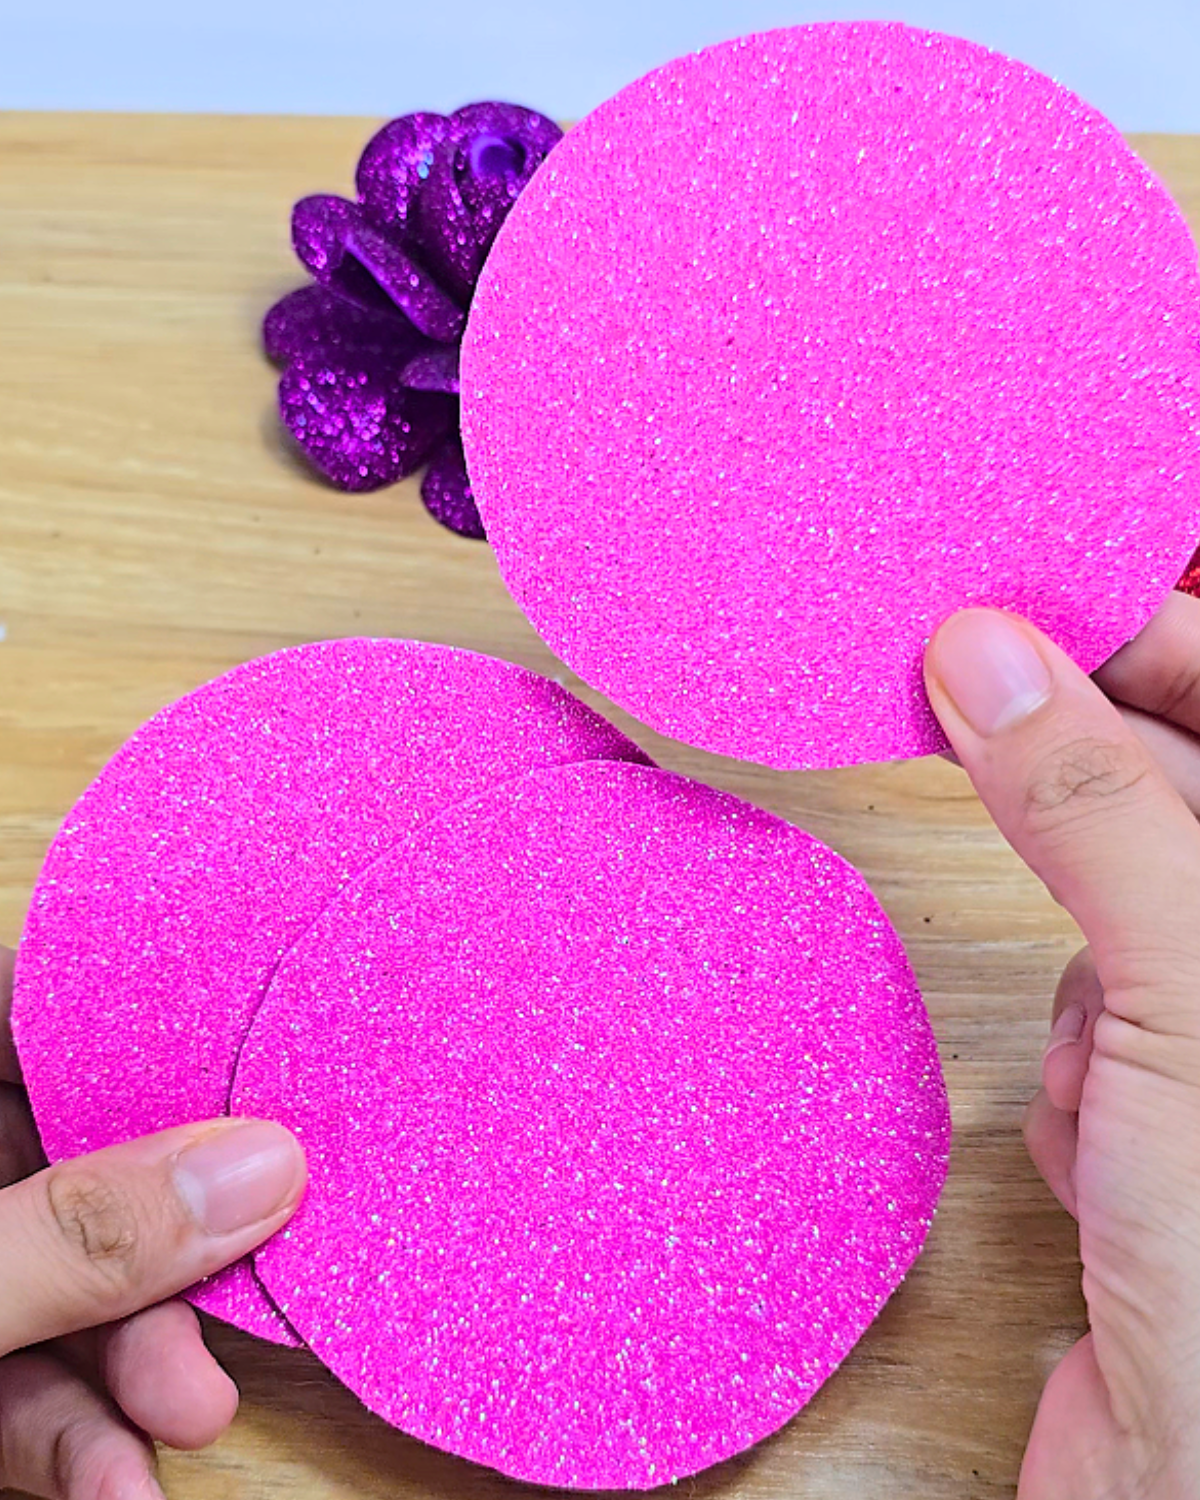
Trace a circular shape onto the back of the glitter foam using any round object like a lid or cup.Step 2: Cutting out the glitter foam
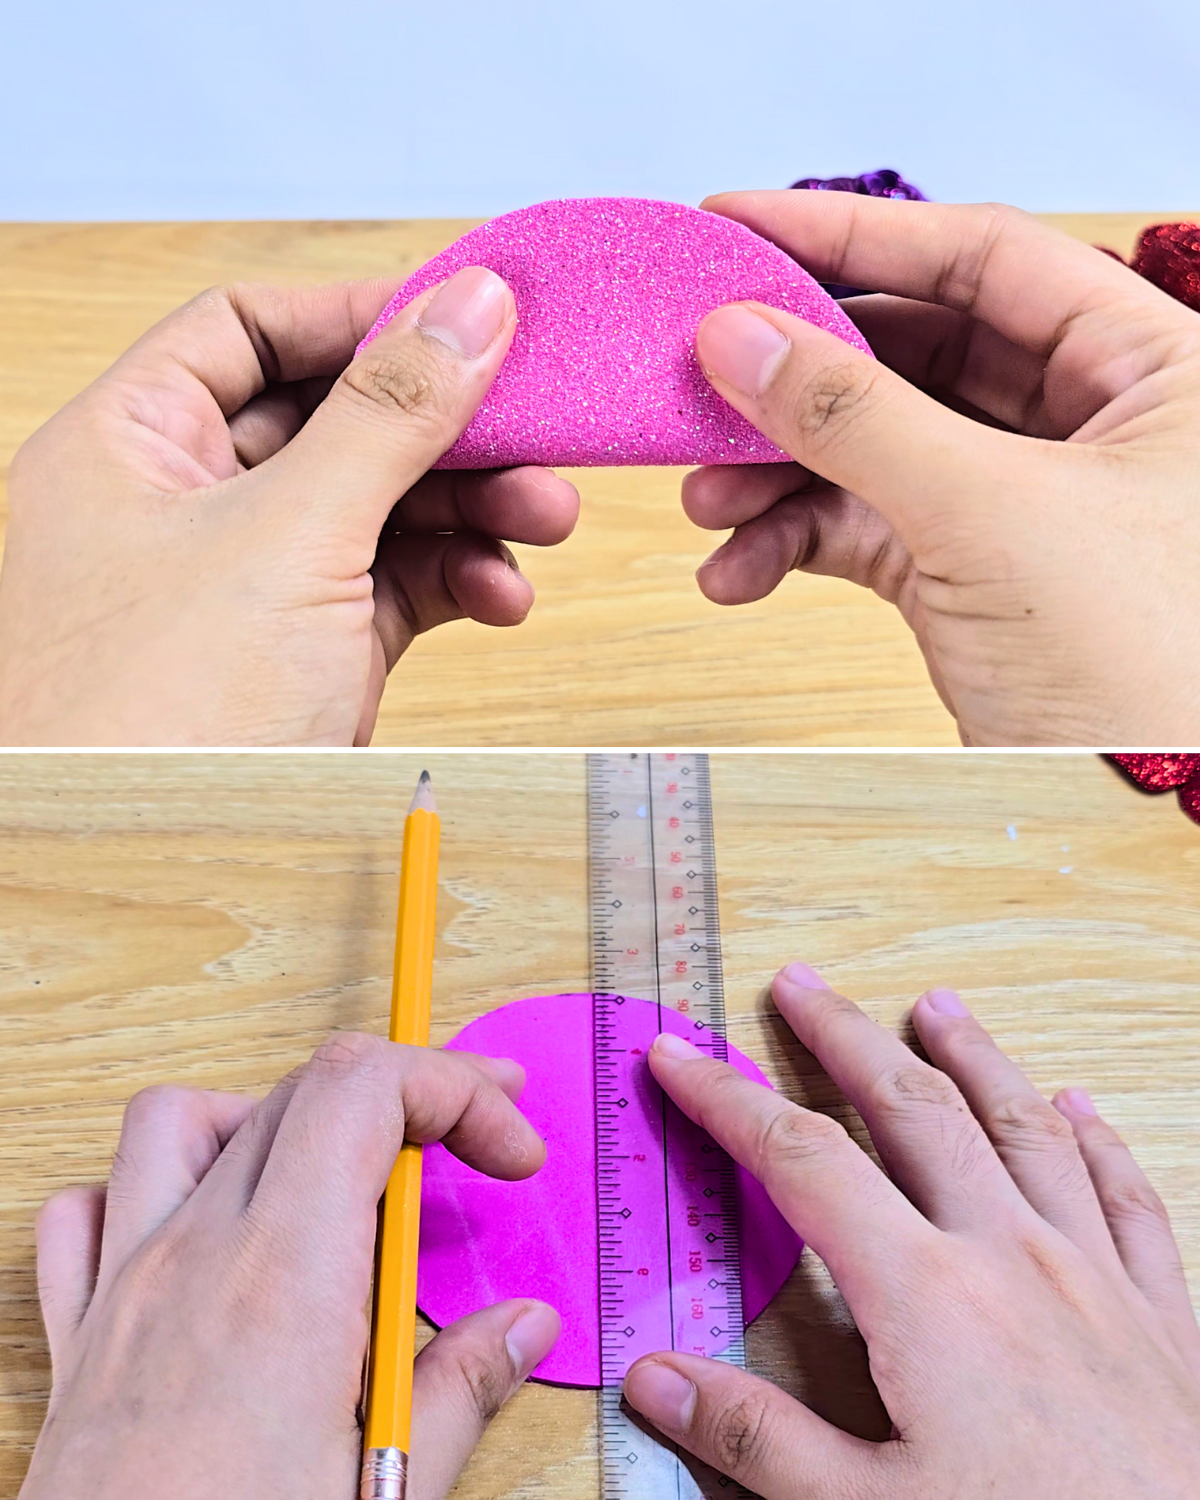
Carefully cut out the circle using sharp scissors, then repeat until you have three in total.Step 3:
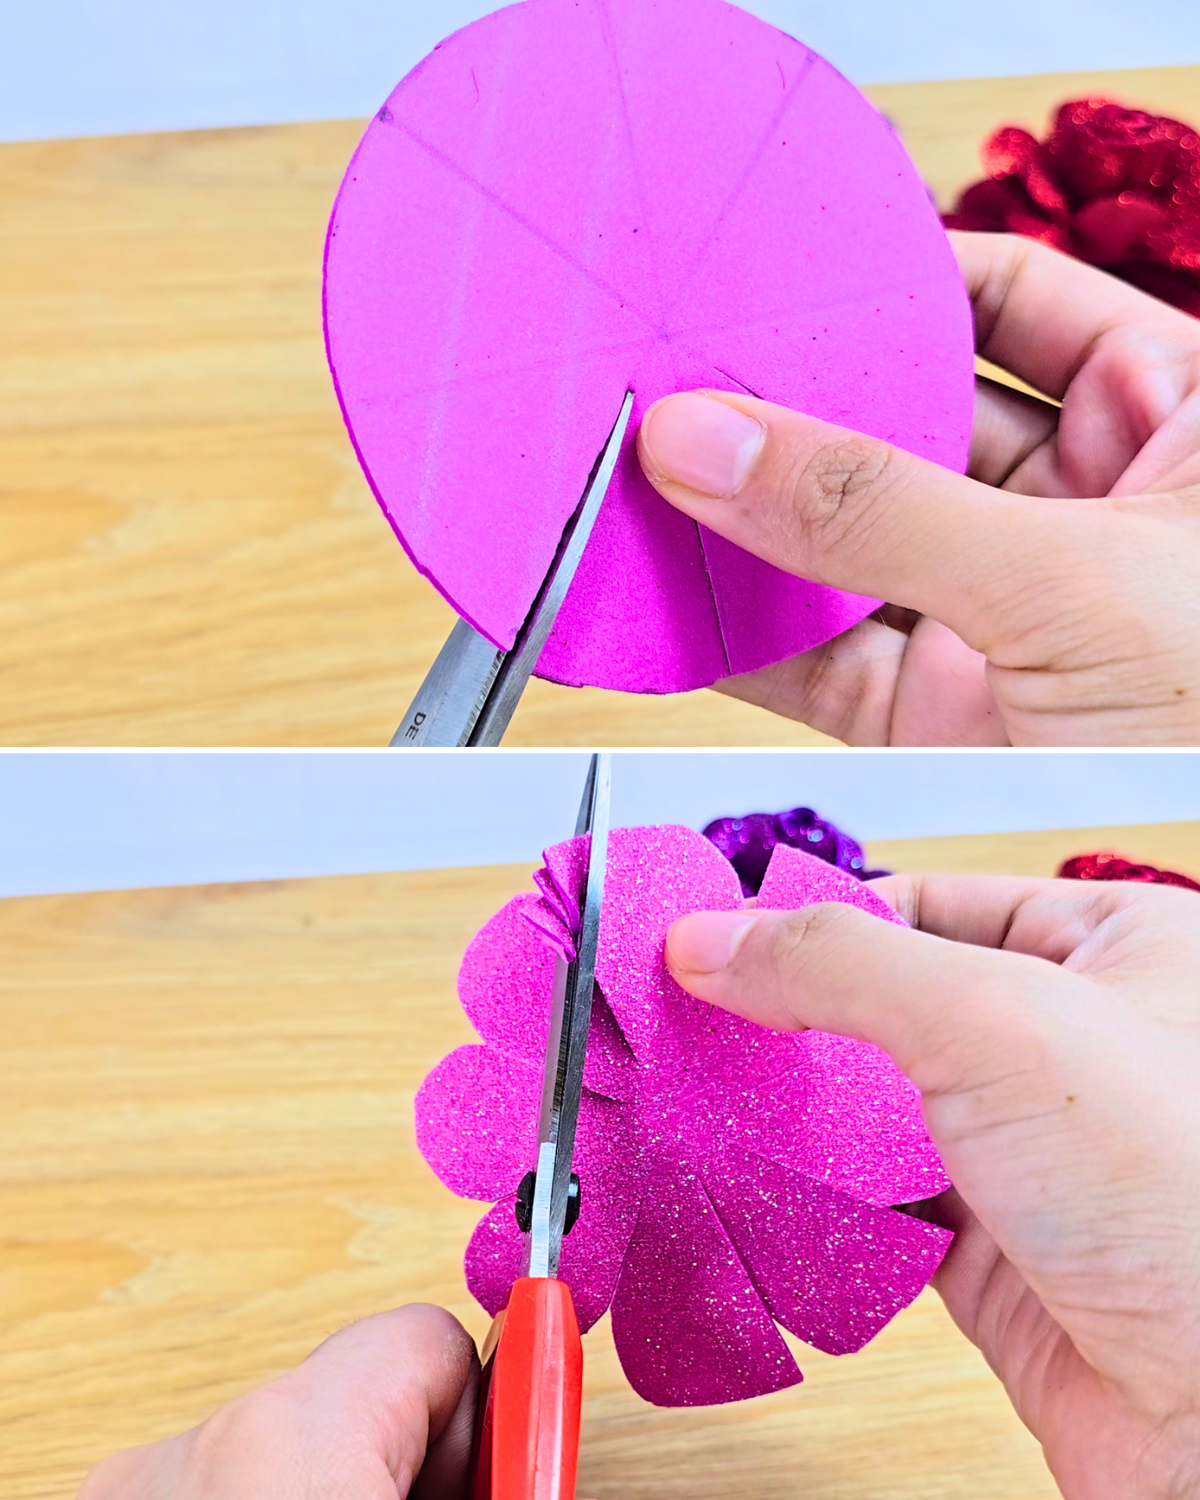
Draw four lines on the back of the foam, making sure they all meet at the center like a plus and an X combined.Step 4: Cut and shape the glitter foam
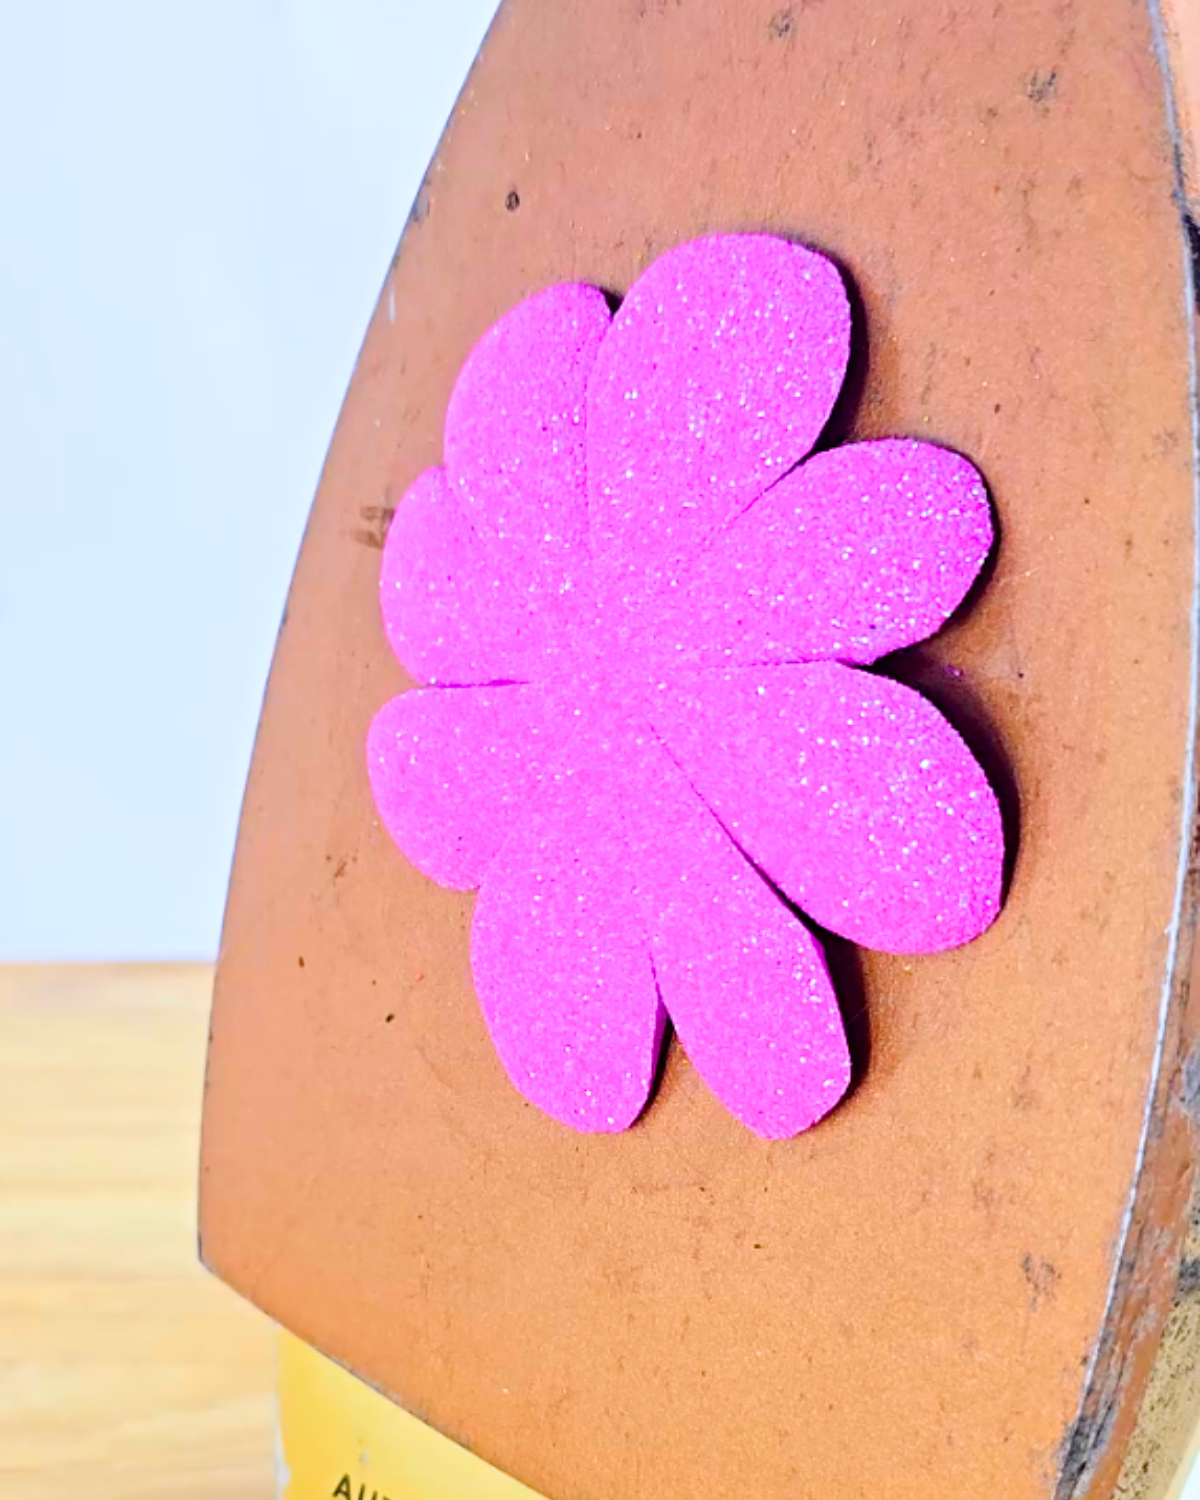
Cut along each line from the edge toward the center, but stop before you reach the middle. Then, trim the edges of each section into soft curves to shape the petals.Step 5: Place it in the iron
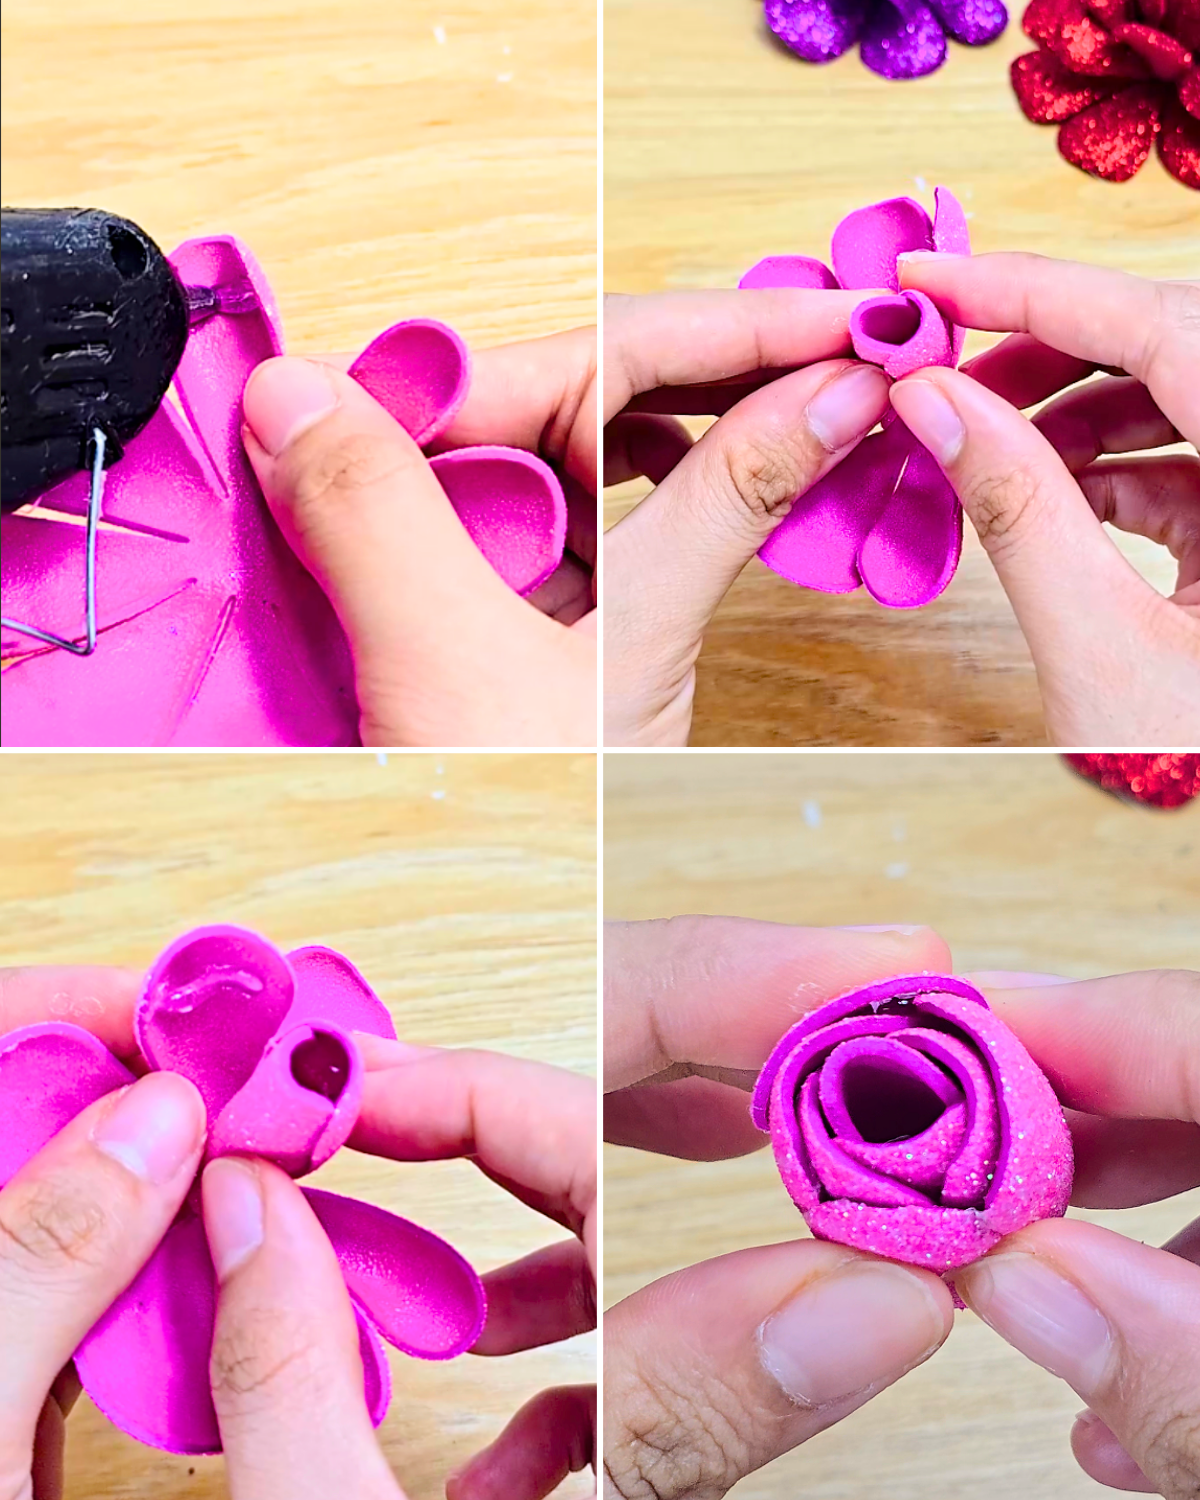
Place the flower flat against the bottom of a warm iron. As it heats up, it’ll start to shrink, curl, and lift off on its own. Repeat with the other two pieces.Step 6: Making the center of the flower
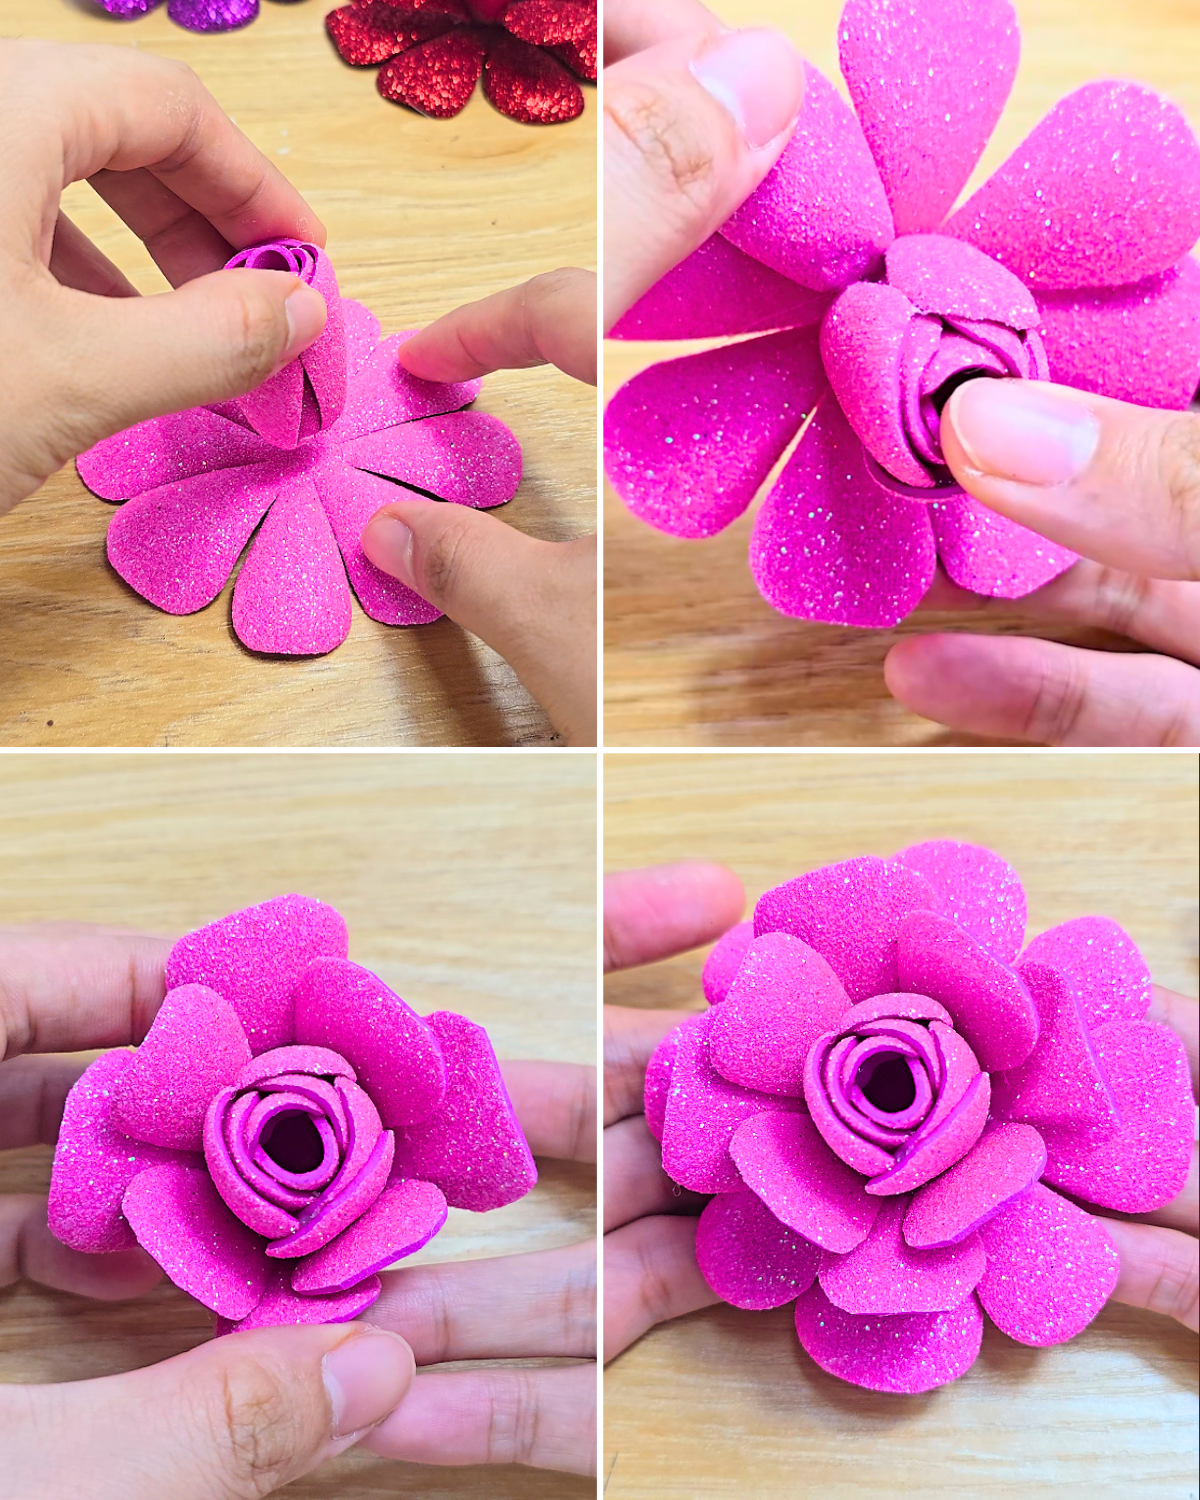
Add a small dot of hot glue to the top inside edge of one petal, then press it to the petal across from it. Keep gluing opposite petals together until you form a tight flower center.Step 7: Adding the 2nd and 3rd pieces of the flower.
Dab hot glue on the bottom of the flower bud and stick it to the center of the second flower piece. Then, add glue near the base of each petal and press them up around the bud, working in an alternating pattern. Finally, take the third flower piece and glue the layered flower you’ve built onto its center.
Materials
- Glitter Foam
- Glue gun
- Glue stick
- Scissors
![]()
Pro Tips 💡
- Using glitter foam with adhesive backing? Lightly dust the sticky side with baby powder before working with it. This keeps it from sticking to everything and makes it way easier to handle.
- Got powder where you don’t want it? Just dab a bit of rubbing alcohol on a cotton pad to gently wipe off any excess from the foam surface — no mess, no damage.
These small steps can make the whole process smoother (and way less frustrating).
Recent Popular Crafts

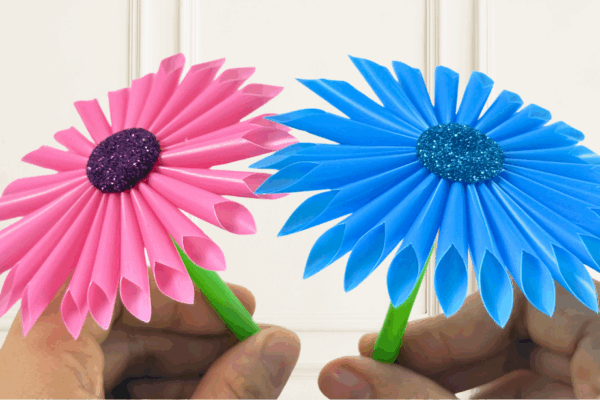
Paper Flowers

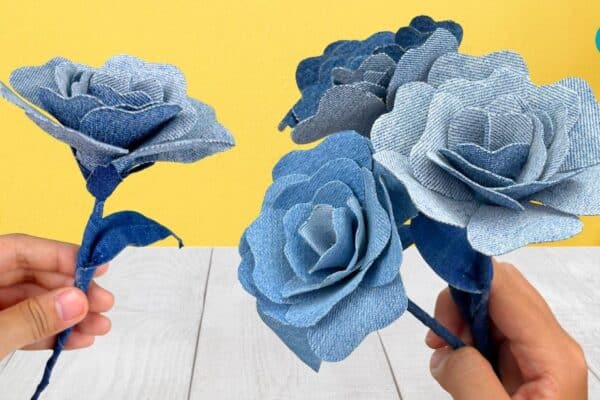
Crafts

Paper Flowers

Crafts
*If you love this craft, then visit our official website, follow our Facebook page, and subscribe to our YouTube channel for more!
Easy DIY Glitter Foam Flowers