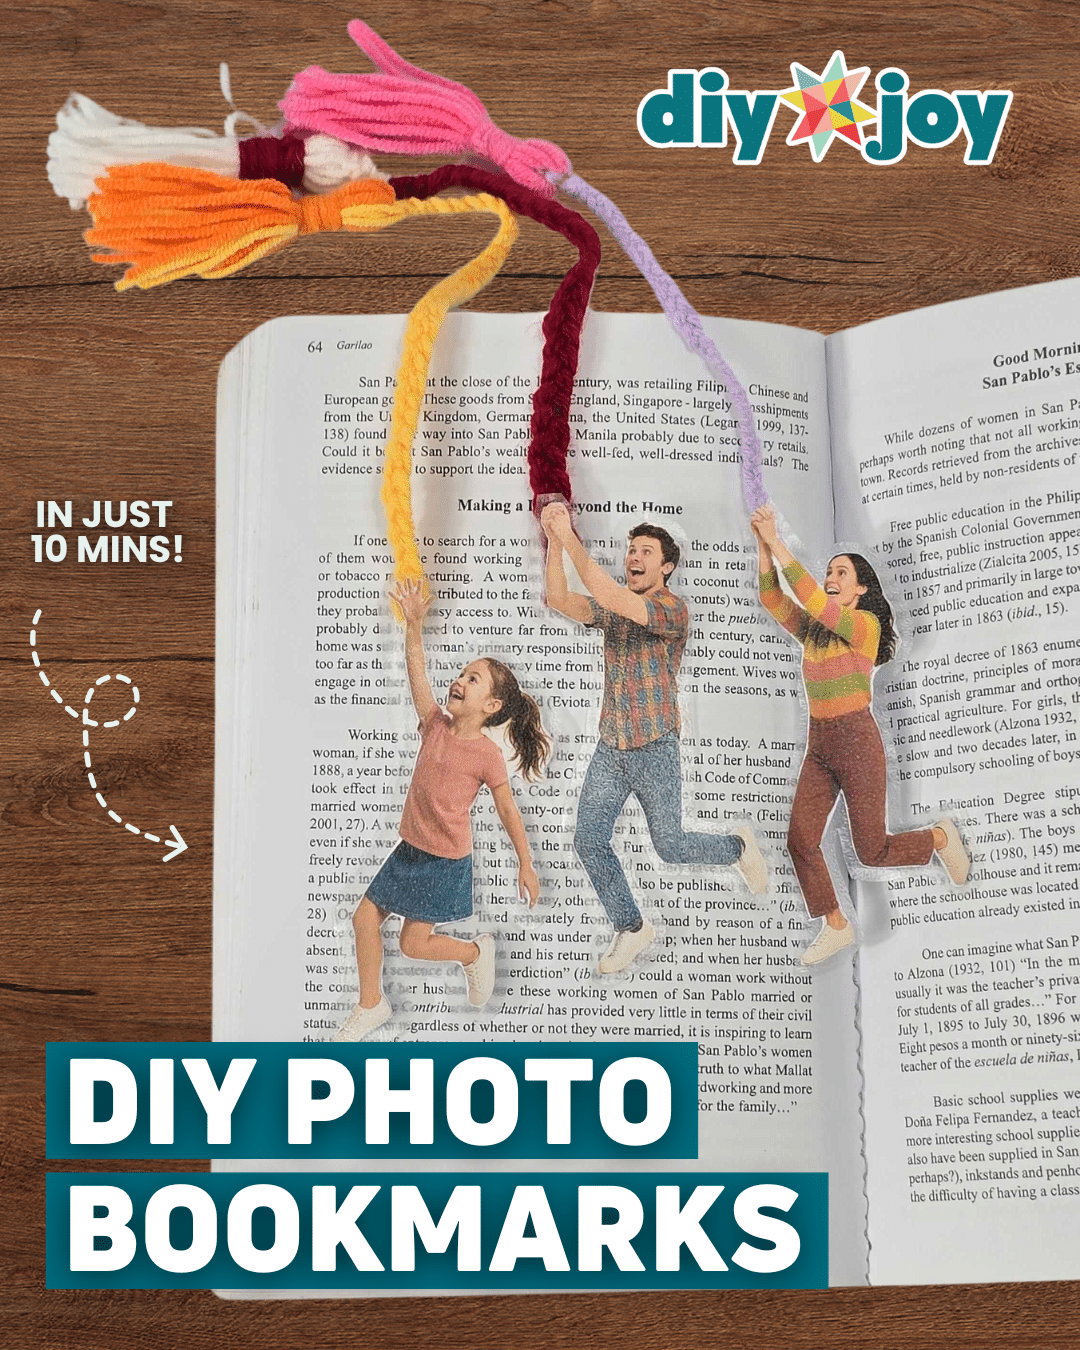
If you love reading or you often experience having a hard time keeping track of certain pages from your book, then the most obvious solution is to get yourself a cute bookmark. There are a lot of different kinds that you can purchase from the nearest store or even order online. But, this is also a great opportunity for you to express your creativity by making your own fun photo bookmarks!
These personalized photo bookmarks make fantastic diy gift ideas, especially for book lovers, teachers, or students.
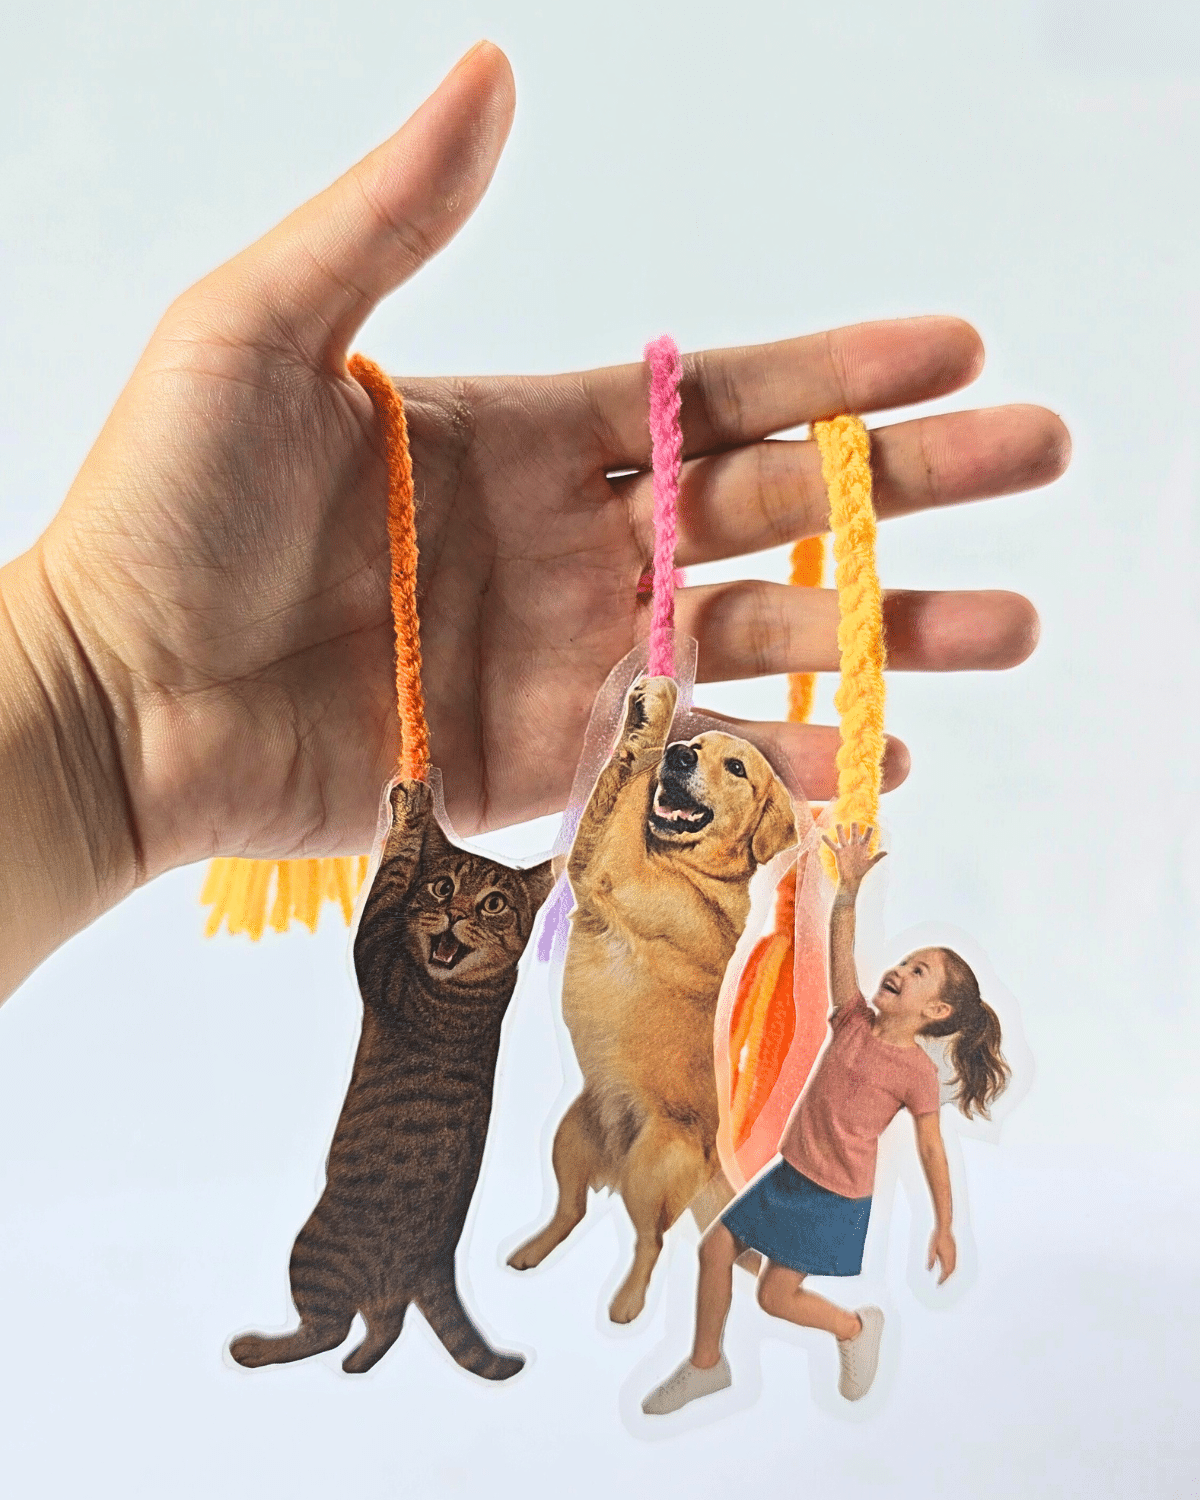
These photo bookmarks are customizable, and you can use any photo you want, it could be your kids or even your pets, you can even print out your favorite cartoon or TV show characters. This also makes it the perfect gift to loved ones, especially for Birthdays or Christmas. You can also give this as a gift for Mother’s Day, and I bet they’d truly appreciate it.
If you want to level up your photo bookmarks, feel free to get more creative and attach some pretty tassels or add some gems to them. This bookmark is so unique and easy to make that anyone can do it, this can even be a fun activity to do with kids. What makes this project even better is that it’s budget-friendly, and you can easily find all the supplies you will need from the nearest craft store!
Materials for Photo Bookmarks
- Contact paper
- Cardstock
- Scissors
- Tassel
- Glue
![]()
Why You’ll Love This Project
Apart from being a unique idea, this is also something that you can easily customize, and and it’s a great way to preserve memories!

How to Make Photo Bookmarks
Learn how to turn any photo into a bookmark
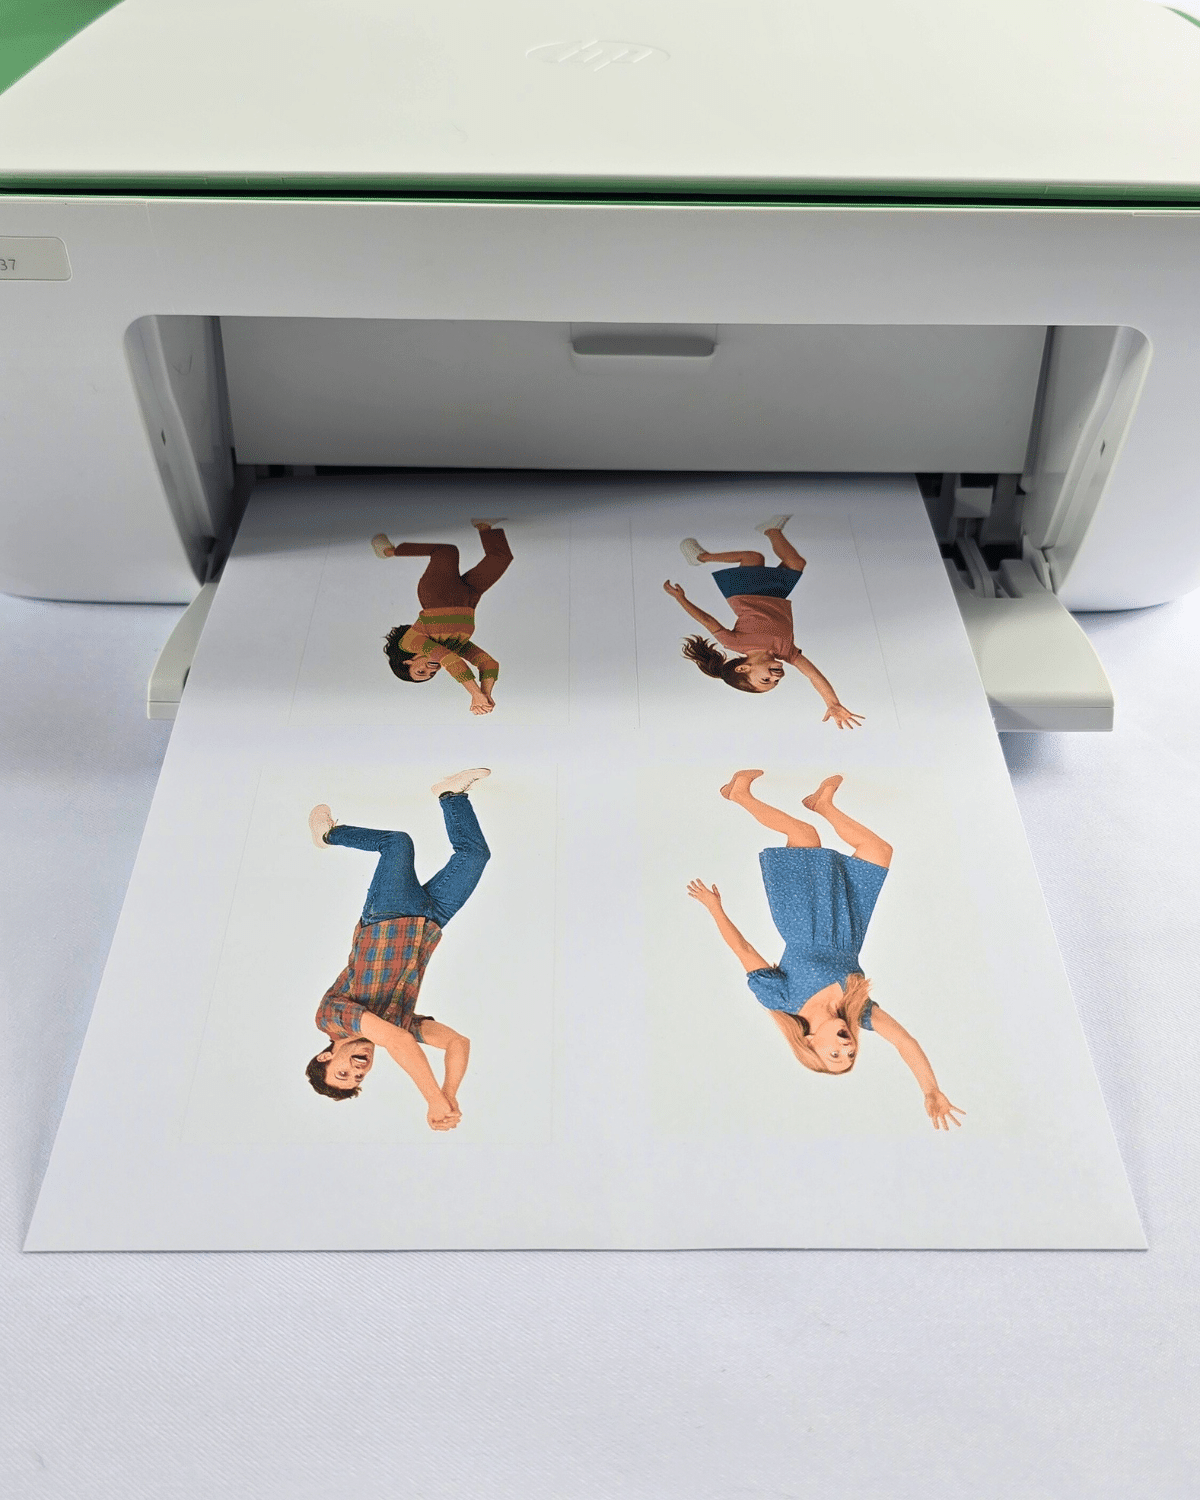
Choose the photo you want to print out
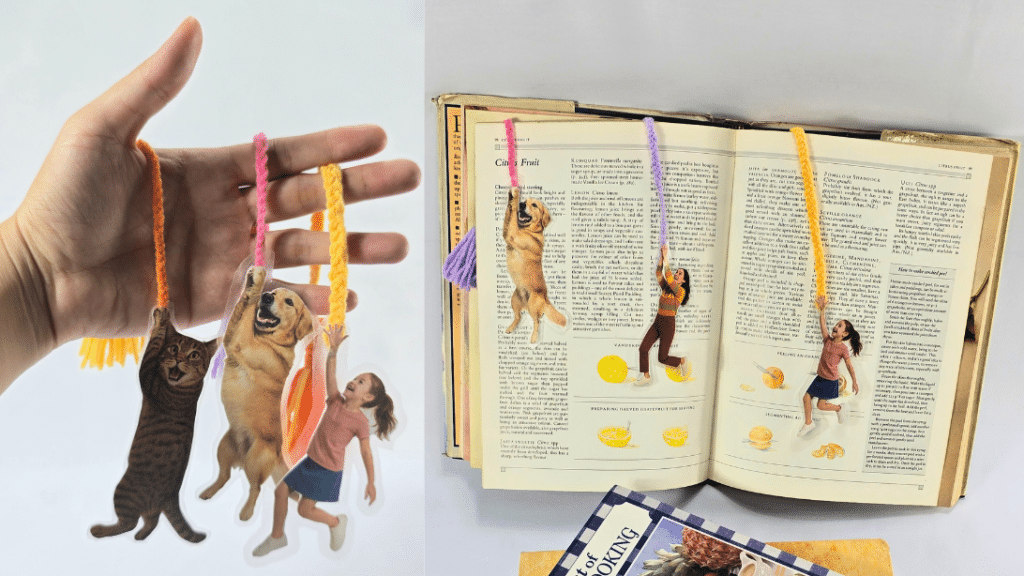
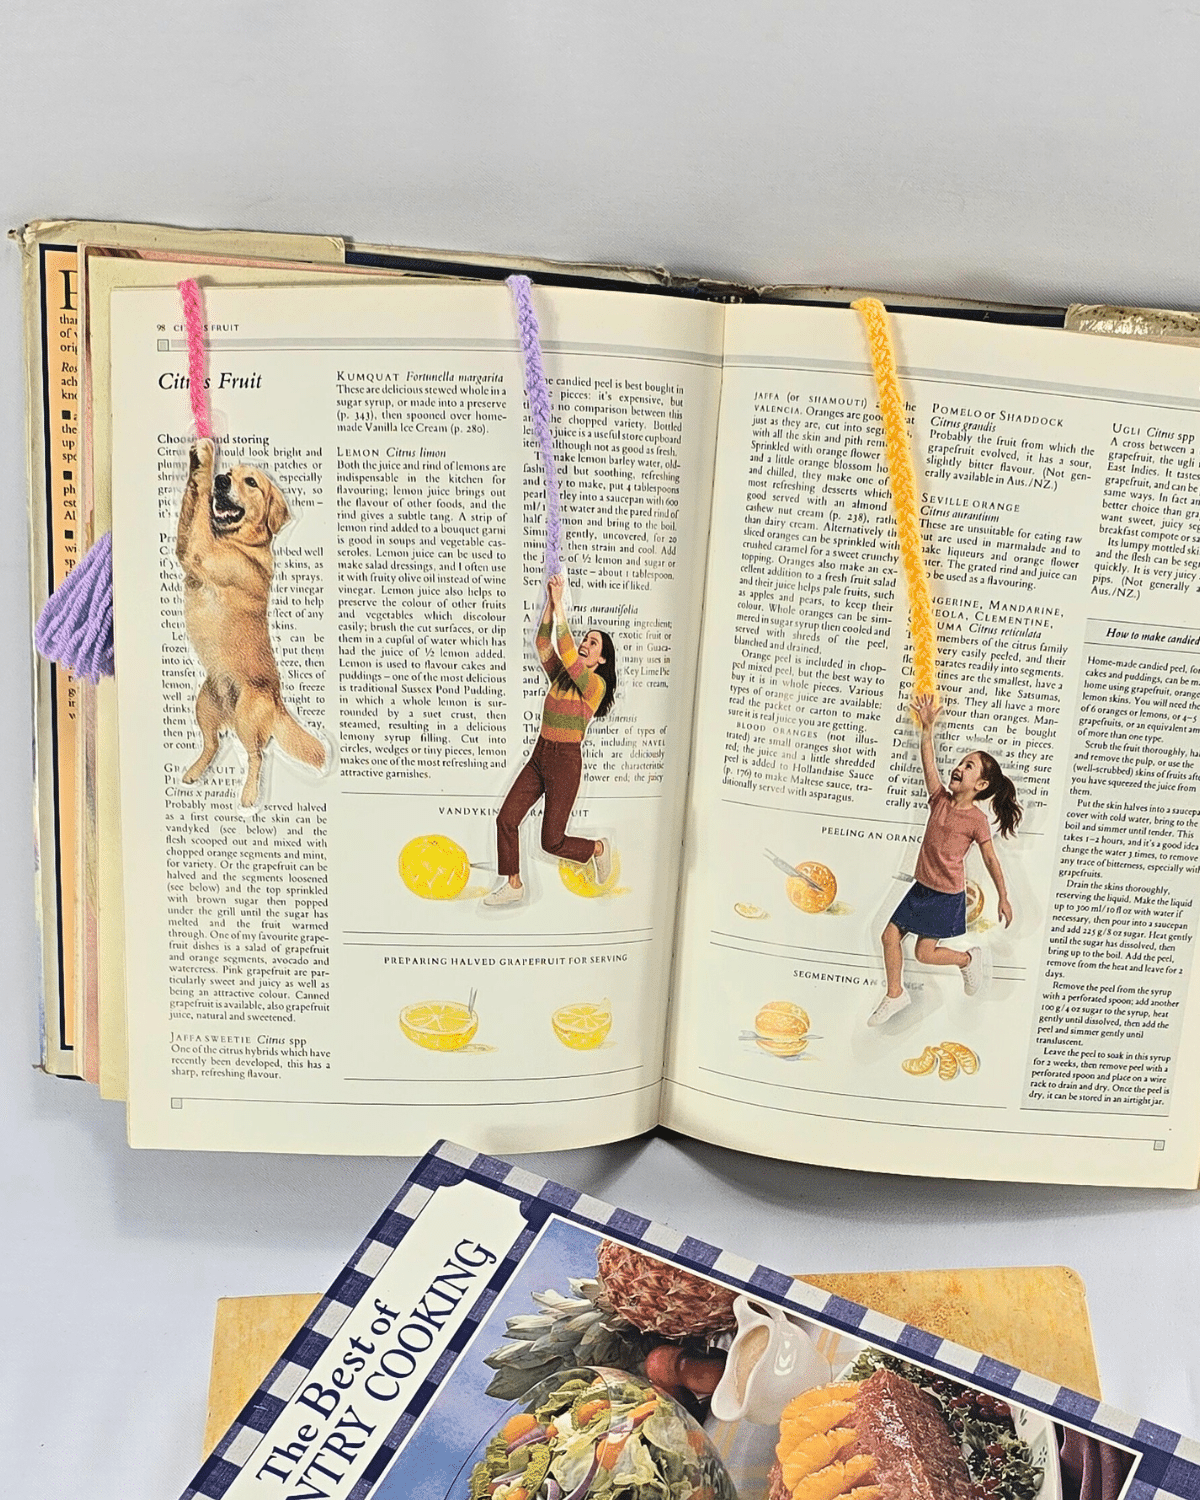
You can use a photo of your loved one, your pet, or even your favorite character. You can also print out shapes or a design of your name instead.

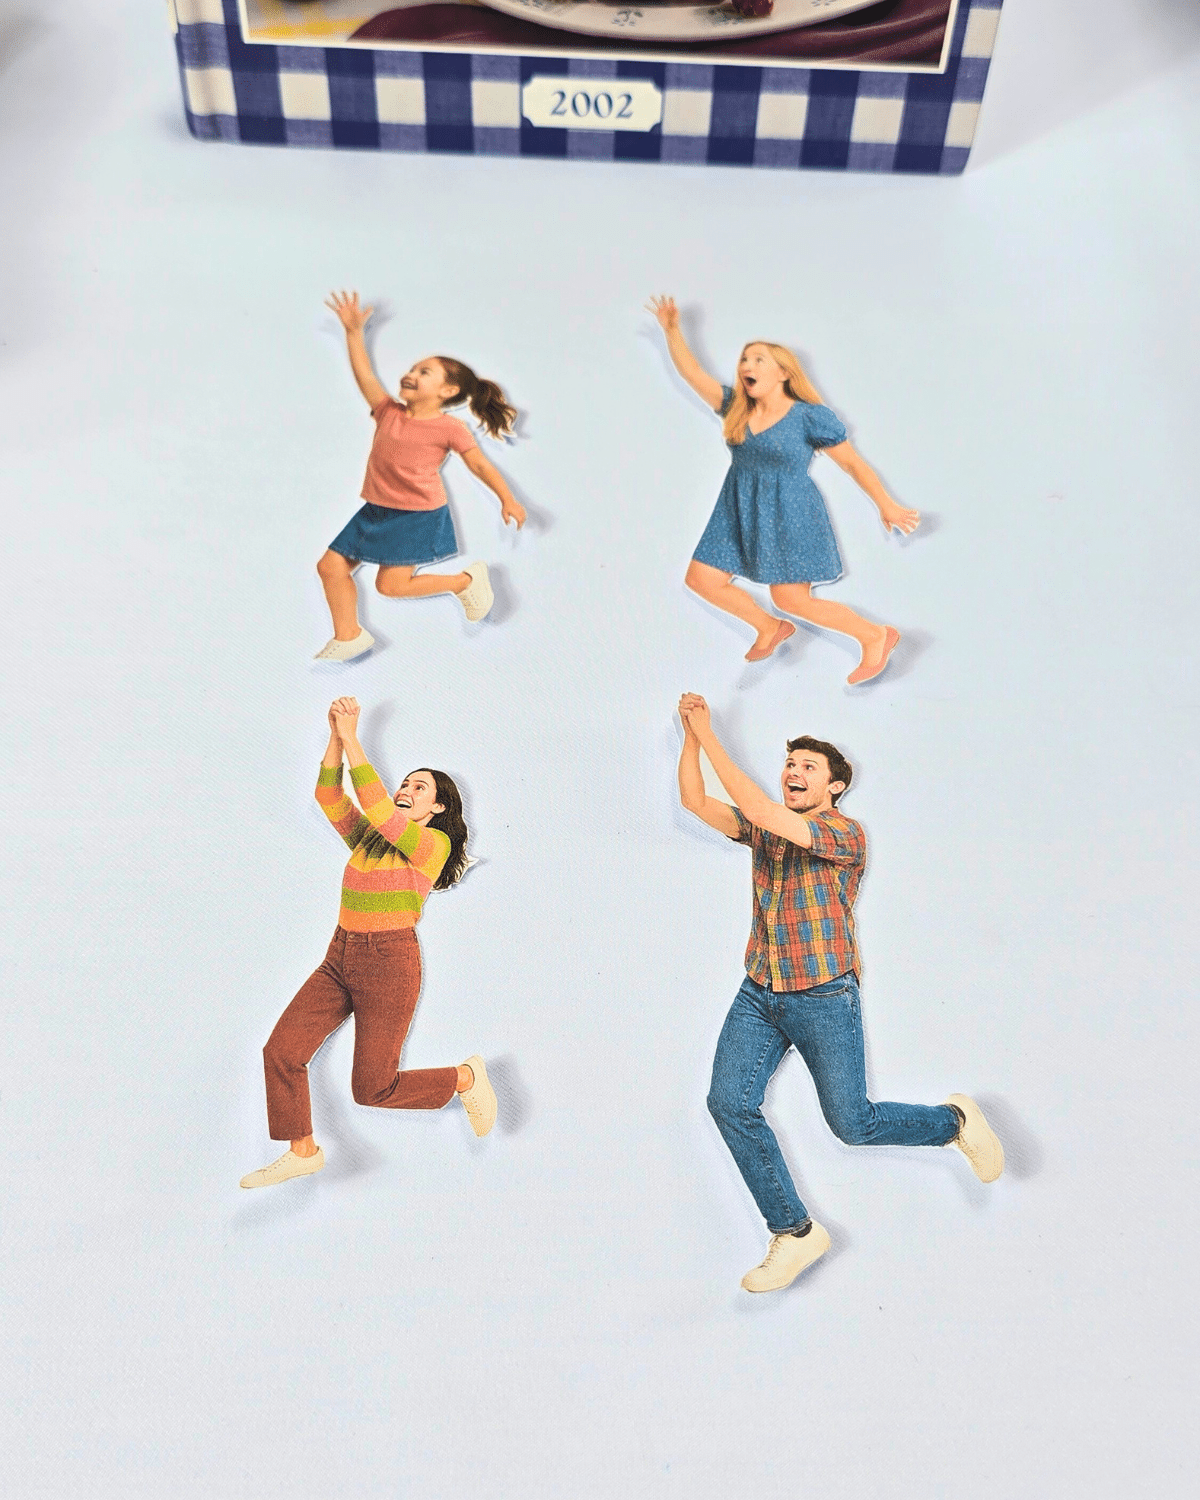
Cut them out as close to the edges as possible
If your photo has lots of corners or details that you want to be precise with, you can use a cutter or X-Acto knife instead of scissors. You can also leave those small spots be, they wouldn’t be that visible later.Make your cutout more sturdy
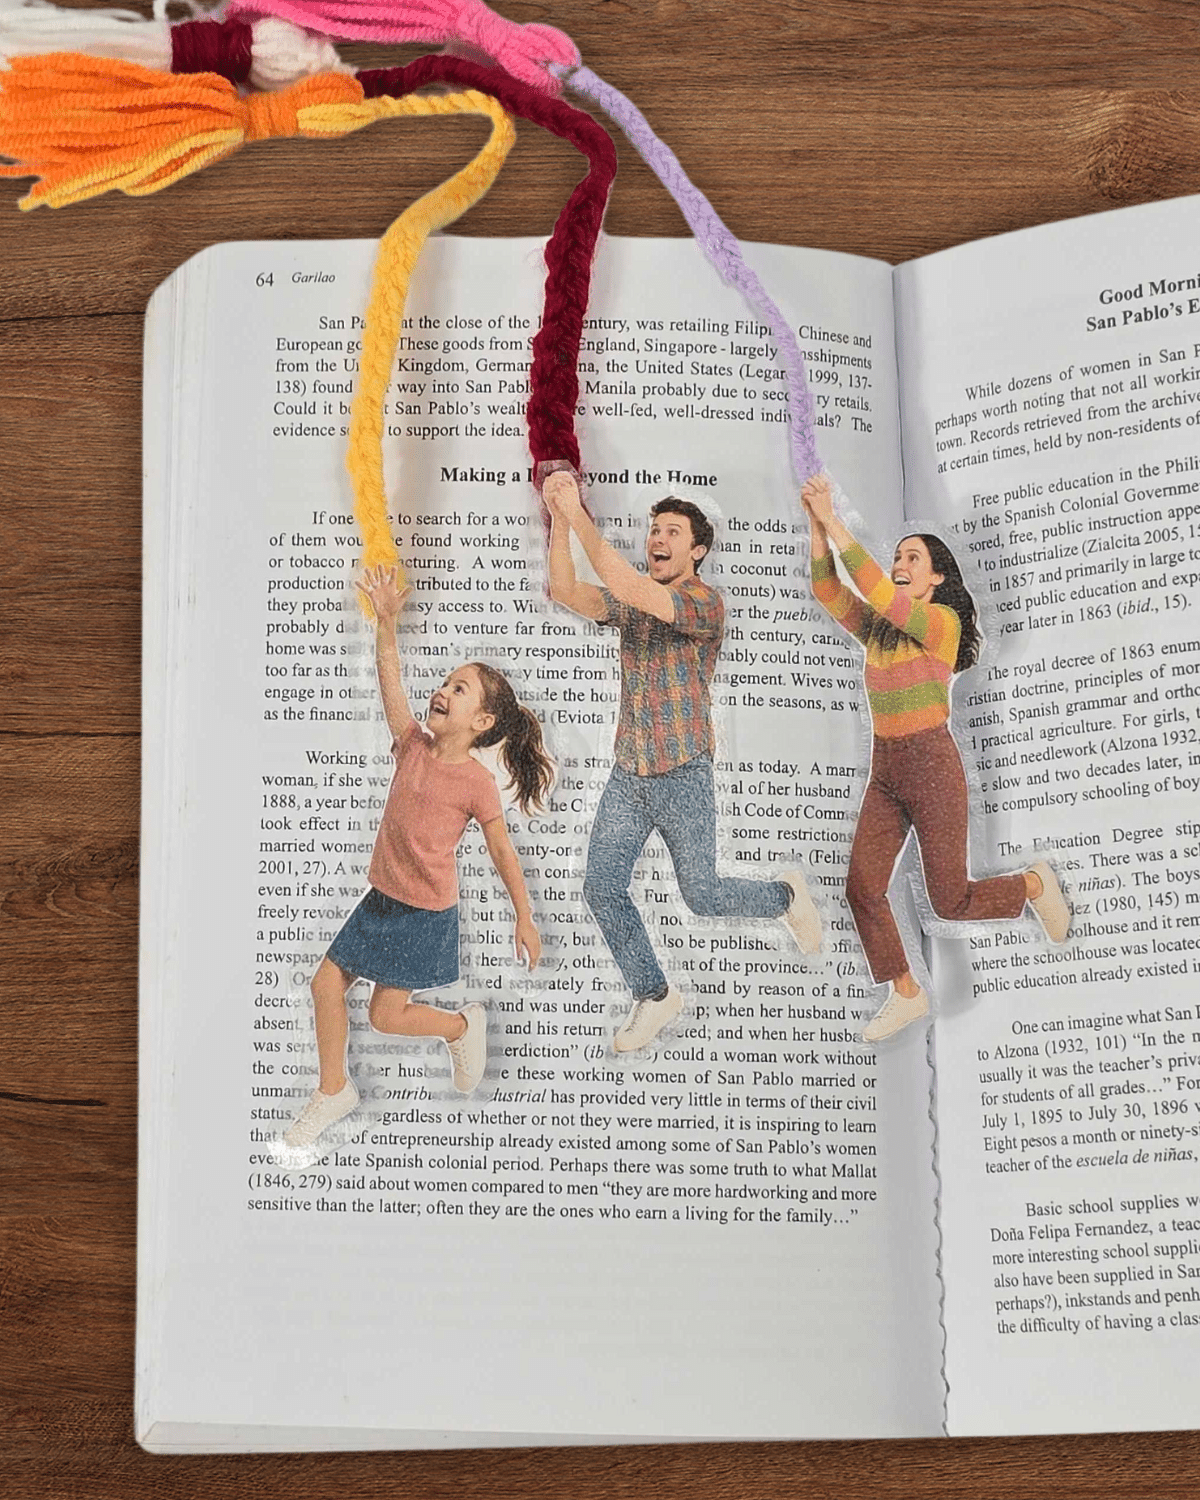
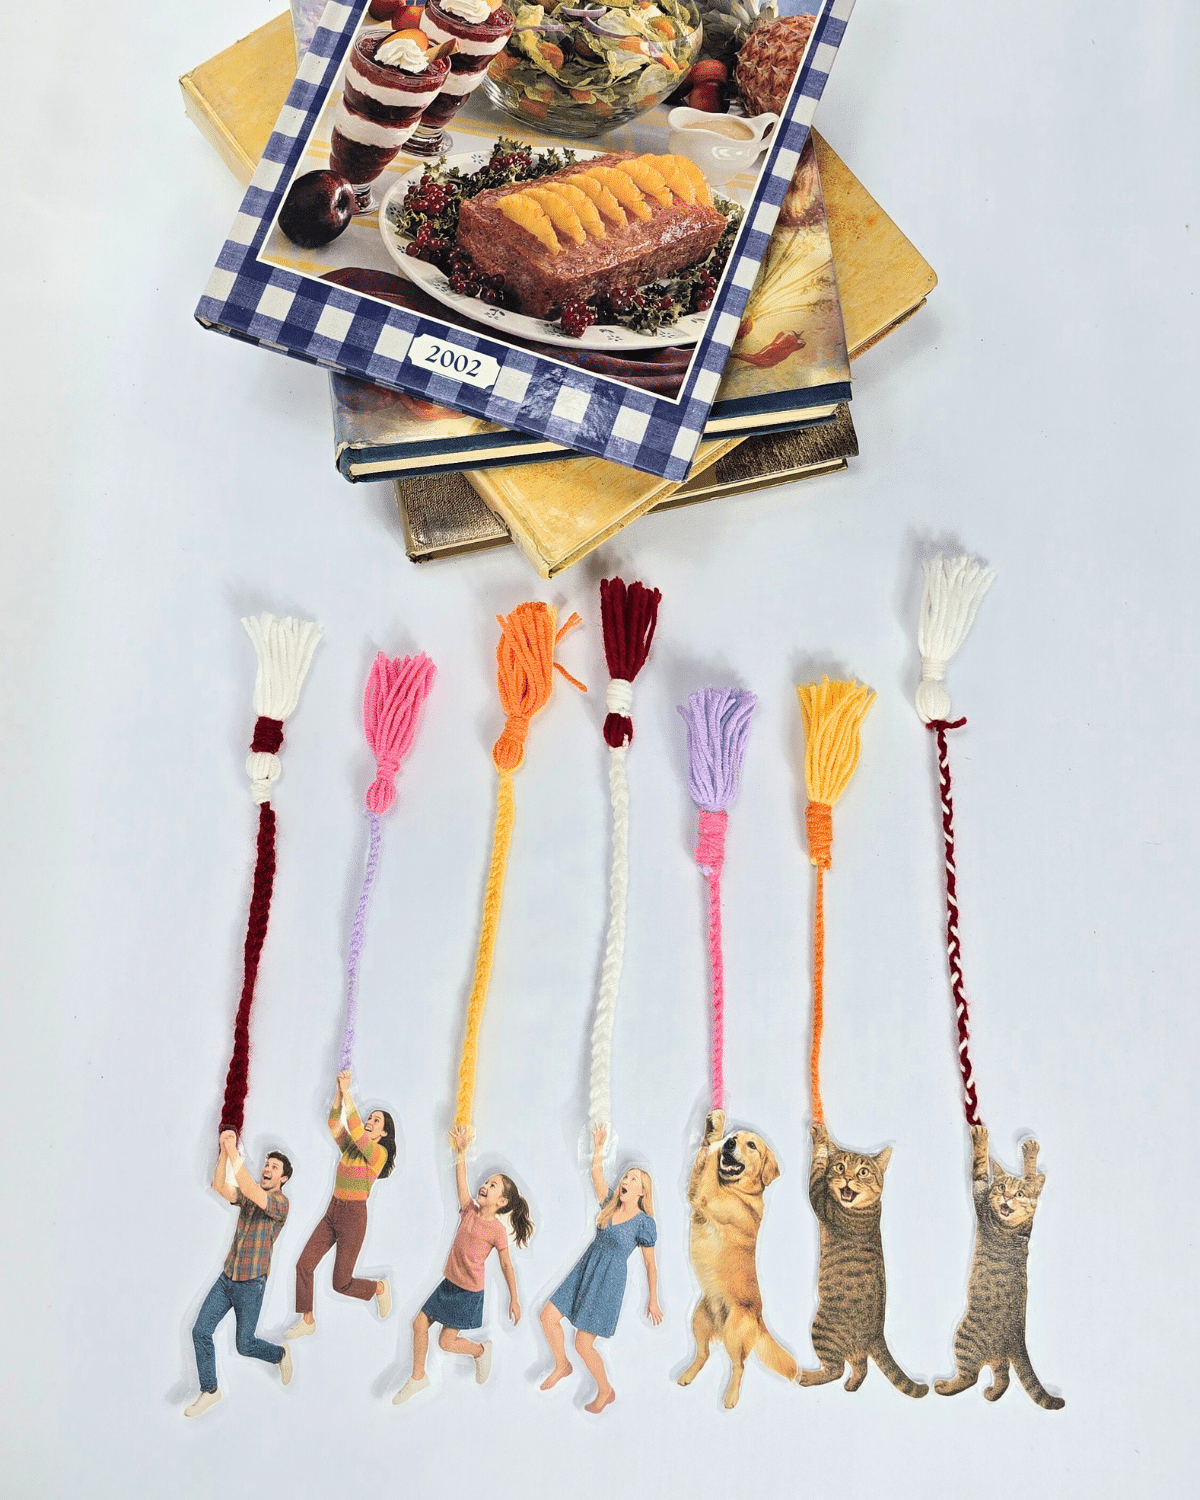
Adhere the cutout to a piece of cardstock, leaving the hands unglued for the tassel, then cut the photo neatly.Add the tassel
Attach the tassel’s top loop between the cutout and cardstock in between the layers of the hand.Cut out some contact paper
Cut two pieces of contact paper. It should be larger than the photo bookmark.Finish the bookmark
Carefully cover the front of the bookmark, smoothing it down to avoid air bubbles, and repeat for the back with the second piece of contact paper. Cut out the excess plastic, leaving about ⅛ inch around.
 If your photo has lots of corners or details that you want to be precise with, you can use a cutter or X-Acto knife instead of scissors. You can also leave those small spots be, they wouldn’t be that visible later.
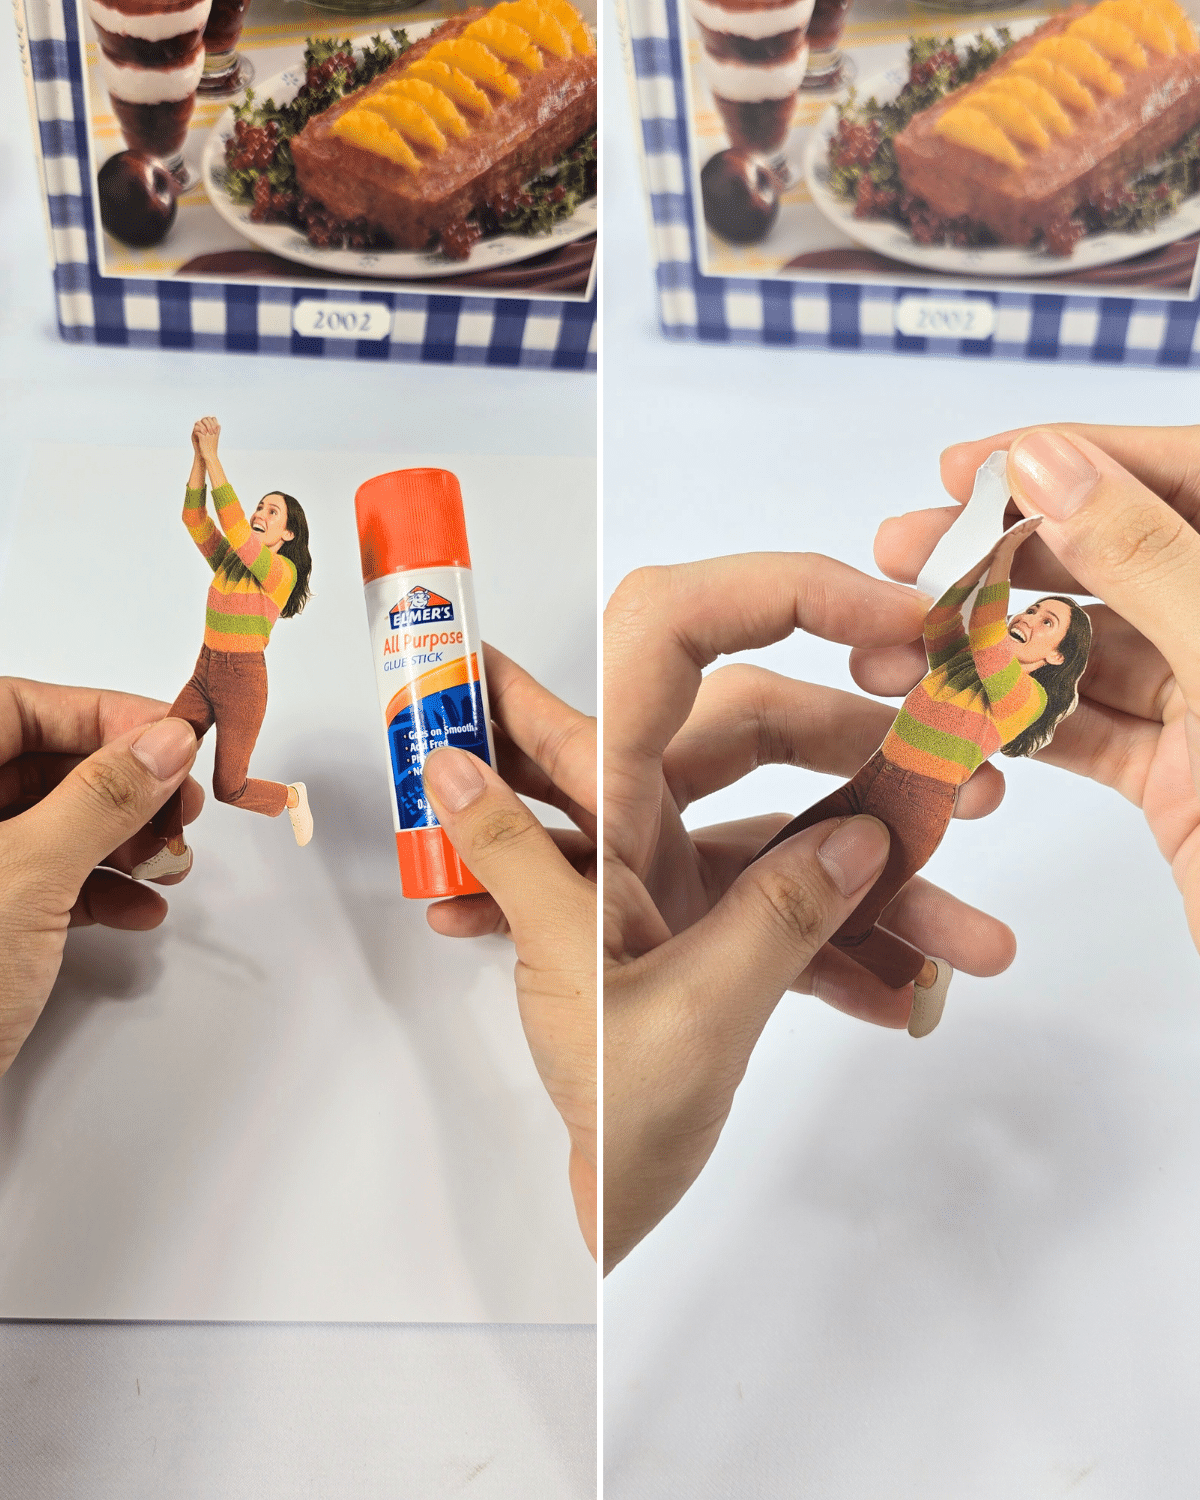 Adhere the cutout to a piece of cardstock, leaving the hands unglued for the tassel, then cut the photo neatly.
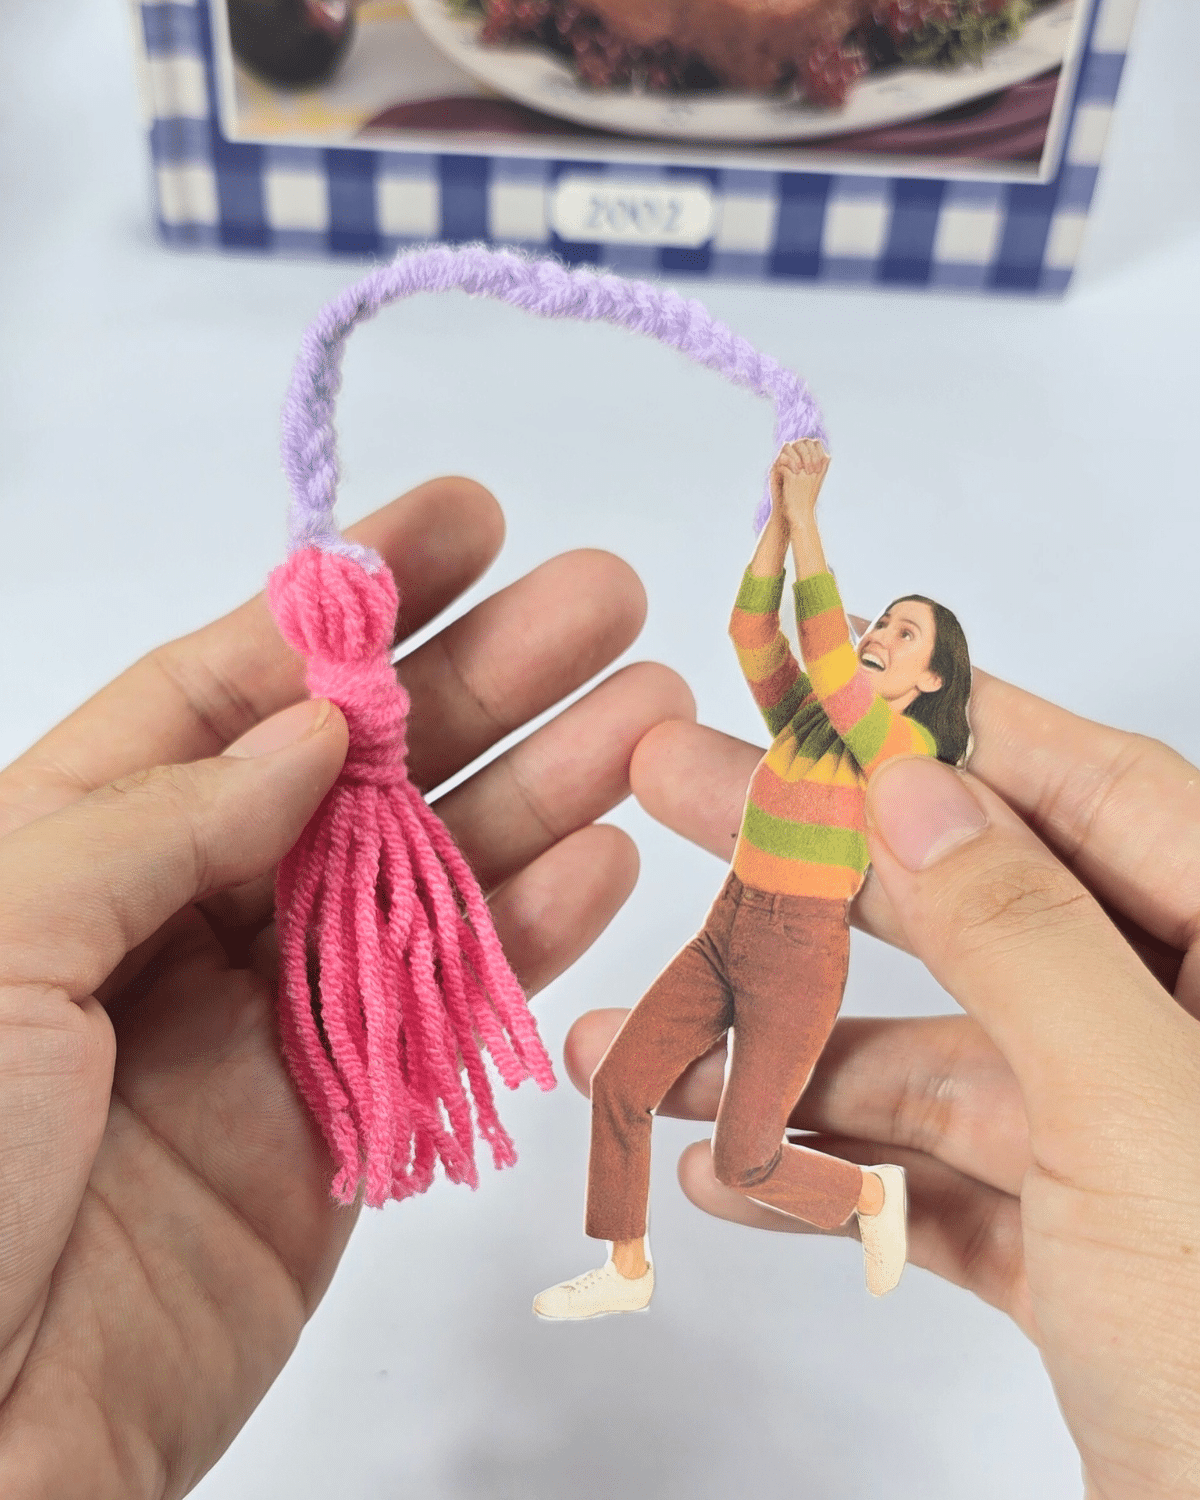 Attach the tassel’s top loop between the cutout and cardstock in between the layers of the hand.
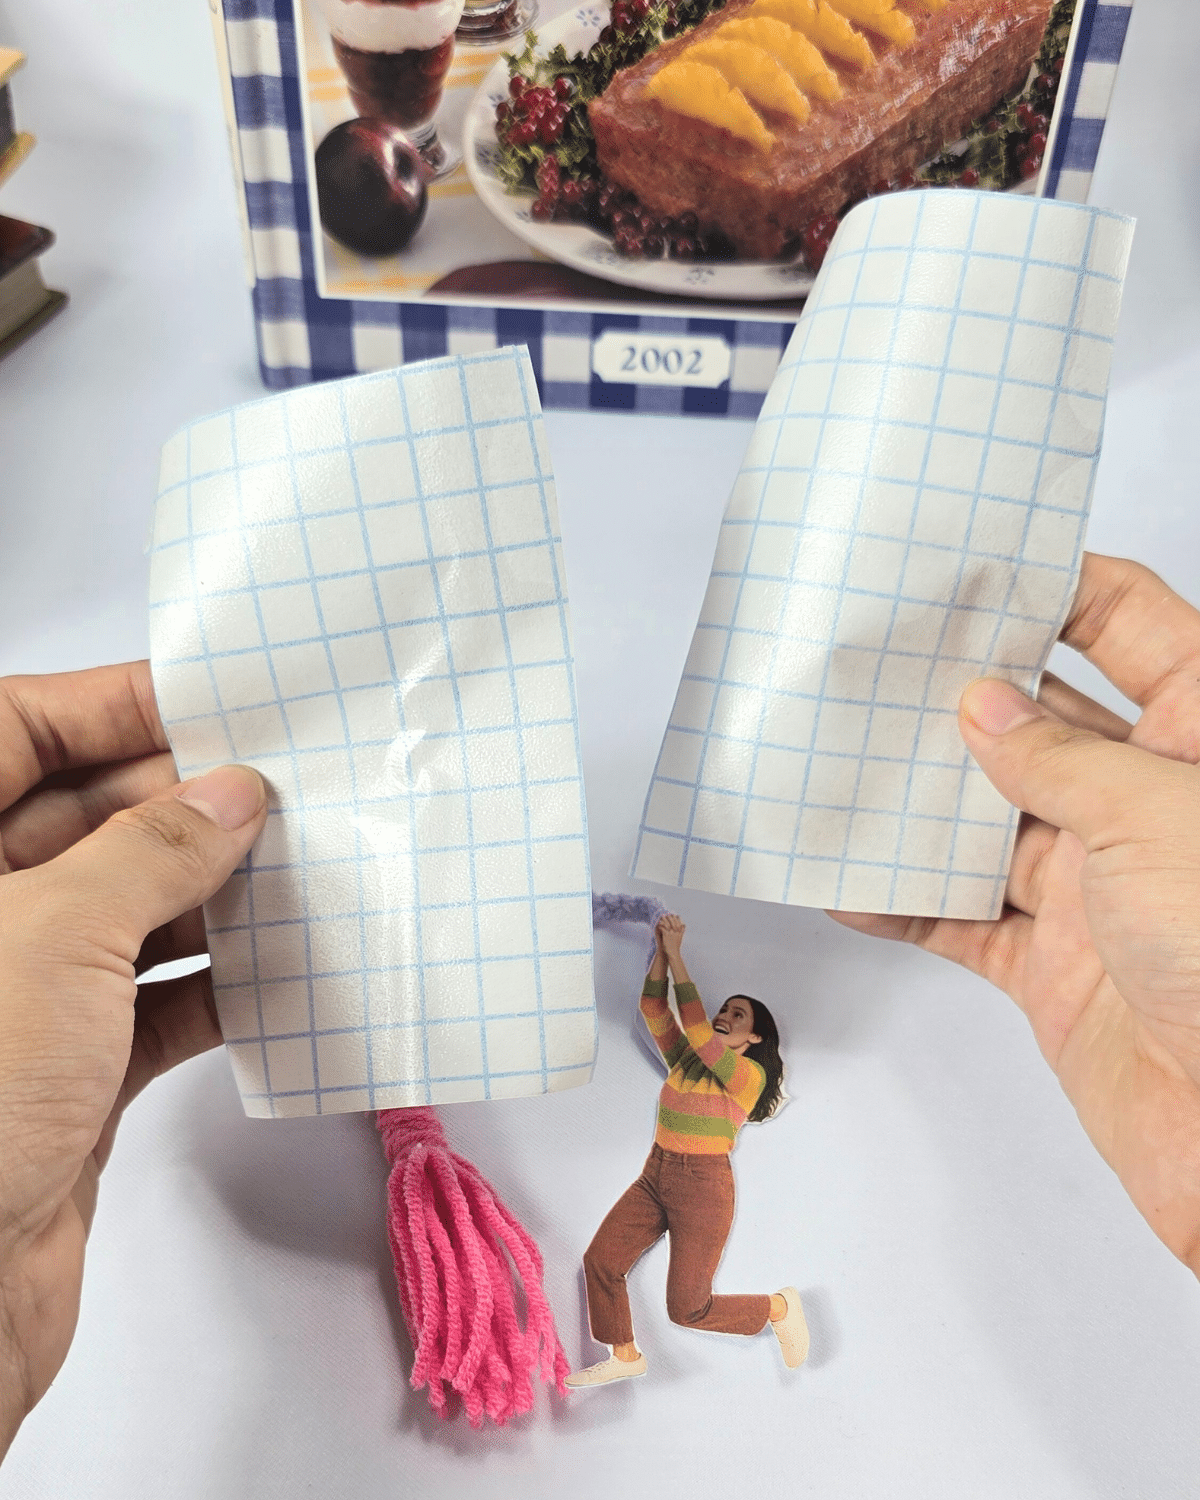 Cut two pieces of contact paper. It should be larger than the photo bookmark.
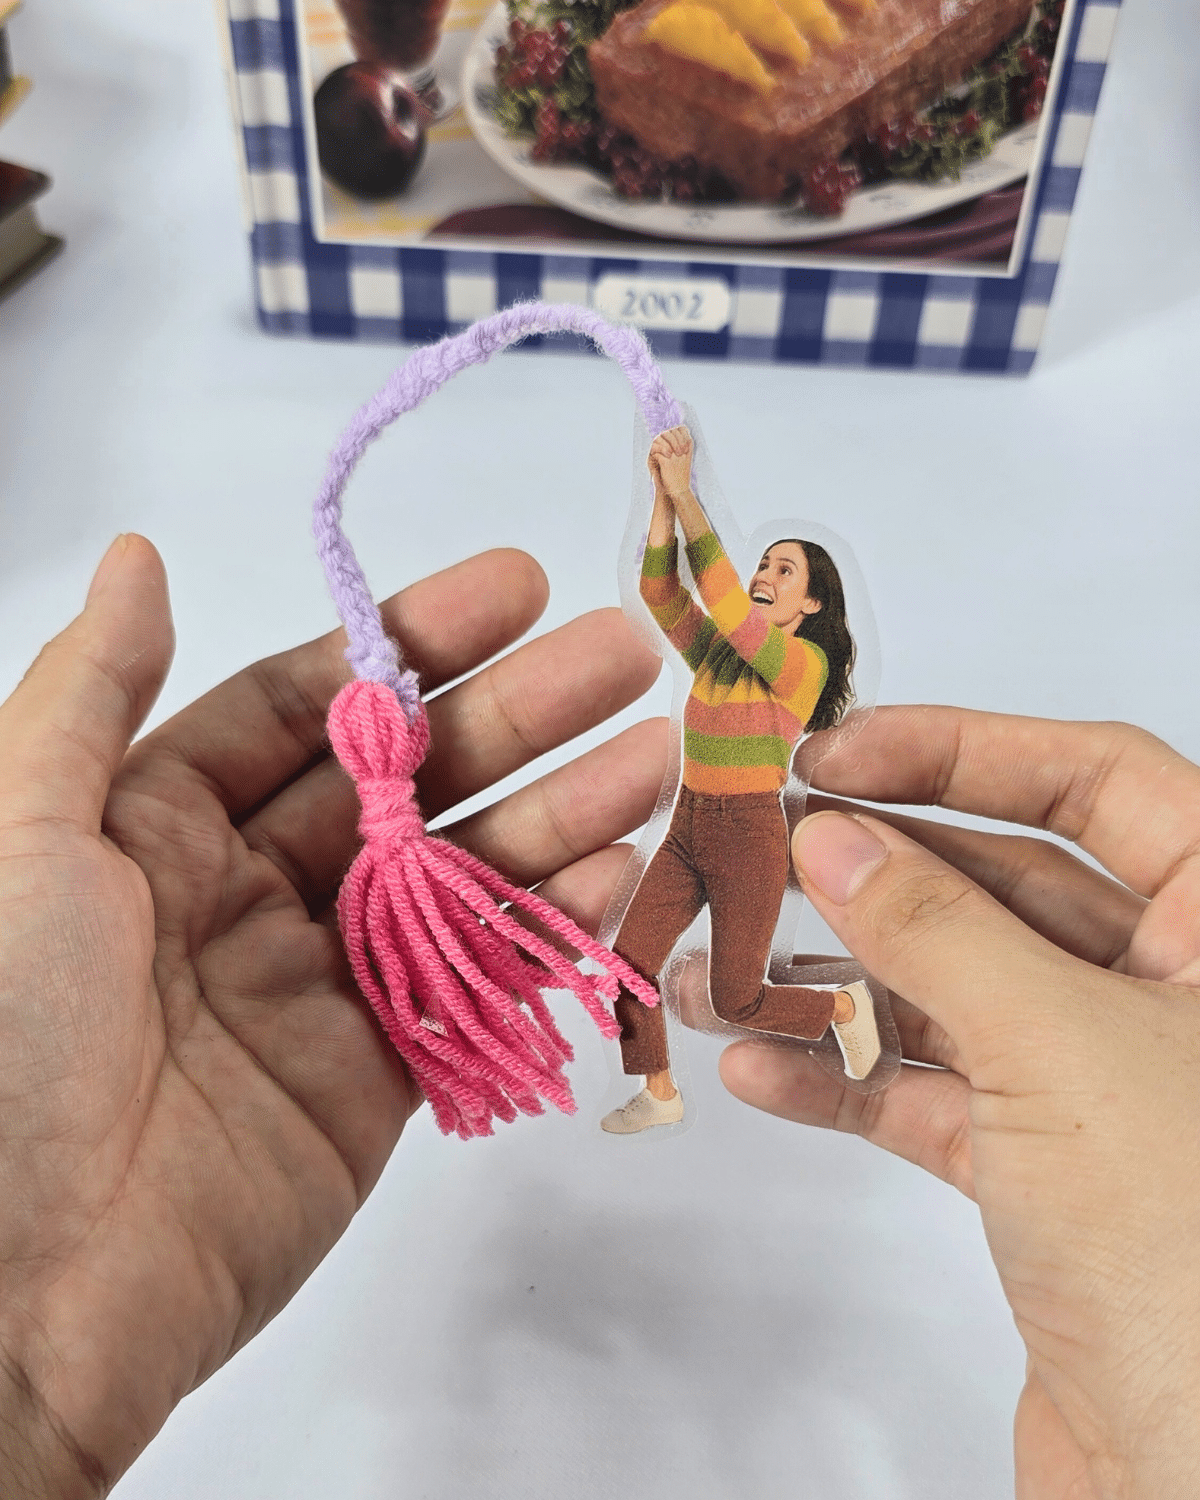 Carefully cover the front of the bookmark, smoothing it down to avoid air bubbles, and repeat for the back with the second piece of contact paper. Cut out the excess plastic, leaving about ⅛ inch around.
Materials
- Contact paper
- Cardstock
- Scissors
- Tassel
- Glue
Aren’t these bookmarks adorable? Give them a try now!
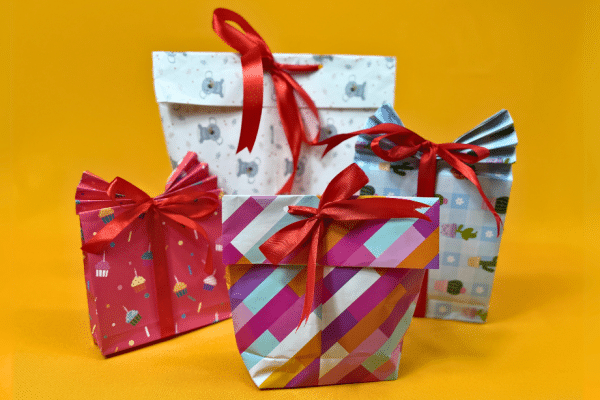
Other Gift Ideas You’ll Love

*If you love this craft, then visit our official website, follow our Facebook page, and subscribe to our YouTube channel for more!
Easy DIY Fun Photo Bookmarks