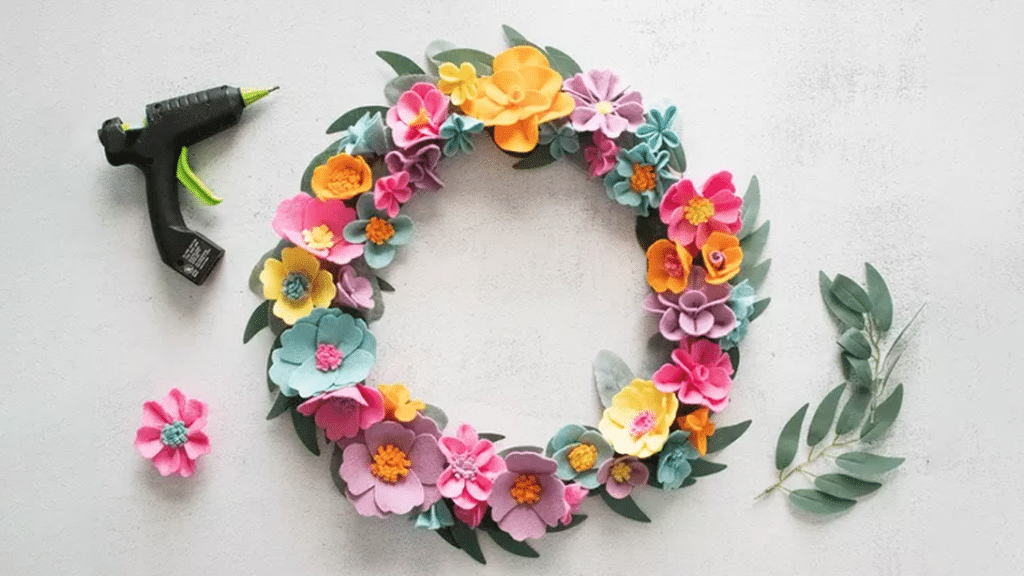
I was driving toward Dollar Tree just like what I always do on a weekend and I found this cute set of felt fabrics, I purchased it without thinking twice planning to use it for a craft that I have yet to find out. After browsing through a couple of DIY projects online, I chose and settled for this beautiful wreath made up of felt flowers.
RELATED: Easy DIY Coffee Filter Peony Flowers Tutorial
It’s super easy and simple to make, with no complicated steps, and you can experiment with the shapes, colors, and sizes according to your preference. Among all of the DIY projects that I’ve tried in a while, this is definitely one of my favorites, the result was so lovely and worth every penny. Learn how now with this video tutorial by ehow on YouTube.
Materials for DIY Felt Flower Wreath:
- Felt, assorted colors
- Scissors
- Hot glue gun and glue sticks
- Petal template, assorted sizes and shapes
- Wreath form
- Faux leaves
How to Make a Felt Flower Wreath:

Step 1
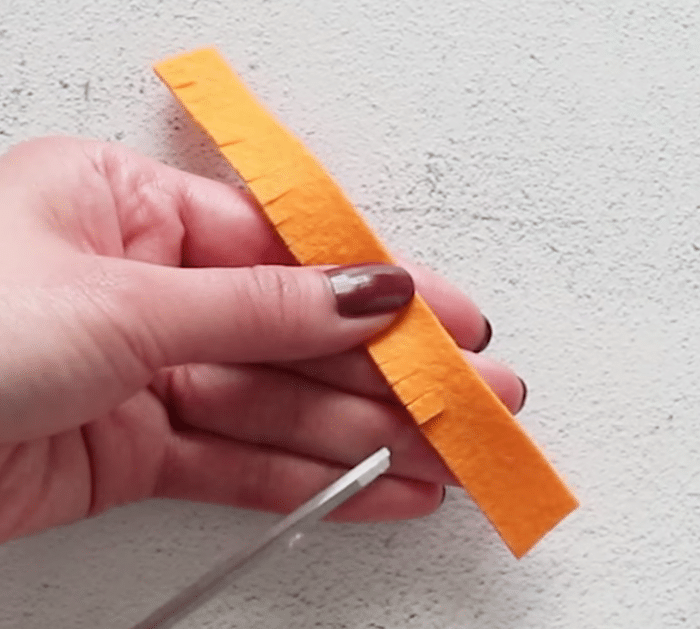
Cut a strip of felt, then cut slits all along the edges on one side, dab hot glue on one end, and roll the felt adding more glue as you go, this will be the center of the flower.
Step 2
Trace a petal shape on another piece of felt, cut it out, then add hot glue to the edge, and attach it to the center of the flower. Continue to make more petals, add them to the center, and set the flower aside once done.
Step 3
For a different style of petal, add hot glue vertically down the middle of a felt petal, then pinch it, and glue it to the center. Another option that you can try, trace a flower on a felt, cut it out, then add hot glue vertically on each petal, and pinch them.
Step 4
Experiment with more styles, then keep adding more flowers to your collection until content and then assemble the wreath. First, adhere the faux leaves all around the wreath form, then add the felt flowers, and arrange them however you want.

*All image credit belongs to ehow via YouTube. Follow and subscribe to their channel for more!


