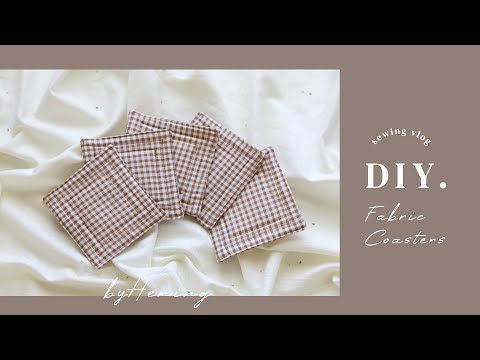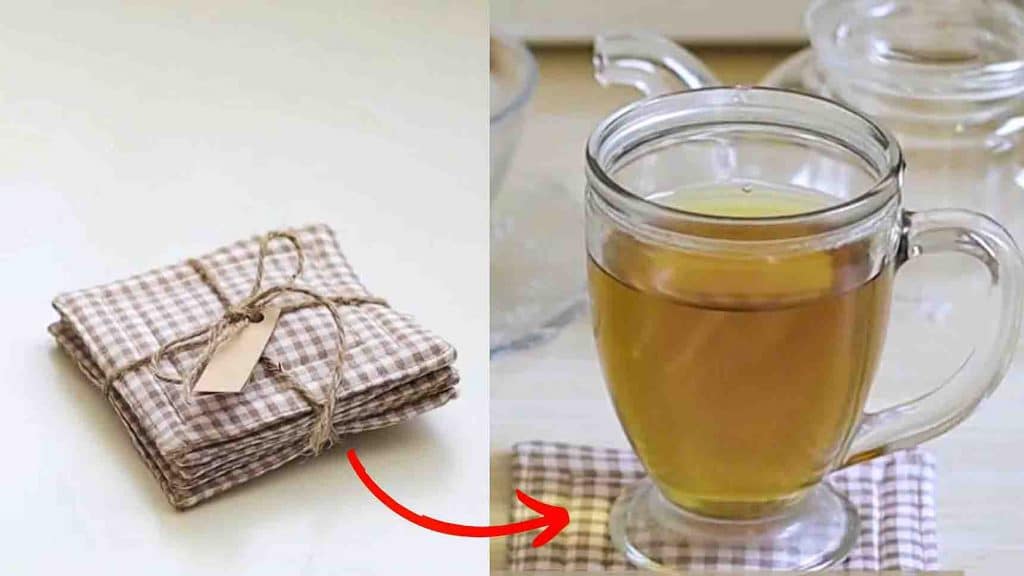
These DIY fabric coasters from Byhening on Youtube are a great way to use your scrap fabrics! It’s also beginner-friendly and will make the perfect personalized gift for your friends. What’s more, you can make these in under ten minutes- quick, easy, and they’re pretty. Watch the video tutorial below to learn the step-by-step instructions.
Materials:
- fabric scraps
- cotton batting (3 mm thickness)
- scissor
- ruler
- pen, for drawing
- pins
Directions:
Step 1
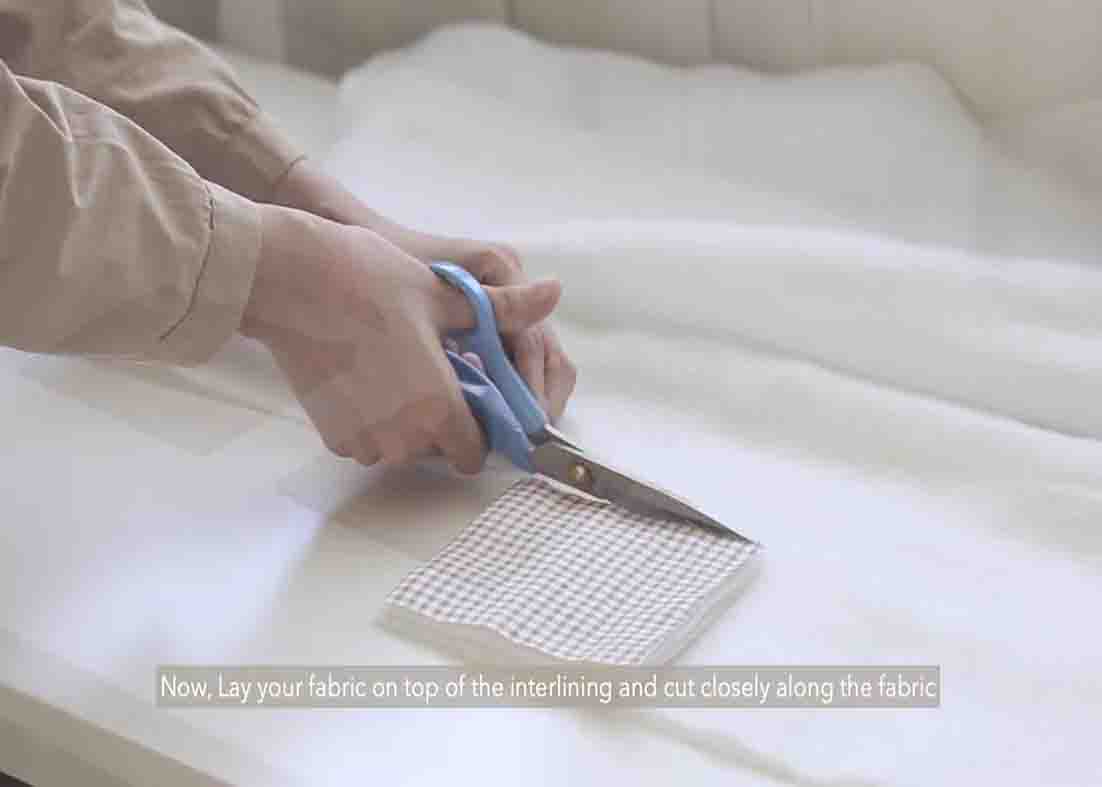
Mark a rectangle of 12 x 12 cm on the fabric, (This measurement includes a seam allowance of 1 cm on each side of the material) then cut the fabric following these marks. Lay the fabric on top and cut again along the lines of the fabric. If you want other colors, you can repeat this process with a different fabric scrap. Now, lay your fabric on top of the interlining and cut closely along the fabric. Attach the fabric, right sides together, interlining on the bottom, then put them together with the interlining facing up. Sew 1 cm from the outer edge and give an opening of 5 cm to turn the fabric. Cut the excess interlining as well as the excess fabric, then turn the fabric inside out.
[social_warfare]
Step 2
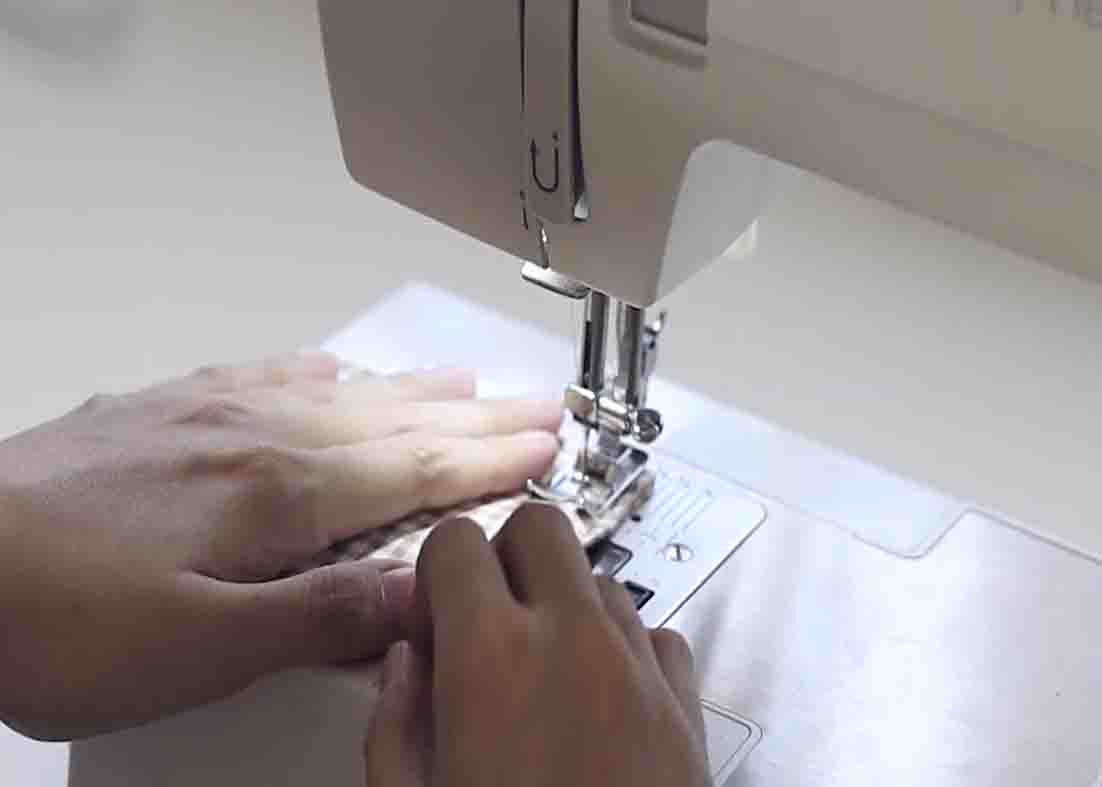
After turning, poke through the corners so that they are sharp and nice. Now, fold the fabric inside to close the seam and pin it. Sew a straight stitch 2 mm from the outside lines along the square. Your coaster is now done.
Easy DIY Fabric Coasters Tutorial