This fun project by Kelly Barlow Creations on YouTube is super easy and simple to make. Plus, this is pretty inexpensive and uses materials that you can easily find from the nearest Dollar store!
Materials:
- 6 3-in-1 cotton set
- 2 turn table or lazy susan
- E6000 or Cement adhesive
- Washi tape
- Marking pen
Directions:
Step 1
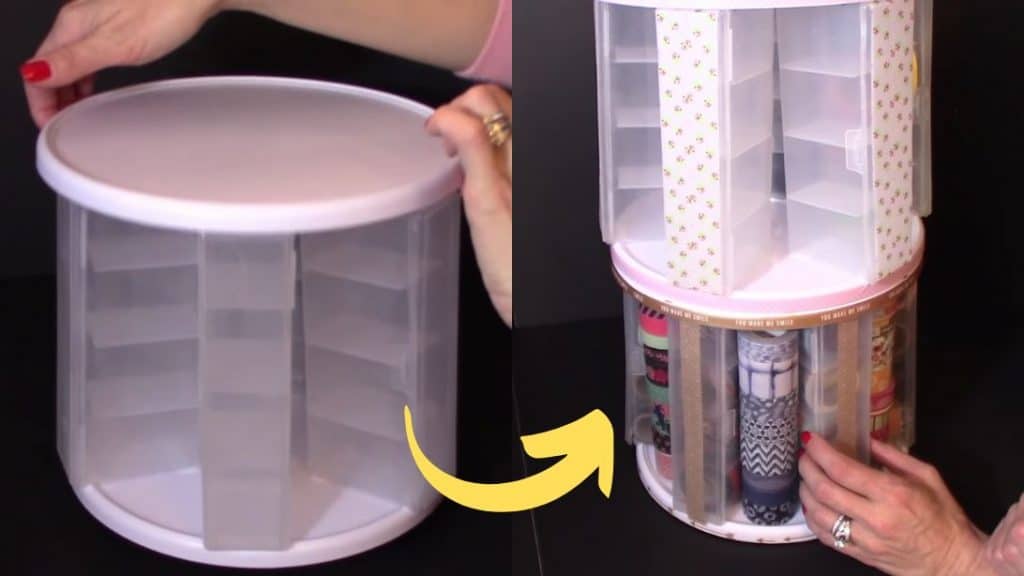
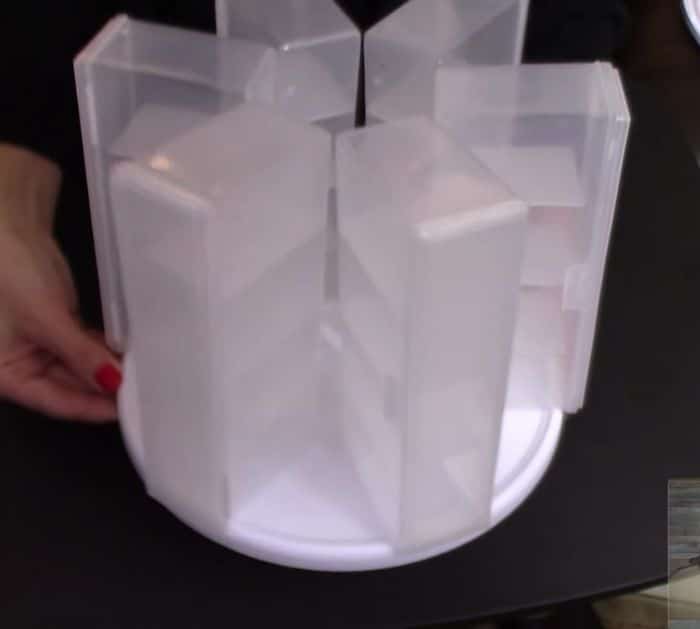
The first thing that you have to do is to remove and scrape off the labels from each container using a flat scraping tool, then empty them out, and set them aside. Get 1 lazy susan or turntable, then place the containers around with their doors facing out, and overlap them a bit if you want to keep the doors intact, but if you want to remove the doors, then do so, and place the containers further in the base. Once you’re contented with how the containers are arranged, apply a line of glue at the bottom of each container, then adhere them to the lazy susan.

[social_warfare]
Step 2
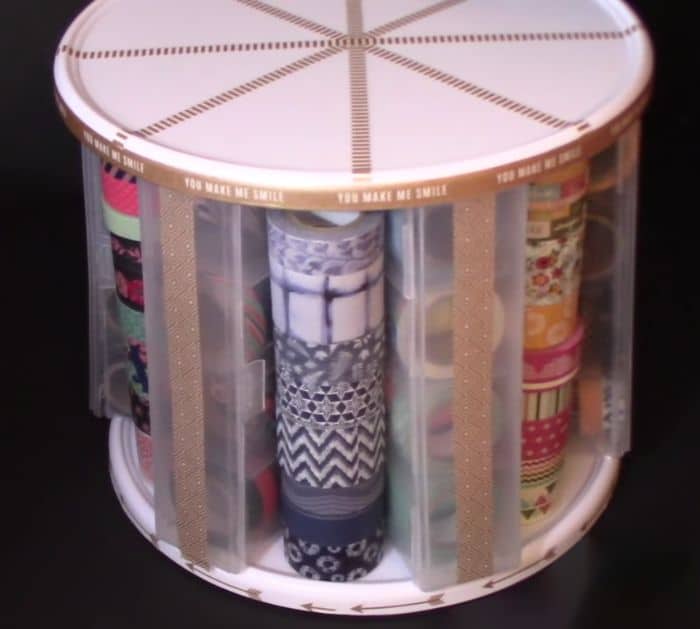
Place the other lazy susan on top of the containers that you just glued on, then put dots underneath to mark where each container is located, and put some glue on the edges right where each of the containers went. Place the lazy susan back on top making sure to line the glue with the top of each container, then place some heavy stuff on top, and let the glue set overnight to completely adhere them together. You can now decorate your organizer with washi tape along the rim or use a diamond wrap and adhere to it using hot glue, and you’re done! Place your makeup or other stuff in your organizer.

*Thanks to Kelly Barlow Creations via YouTube for all images used here. If you loved this DIY project, then you’ll surely love her other videos too, so give her channel a visit and subscribe!


