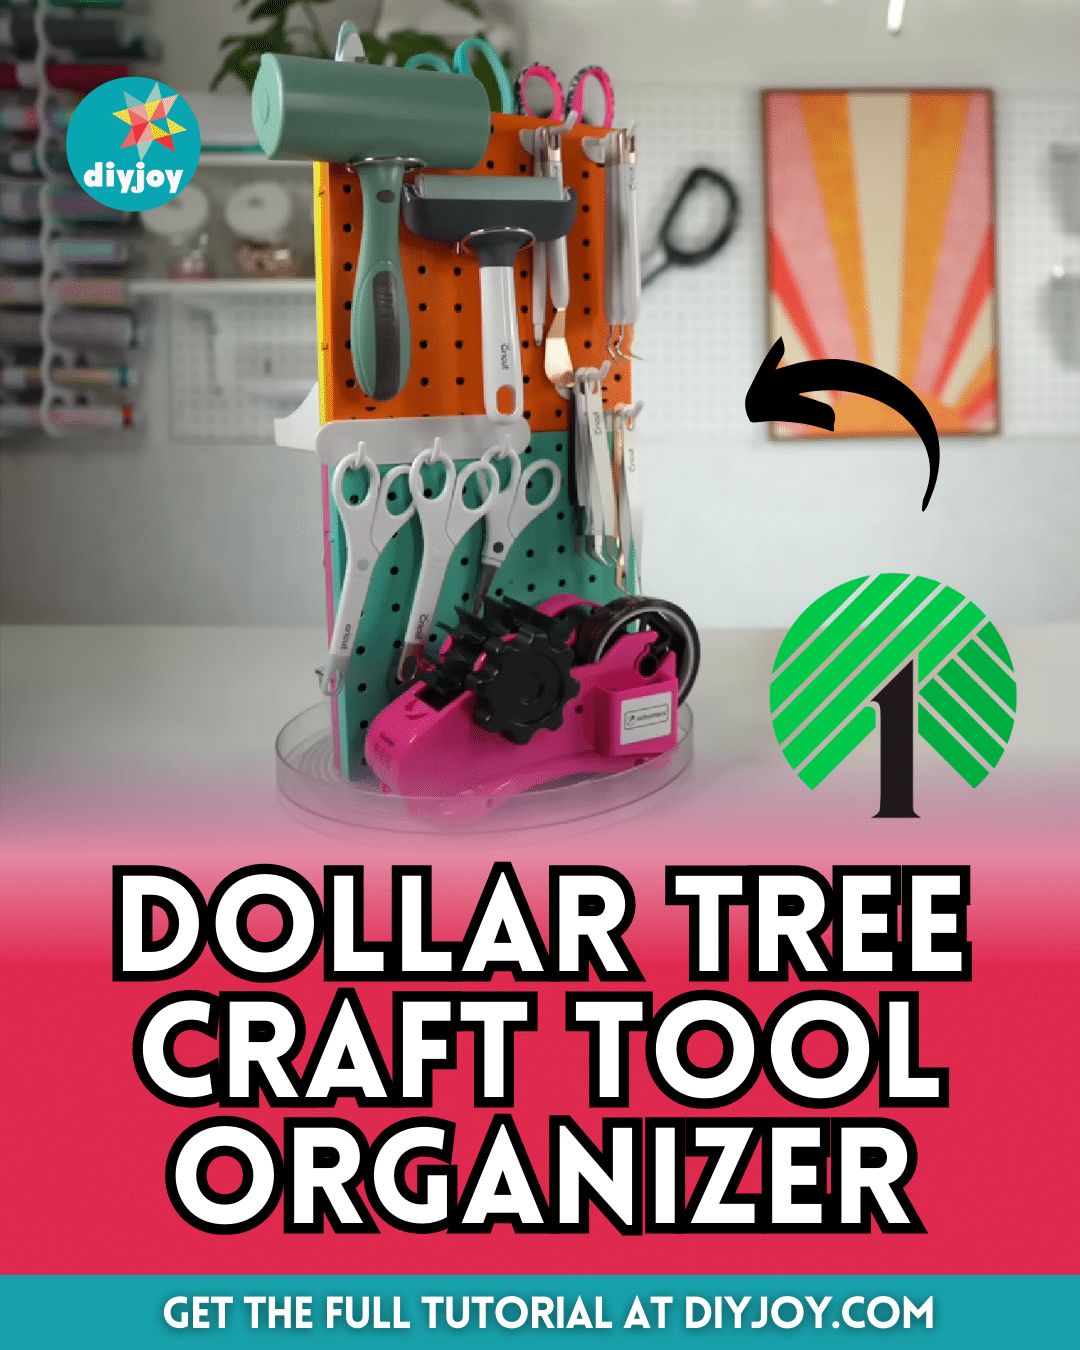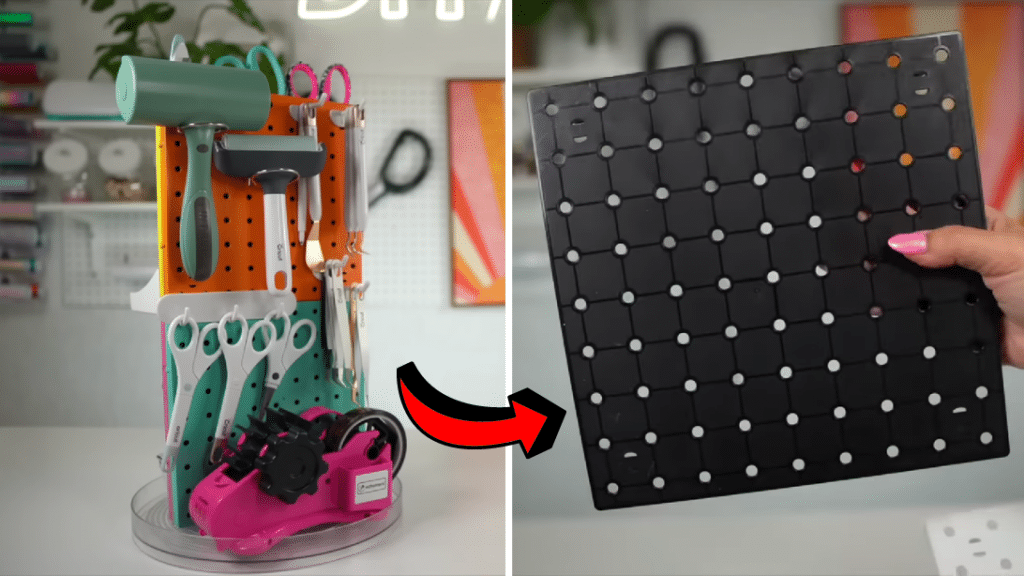
I found the perfect craft tool organizer and with this, you can keep all of your stuff tidy and in one place! This DIY project is budget-friendly, too, because everything you’ll need can be found at the nearest Dollar Store, and you can even customize and accessorize your organizer to your preference.
RELATED: How to Make a Cardboard Tube Organizer
This would also be a great handmade gift idea for a loved one who’s also a crafter like you. This is a very easy project to do and I bet you can finish it in just a few minutes. So, if you want to learn how now, then check out this video tutorial by DIYholic on YouTube, and give it a try!
Materials for DIY Craft Tool Organizer:
- 4 pegboards
- Adhesive rinks
- Pegboard accessories
- Lazy susan
- Super glue
- Spray paint, optional
- Sanding paper
- Clea double-sided tape, heavy-duty
How to Make a Craft Tool Organizer:
Step 1
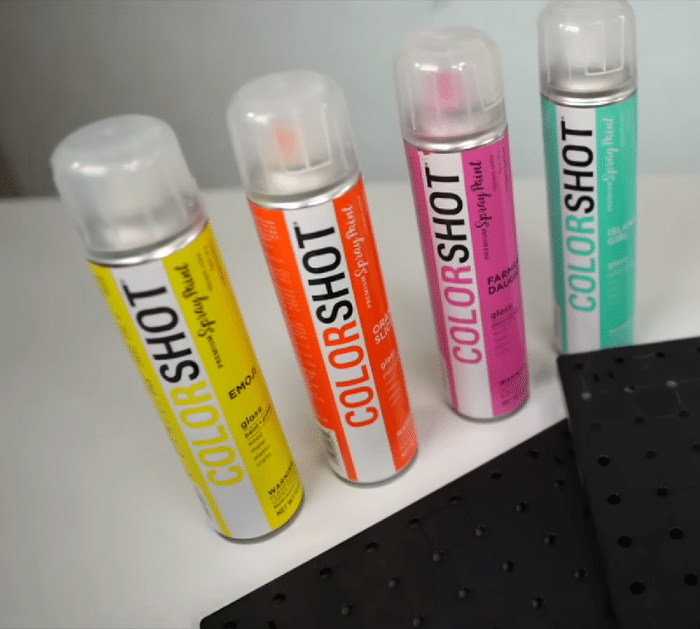
If you prefer, spray paint the pegboards with different colors, then let them dry completely before applying a second coat, and set them aside to dry completely.
Step 2
Apply the adhesive to the rinks, then arrange the pegboard, and snap the adhesive rinks to the corners. Take the remaining rinks without adhesive, snap them in place, and properly outline the pegboards.
Step 3
Peel off the backing paper of the adhesive, then put the pegboards together, and then sand down the two sides to create a rough surface. Apply superglue on the sanded sides, then adhere the pegboards together, and prepare the base.
Step 4
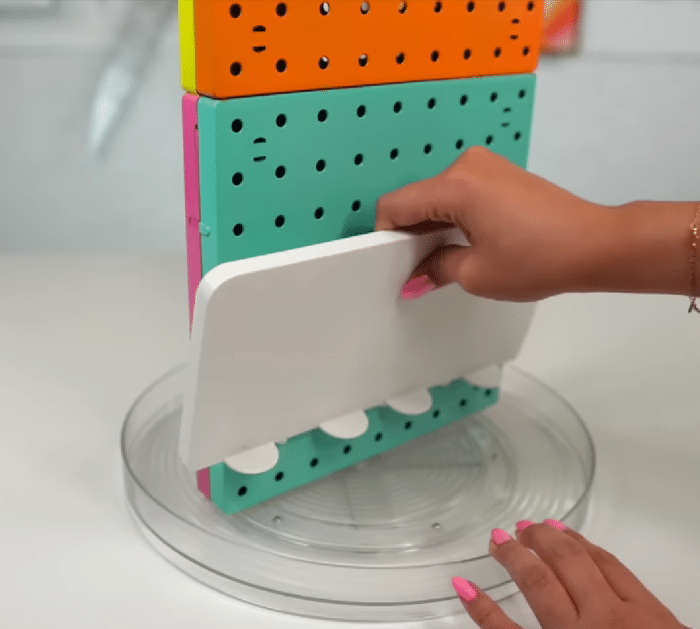
Sand down the surface of the lazy Susan, then add the adhesive tape and apply some superglue to the bottom of the pegboard. Adhere them together, then apply pressure until completely dried, and start to accessorize or customize it however you want.
*All image credit belongs to DIYholic via YouTube. Follow and subscribe to her channel for more!
