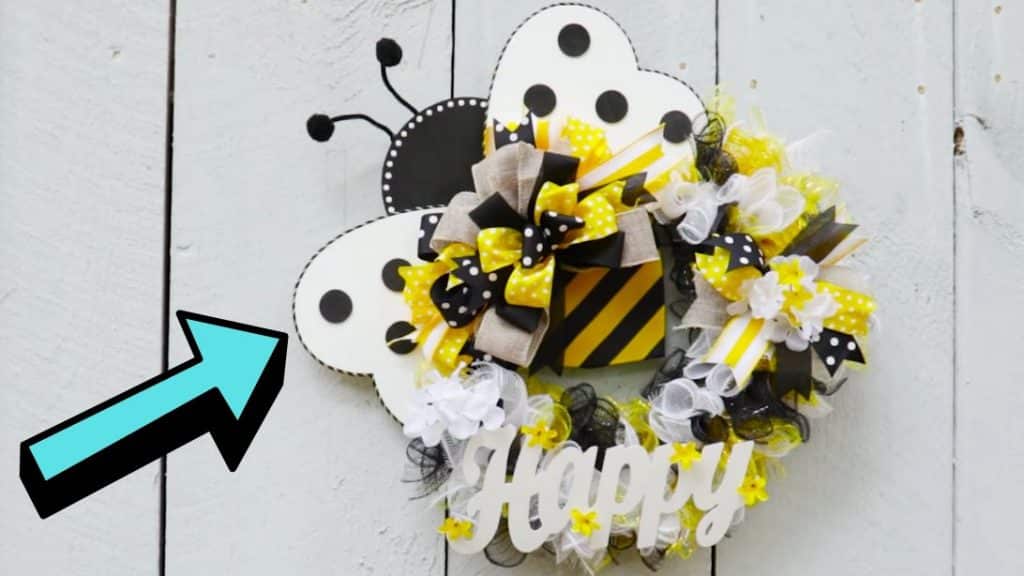
Out of all the wreaths that I’ve made in the previous spring seasons, this has been my favorite one yet, I just love the color scheme and theme, and putting this project together is a super fun process! I am so glad that I found this video tutorial by Lori Blye DIY on YouTube because the result is so cute and my family loved it very much. Run to the nearest Dollar store now and get your supplies, then give this DIY project a try.
Materials:
- Bumblebee skirt
- Seam ripper
- Striped cord
- 3 9-inch wooden hearts
- 6½-inch wooden circle
- Small wooden circles
- Mod podge
- Black acrylic paint
- White acrylic paint
- Paintbrush
- Foam applicator
- Scissors
- Ribbons
- Bumblebee headband
- 6-inch square cardstock
- Chenille wire or pipe cleaners
- Hot glue gun and glue stick
- Adhesive
Directions:
Step 1
Carefully remove the stitching on the waistband of the skirt, then take the striped fabric, and set it aside. Take 1 wooden heart, then coat it all over with mod podge including the edges at the back, and lay the striped fabric on top making sure to press it on flatly to adhere. Flip the heart over, then trim off the edges, and adhere the excess fabric around the edges tightly. Take the 2 remaining wooden hearts, then coat them with white paint, and once dried, dab the tack glue around the edges.
[social_warfare]
Step 2
Adhere the striped cord around the edges of the heart, then repeat with the other heart, and set them aside. Coat the wooden circle with black paint, then let dry, dip the tip of the paintbrush handle in white paint, and dab it all over the edges of the circle. Dab a generous amount of hot glue on the lower half of the wooden circle, then adhere to the fabric-covered heart nicely, and attach the remaining wooden hearts as well making sure that their pointed ends are facing toward the center as shown in the video.

Step 3
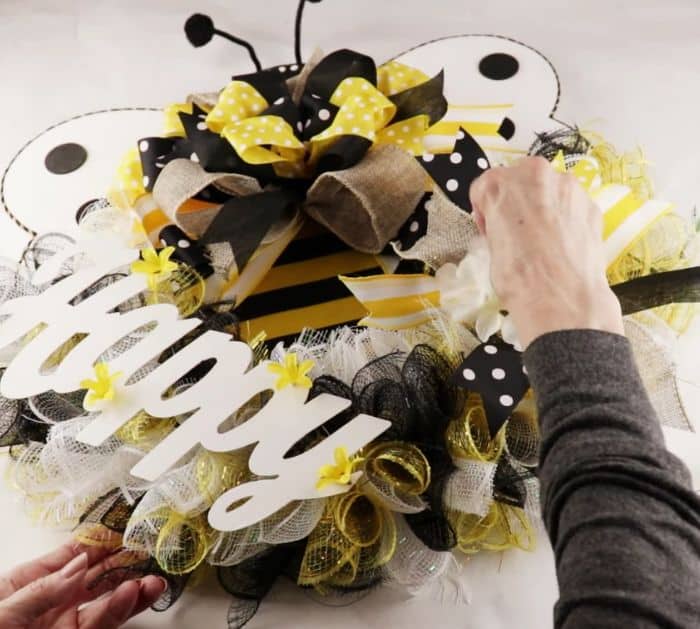
Create a bunch of bow ribbons, then adhere them to the center of the bumblebee, and adhere the black-coated small circles on the wings of the bumblebee. Cut the antenna of the bumblebee headband and attach them to the back of the head of the bumblebee, then adhere the piece to the wire wreath, and decorate the wreath however you want, or you can also watch the video tutorial for more details.

*All image credit belongs to Lori Blye DIY via YouTube. Follow and subscribe to her channel for more!


