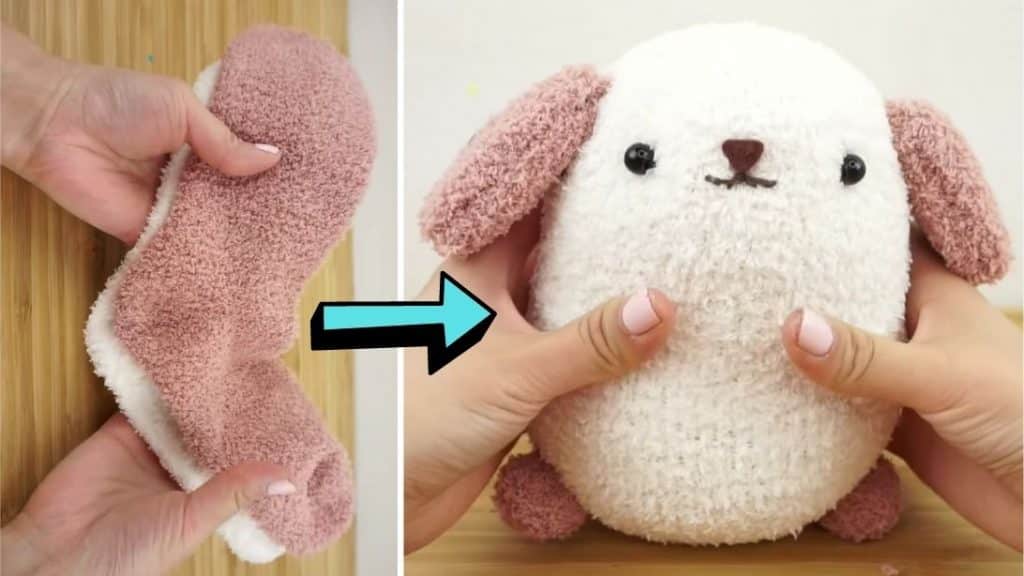
If you love fuzzy socks and you have a few old extras that you can’t throw out yet, try turning them into a cute and soft dog plushie! With only a few easy steps you can have your own plushie that looks like it’s been professionally sewn. Learn how to sew it with simple and easy steps as taught by Maqaroon on YouTube.
Materials:
- 2 fluffy and fuzzy socks with different color
- Matching thread
- Stuffing
- Scissors
- Embroidery thread
- Needle
- Felt fabric
- Marker pen
- Beads or buttons
Directions:
Step 1
Grab 1 fluffy sock then turn it inside out, press the heel part flat, then grab a pen, and draw a curve slightly above the heel. Backstitch along the curved line, then cut out the sock just above the curve, turn it the right way round, and fill it with the stuffing. Insert a large ball of stuffing for the head and a larger stuffing for the body until you get the desired shape and size. Trim the fabric if needed and sew a running stitch all around the edge, tug the thread to close the opening, then sew another layer of thread around the circle, make a criss-cross and tie a knot to secure it in place.
[social_warfare]
Step 2
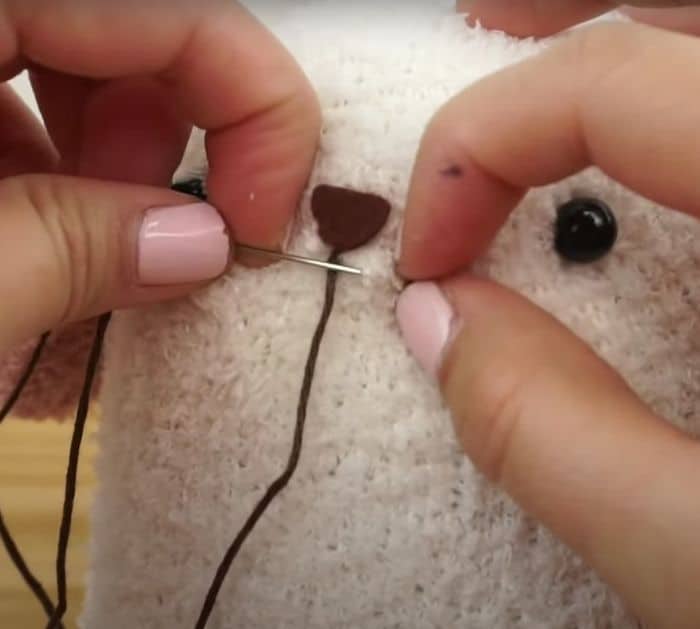
Take the other colored sock, then draw two avocado shapes for the ears, backstitch at the line but leave a tiny gap at the top, cut and flip it around, no need to stuff it. Attach them on each side of the body with ladder stitch, then use beads or buttons for the eyes or glue on black felt. For beads use 1 piece of thread then sew it on the dog’s head. For the nose, use a piece of brown felt and stick it on the face with craft glue. Then use an embroidery thread for the mouth, if it’s hard for you, then use felt.
Step 3
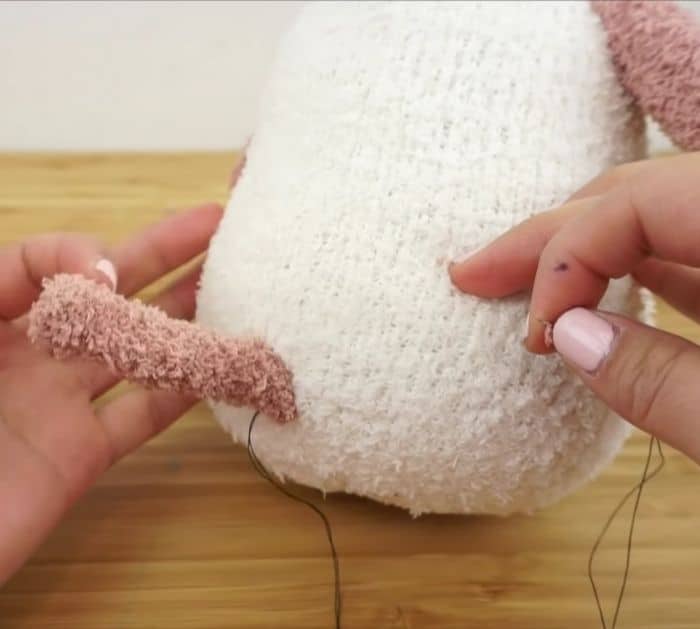
For the remaining sock, draw a curve next to the heel, then backstitch along the line, and leave a small opening at the top cut. Turn it around to its right side, no need to stuff, then attach it to the back of the body at the bottom area for the tail. Cut out 2 circles from the leftover fabric with about 5 centimeters or 2 inches diameter, sew a running stitch along the edge, then insert a tiny piece of stuffing at the center, tug the thread to create a perfect ball then sew several times, then attach to the bottom of the body for the foot, repeat 1 more time for the other foot.
*All image credit belongs to Maqaroon via YouTube. Follow and subscribe to her channel for more!
How To Make A DIY Dog Plushie Using Old Socks


