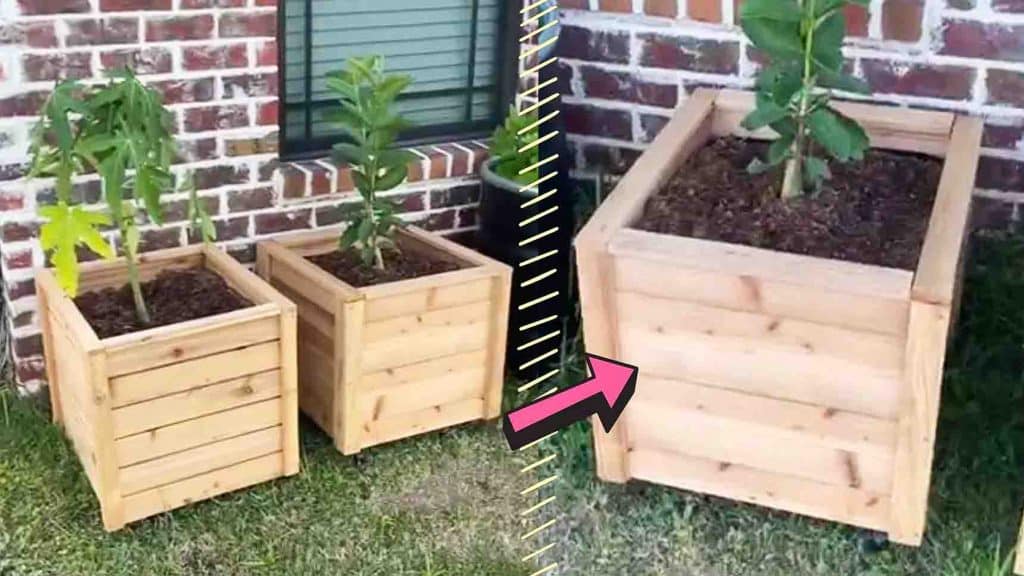
Are you looking for a way to elevate the look of your garden? Look no more; with this DIY cedar planter box tutorial from Sarah Blackbourn on Youtube, your garden will look 10x better. It’s a great planter to transfer some of your plants or to grow new ones, and all the materials will cost you just under $30! Start making yours today by watching the video tutorial below.
Materials:
- 5 cedar planks (1x6x61-inch
- 1-inch wood screws
- 2 pcs. 2×4
Optional materials:
- set of 4 wheels
- grow bag
- garden cloth
Directions:
Step 1
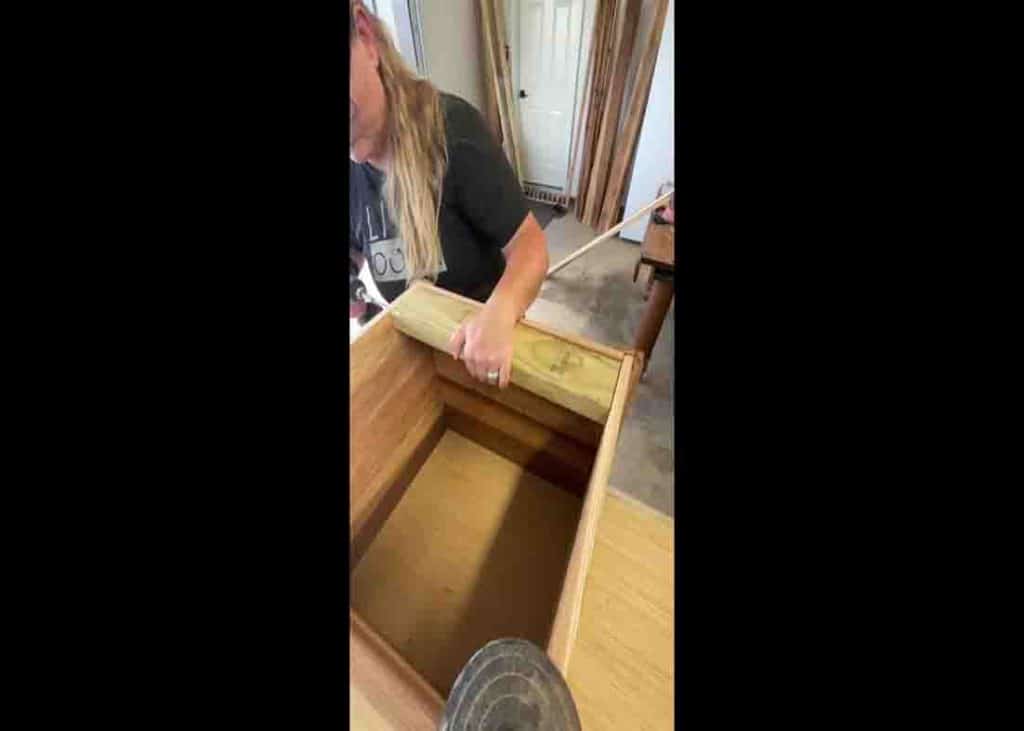
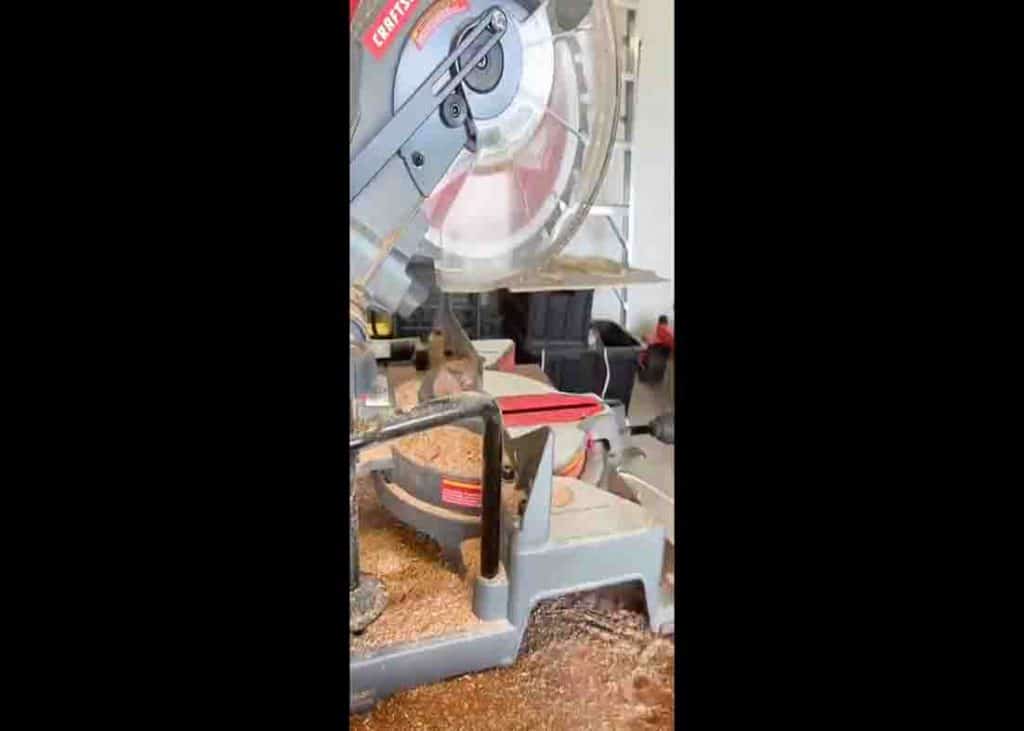
Cut three cedar planks in half vertically and then cut those into strips at 17.75 inches for a total of (24) 1×2.75×17.75. Cut the fourth plank into quarters vertically and cut (8) strips at 16.25 inches. This will be used for the corner supports. Trim on top and then the bottom 2×4’s and floor will be cut to fit on the finished measurements of the box. After cutting all the wood, start assembling the planter. Make the corner supports by using 1-inch wood screws, and make four of these in total. Next, build the two side walls. Screw six planks on the corner support by using 1-inch screws again.
[social_warfare]
Step 2
Take the remaining 12 side planks and screw them into one of the sidewalls that had already been built. First, make an “L” shape, then a “U” shape. Once they have been screwed, add the fourth sidewall. For the bottom, grab the two 2x4s (You can use anything you want as long as it’s sturdy), then attach the wheels. Take the remaining cedar plank and cut it down to size to fit inside the bottom, leaving enough room for proper drainage. Take the remaining trim that had been cut down already and nailed it to the top, giving a nice clean finish.
