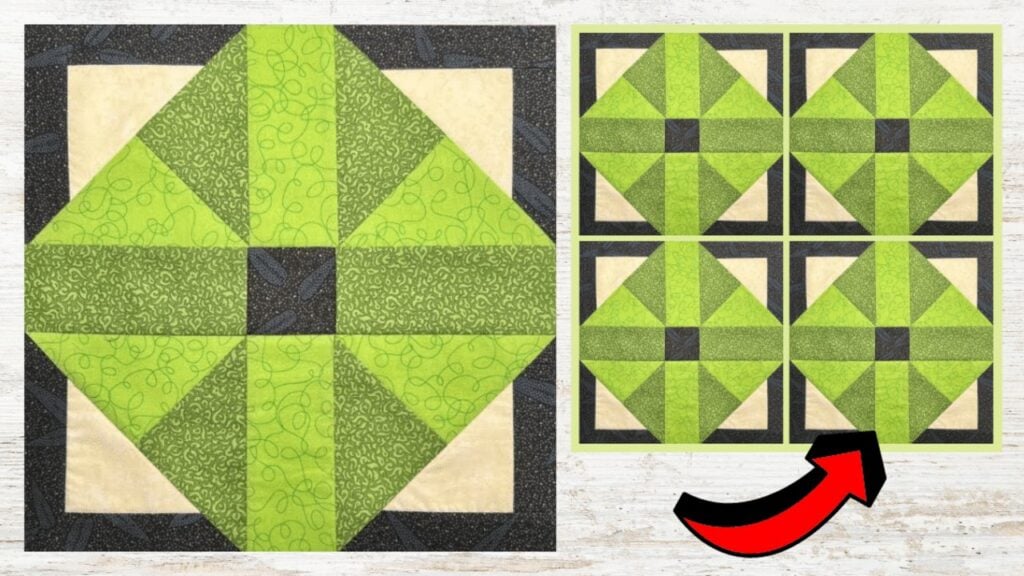
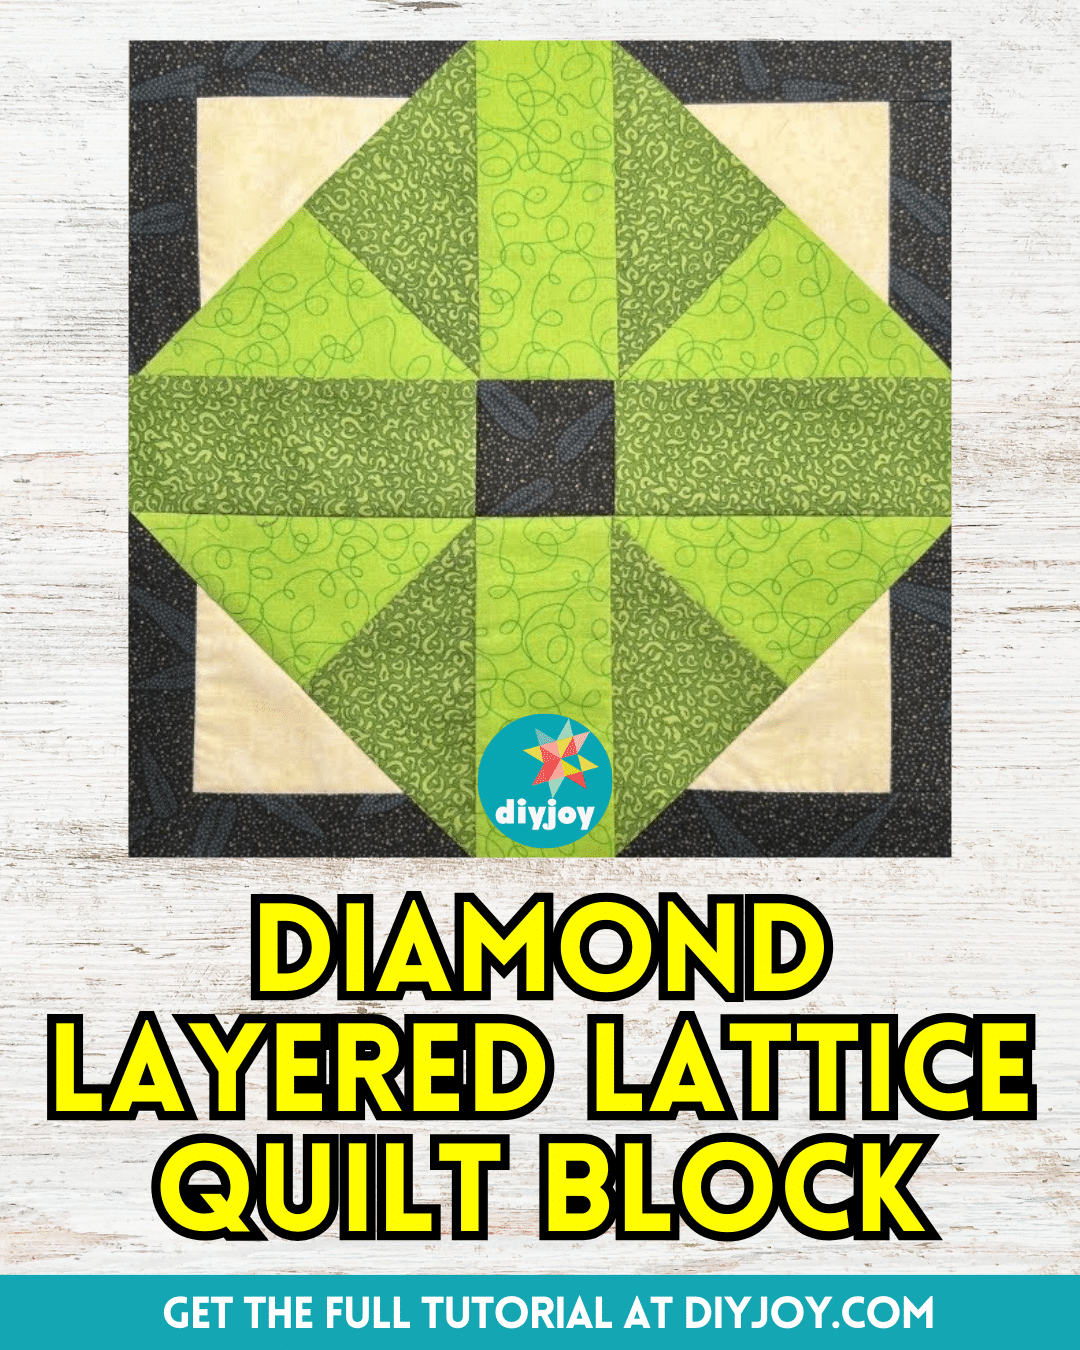
What better way to spend your weekend than making a new beautiful quilt block like this diamond layered lattice quilt by Tulip Square on YouTube? This quilt block is super easy to make and I bet even beginners can finish this perfectly on their first try.
RELATED: How to Make a Jagged Lattice Quilt Block
You can use any of your favorite prints or colors of fabric for this project and I’m sure it will look beautiful just the same. Learn how now by reading the steps down below, and make sure to watch the video tutorial as well for more details.
Materials for Diamond Layered Lattice Quilt Block:
- Print fabric
- Coordinating print fabric
- Dark print fabric
- Background fabric
- Marking pen, pencil, or chalk
- Ruler
- Scissors or rotary cutter and a cutting mat
- Needle and thread
- Sewing machine
- Pattern (Click here to download the pattern)
How to Make a Diamond Layered Lattice Quilt Block:
Step 1
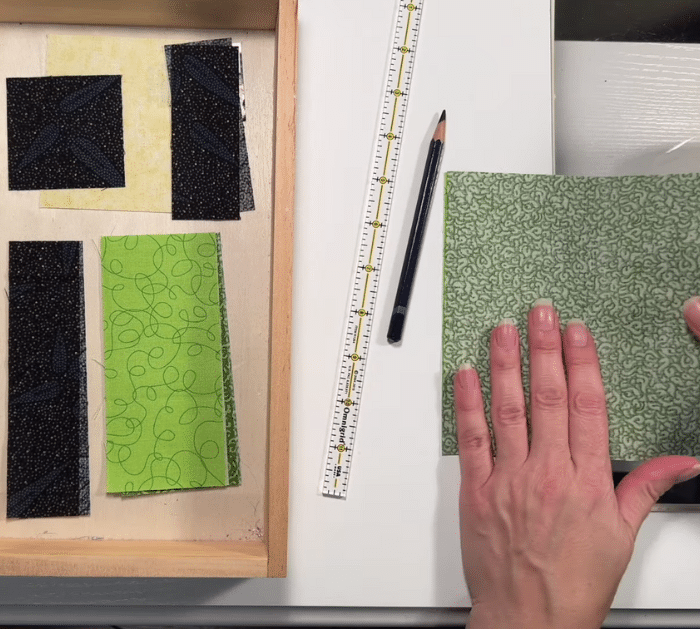
Download the pattern and cut the fabrics according to the instructions, then take 2 of the largest squares in coordinating colors, and stack them with their right sides facing.
Step 2
Line the wrong side of the square diagonally from corner to corner, then stitch on either side of the line with ¼ inch seam allowance, and cut them apart along the line. Press the seams nicely, then cut off the nubs, and set the block unit aside.
Step 3
Get the background square, then lay it at the center of your flat work surface, and place 2 small dark strips on each side of the square. Stitch them together, then place the longer dark strips on the top and bottom, and stitch them to complete the block unit, press the seams as you go.
Step 4
Stack the 2 blocks together with their right sides facing, then draw a line at the back diagonally from corner to corner making sure it’s opposite the seam of the half-square triangle, and then stitch on each side of the line with ¼ inch allowance.
Step 5
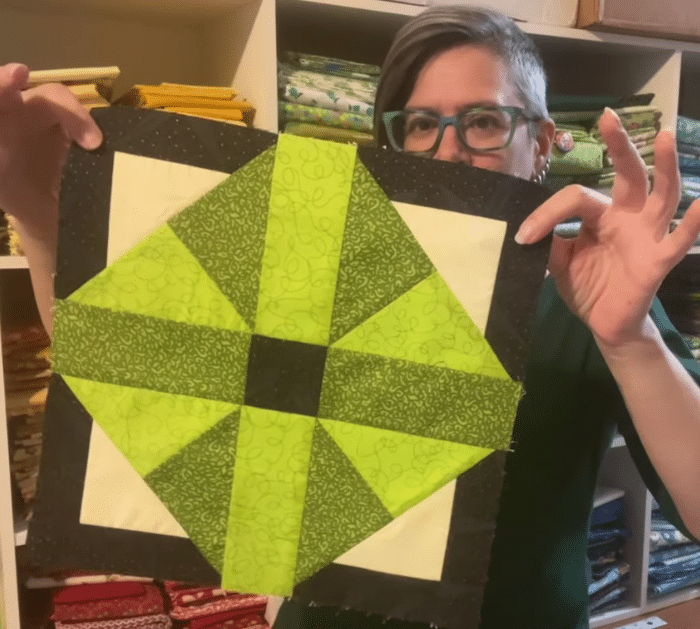
Cut them apart along the marked line, then press them open, and repeat the steps to make more block units, you should end up with a total of 4. Assemble the block units with the sashing at the center as demonstrated in the video, then stitch them one at a time, and press the seams as you go.
*All image credit belongs to Tulip Square via YouTube. Follow and subscribe to her channel for more!
Easy Diamond Layered Lattice Quilt Block Tutorial


