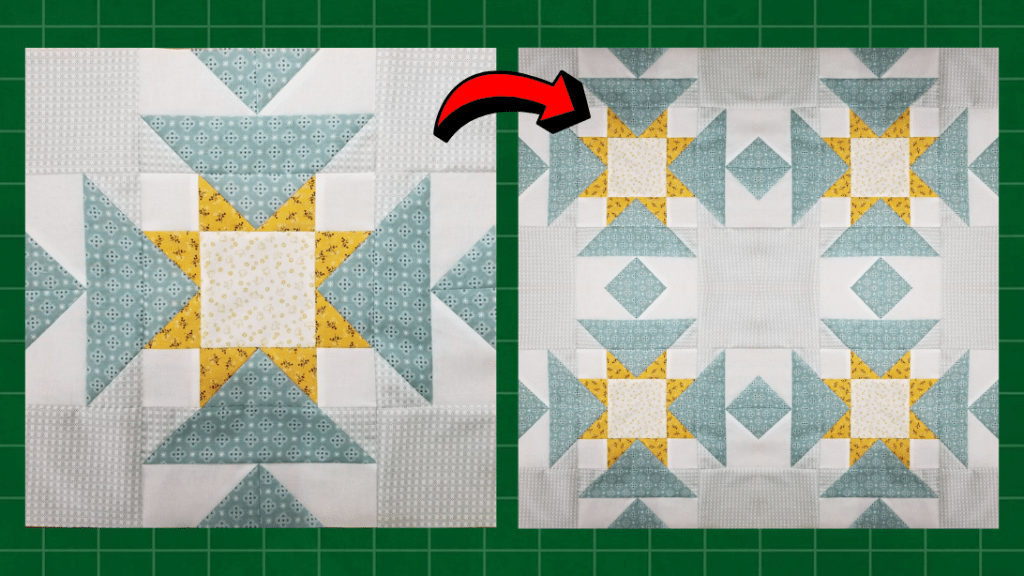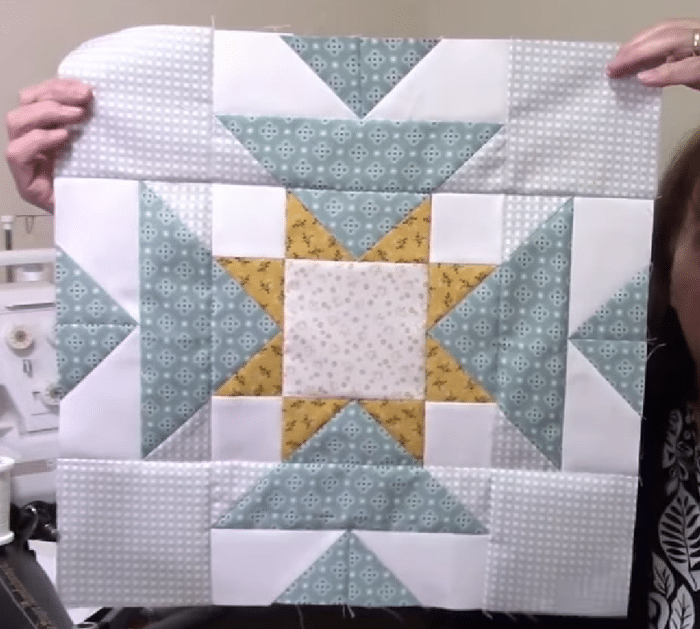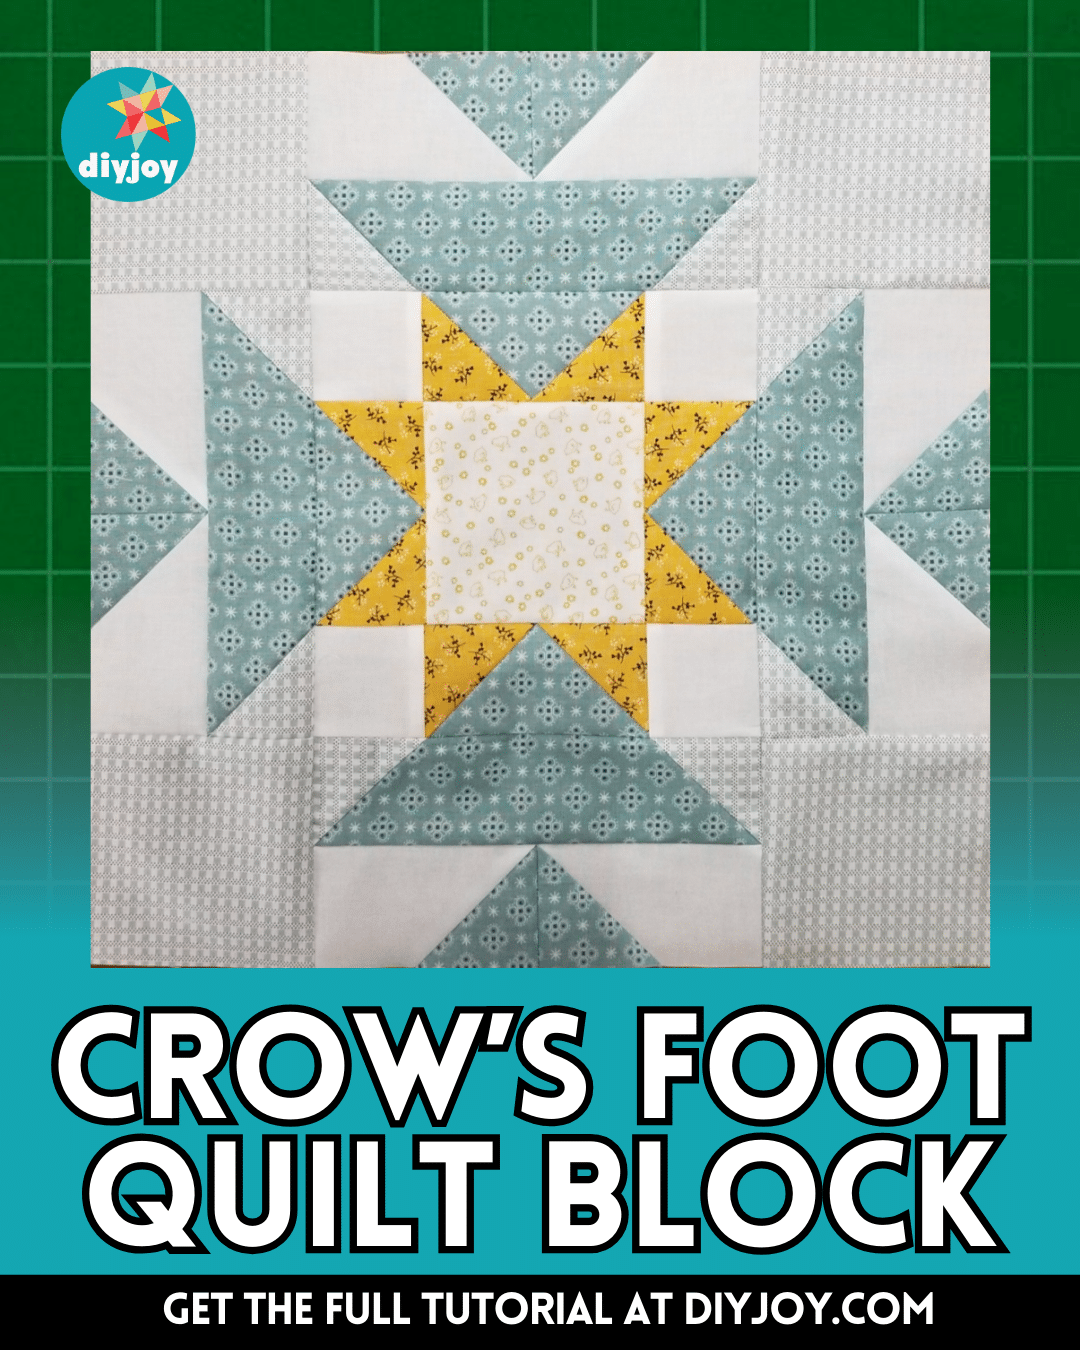
Once you’ve mastered the most basic star quilt block, the next best step to take is to make a variation of a star quilt block which is more challenging than the first. If you don’t know which type of quilt block to make, then check out this crow’s foot quilt block by Sunrise Quilt Studio on YouTube, and give it a try.
RELATED: Easy Hunter´s Star Quilt Block Tutorial
This has more steps than the usual quilt block that you make and the process is longer, but I’m sure that you can do this perfectly even if you’re a beginner. You can also use any fabric prints and colors that you want or use whatever you have available, guaranteed it will still look amazing!
Materials for Crow’s Foot Quilt Block:
- Green fabric, for the arrows
- Yellow fabric, for the inner points
- Gray, for the corners
- Fabric, for the center
- Background fabric
- Marking pen, pencil, or chalk
- Ruler
- Scissors or rotary cutter and a cutting mat
- Fabric pins
- Needle and thread
- Iron, for pressing
- Sewing machine
- Pattern (Click here to download the pattern)
How to Make Crow’s Foot Quilt Block:

Step 1
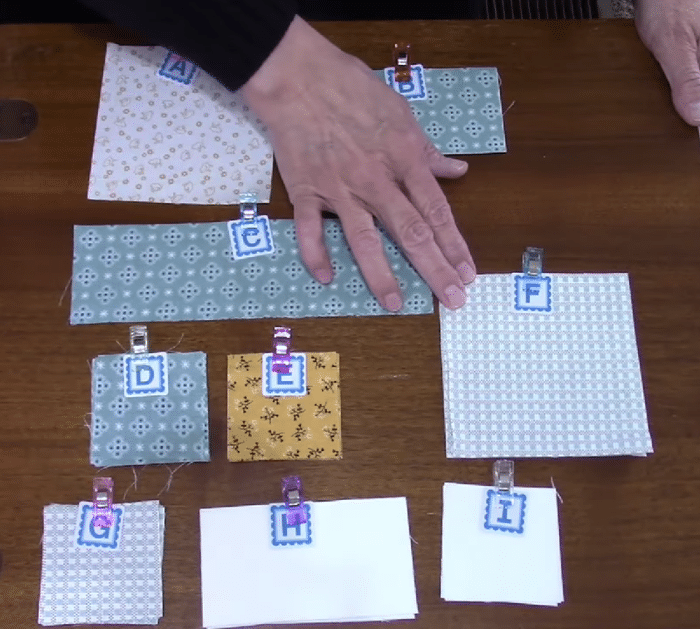
Download the pattern, then cut the fabric as instructed, and line the wrong side of the small print squares diagonally from corner to corner. For the center star, get the B rectangle and E squares, then place one square on one side of the rectangle with their right sides facing, and stitch them diagonally along the line.
Step 2
Cut away the excess with ¼ inch seam allowance, then sew another square on the other side, and press it nicely. Do the same for the rest to complete 4 flying geese units, then stitch a white square on each end of the 2 flying geese units, and stitch them on all sides of the center square pressing the seams as you go.
Step 3
Get the H rectangles and D squares, then divide them into two sets, for the first set, place a square on one end of the rectangle. Stitch them diagonally, then trim off the outer corners with ¼ inch seam allowance, and press them nicely. Do the same for the second set but place the squares on the opposite end, then match them together to form a triangle in the middle, and stitch them on the shorter side.
Step 4
Get the C and G fabrics, then sew a square on both sides of the rectangle diagonally, and trim off the excess pressing the seams as you go. Assemble everything as shown in the pattern, then stitch them per section and then the sections to each other, and press it nicely.

*All image credit belongs to Sunrise Quilt Studio via YouTube. Follow and subscribe to her channel for more!


