My Dad is serious about his love for his chicken and he wants to build a new home for them, so I suggested we look through the internet for inspiration and ideas that he can try. One of the best DIY video tutorials that stood out the most is this one by Komar Project on YouTube, the steps and instructions are so clear and super easy to follow, plus, it is a fun project that you can finish within a week, too!
Materials:
- 2×4 lumber
- Plywood
- Gravel
- Miter or circular saw
- Paint
- Vinyl tiles
- Drill
- Sanding machine
- Wood glue
- Finish nail glue
- Nail gun
- Plan (Click here to download the plan)
Directions:
Step 1
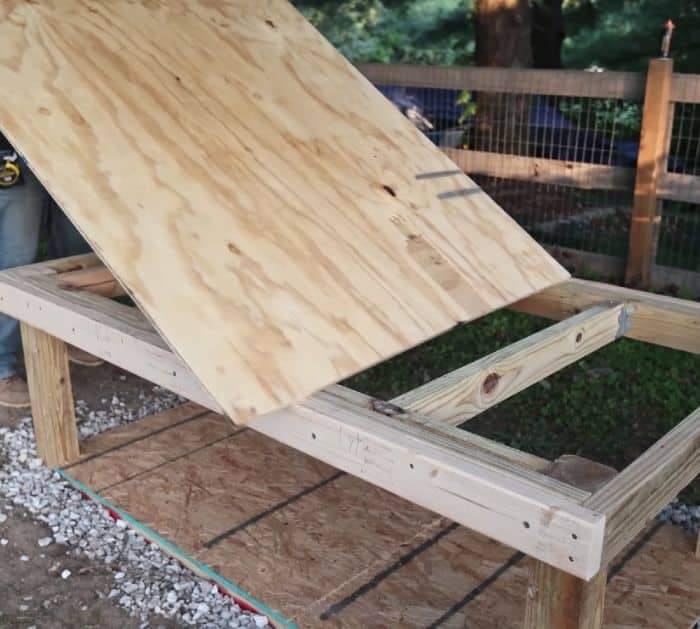
Make sure to download and print the plan to see the full detailed guide, then cut the wood pieces as required by the plan, and build the base frame. Install the joist and joist hangers on the base frame, then place them on level ground, and if it’s not level, then mark the location with spray paint. Remove the base and set it aside, then add the gravel along the marked line to level everything out, and then put the base back into place. Add more gravel around the bottom of the base’s legs to lock them in place, then install the plywood at the bottom and top, and then start working on the wall frames of the coop.

[social_warfare]
Step 2
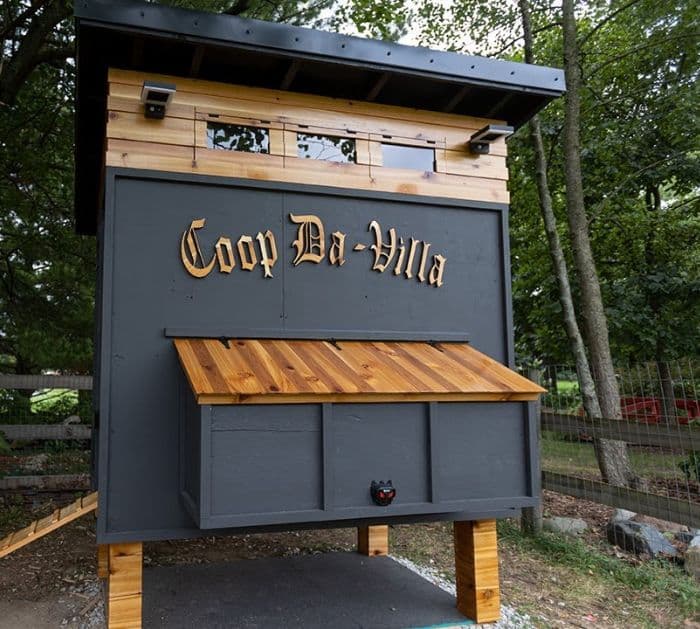
At this point, it will be better to paint the exposed areas already before continuing to build the coop, then allow the paint to dry completely, and start cutting all the openings off. Next, start working on the roof and finish it, then build and install the doors, and then proceed to attach the nesting boxes at the side of the coop. Paint the exterior, then while waiting for the paint to dry, install and stick the vinyl tiles to the flooring, and finish painting the rest of the parts that you haven’t done yet. Watch the video tutorial for more details.

*These amazing images are all credited to Komar Project via YouTube. Check his other content and follow for more!


