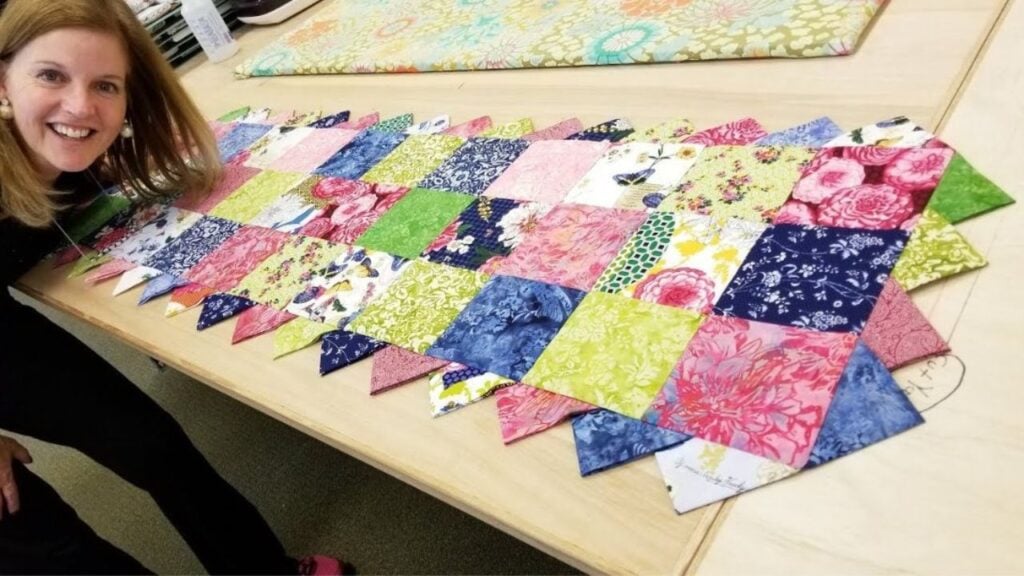
This donna’s prairie points runner by Jordan Fabrics is the perfect boutique-style decor piece to add to your home. It has different patterns and vibrant colors that go well together. It’s an easy and fun quilt project that is ideal for beginners. Read on or watch the video below for the full instructions.
Materials:
- 33 pieces of 5″ squares for the runner top
- 40 pieces of 5″ squares for the prairie
- 54″ x 16″ backing fabric
- 54″ x 16″ batting fabric
Instructions:
Step 1:
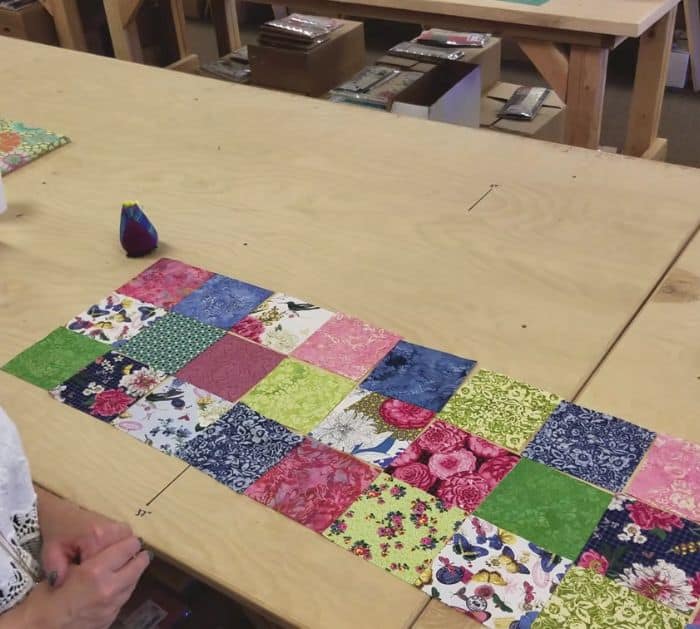
Start laying the 5″ squares in 3 rows with 11 pieces on each row. You can arrange them to match the colors or create a pattern.
[social_warfare buttons=”Facebook,Pinterest,Twitter,WhatsApp”]
Step 2:
Staggered stack the first row and place a pin to secure. Do the same for the second and third rows. Label them so you will not get confused later on.
Step 3:
Get the third row. Start with the first two squares, place them right sides together then sew on the edge with a 1/2″ seam allowance. Continue until you finish the first row then set it aside.
Step 4:
Once you are done with each row, flip the bottom row and press the seam allowances to the left side using an iron. For the second row, press the seam allowance to the right and the last row to the left.
Step 5:
Place the first and second row right sides together then sew on the edge with 1/4″ seam allowance. Once done, open the fabric and finger press the seams. Next, sew the last row. Steam press the runner top.
Step 6:
For the prairie points. Take one square, fold it on its diagonal wrong sides together, and steam press. Fold it one more time and steam press. Do the same for each of the other squares.
Step 7:
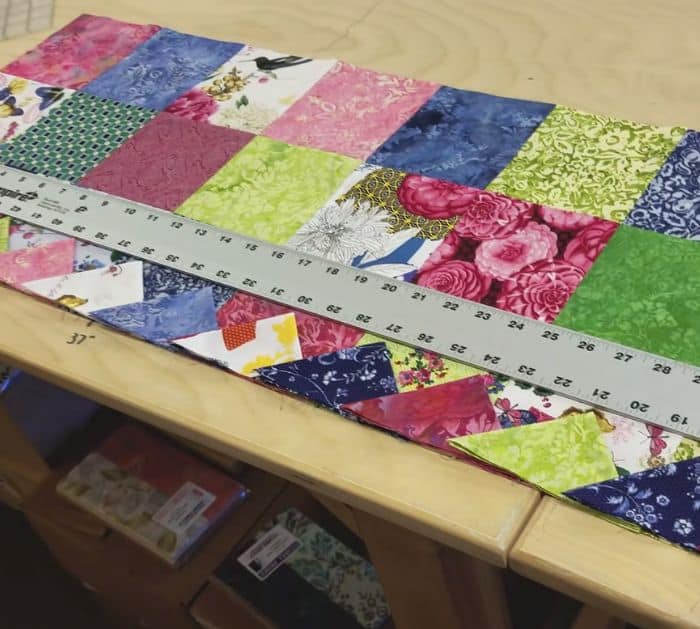
Start by adding two triangles at each corner of one of the long sides. Then arrange 14 triangles in between the two with the points 3 inches away which will make them overlap. Make sure you don’t put the same pattern for the points and the square on the runner. Pin and stay stitch along one side a little less than a quarter inch. Do the same for the other long side. For the short sides, use 4 triangles.
Step 8:
Put the runner and the backing fabric right sides together with the prairie points folded and the batting fabric at the bottom. Stitch right inside the stitching you just did but leave an 8-inch opening. Trim off the excess batting and backing. Also, cut the little corners. Flip it right side out. Smoothen it out using your fingers then close the opening. Lastly, stitch on the ditch along all of the seams.


