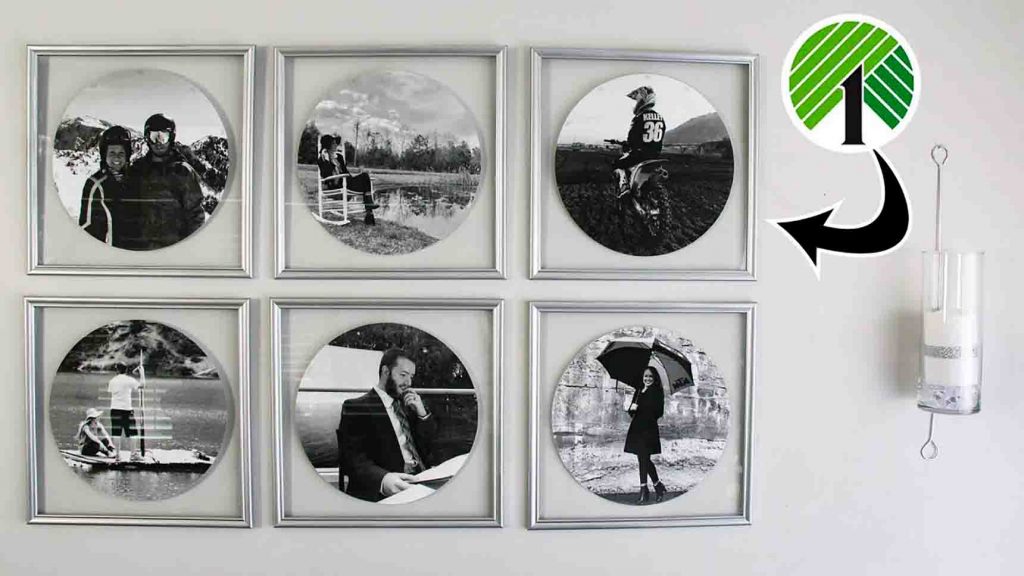
This floating frame art from StoreeOfMyLife on Youtube will surely spice up your dated wall! It’s super easy to make, and the best part is all the materials are readily available at Dollar Tree. It’s pretty, inexpensive, and the perfect DIY to update your space. Learn the step-by-step instructions by watching the video tutorial below.
Materials:
- 6 pieces 1 ft x 1 ft frames
- pliers
- metallic spray paint
- automotive enamel
- dry eraser
- E6000 glue
- double-sided tape
- scissors
- hardware kit
Directions:
Step 1
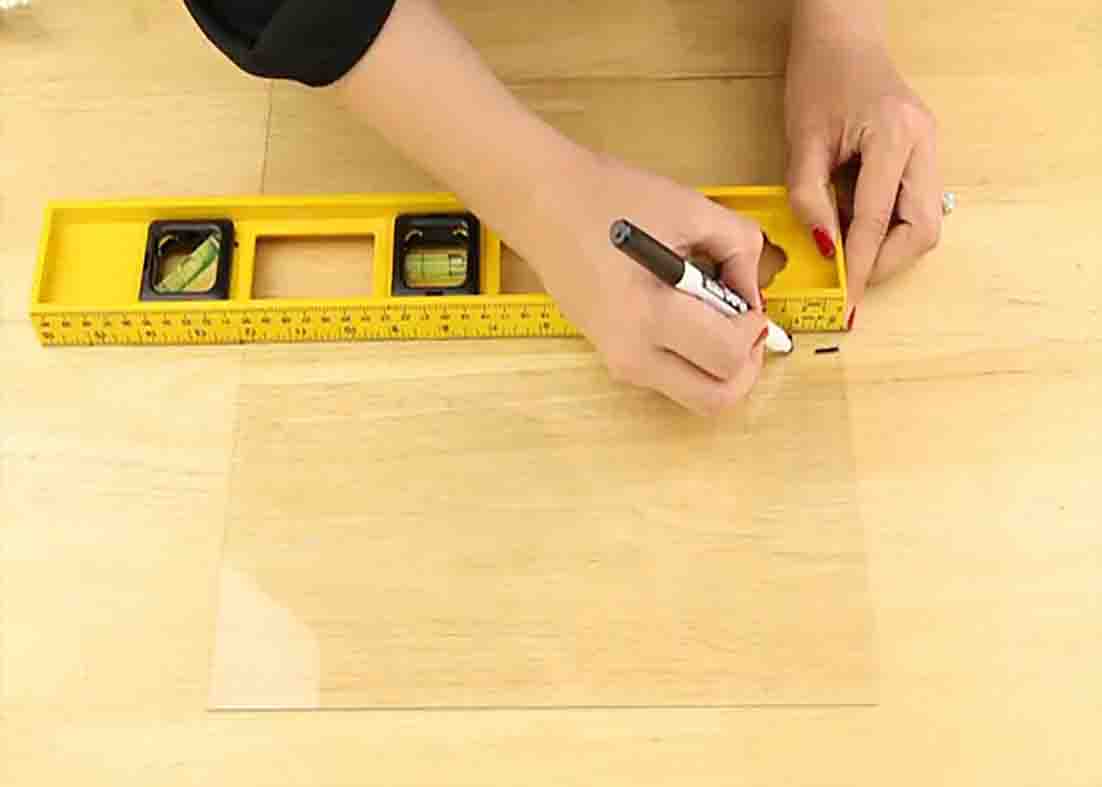
Remove the metal tabs from the back of the frames using pliers, then pop out the backing and the glass. Spray-paint them with two coats of metallic paint and one coat of automotive enamel. Next, clean one side of the glass, then draw 6″ along one side and put a mark with a dry eraser. From that mark, place another 1″ in from the edge. After this, apply E6000 glue to the inside of the frame and place the glass with the marked side facing down. Repeat this for all six frames and let them sit to dry.
[social_warfare]
Step 2
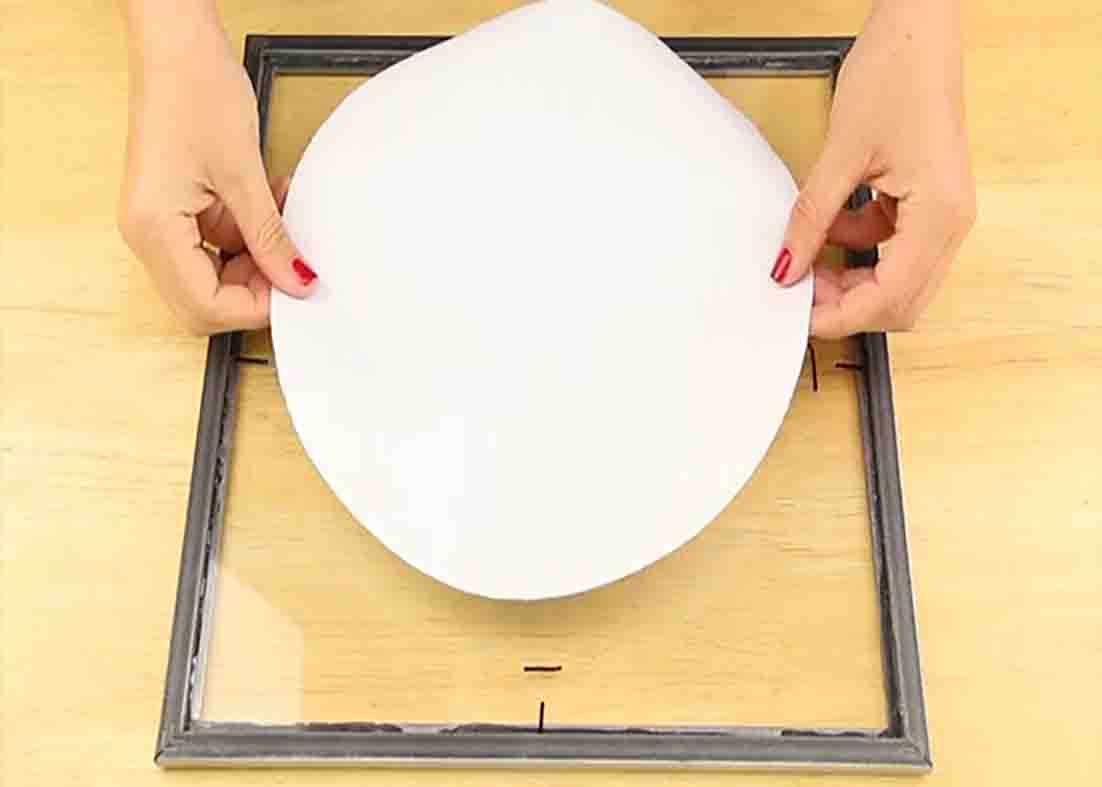
Next, cut out your circle print and place tiny pieces of double-sided tape around the edge. Flip the picture over and line it up with your 1″ markings before pressing it to the glass. After this, wipe away the marks on the other side. To hang your frame, screw a mount to the top portion in the center and repeat it for all six. Finally, put your nails of 14″ part horizontally and 14″ apart vertically, then hang your frame art.
Dollar Tree DIY Floating Frame Art Tutorial


