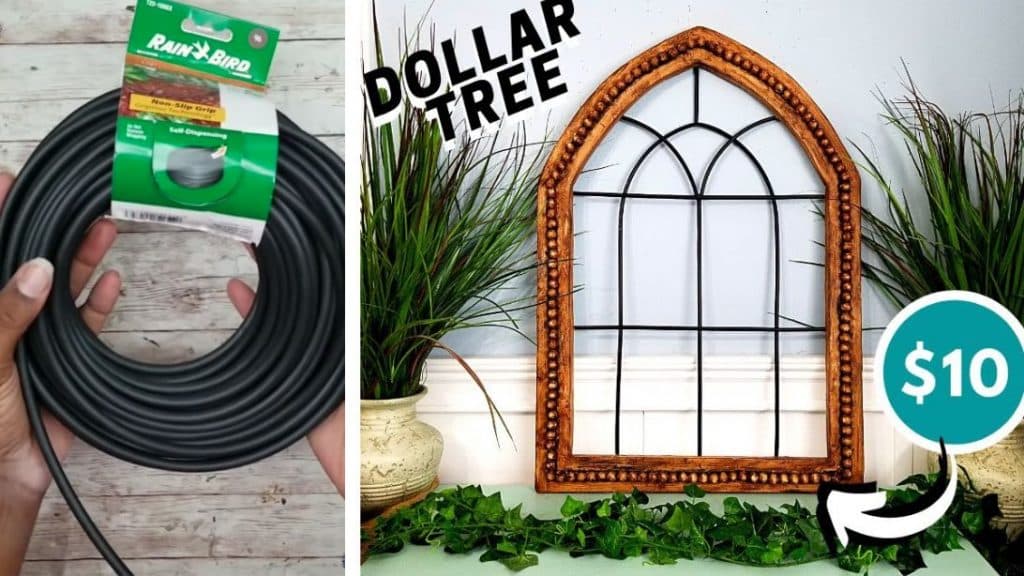
Add a gorgeous decoration to your wall with this dollar tree DIY cathedral window by She So CraftDee. Who would even believe that it is not wood? It’s actually made from marble pieces and foam boards, not wood! I was so impressed with this amazing craft project; it’s very creative and clever. Watch the video below for the full instructions.
Materials:
- 3 pieces of foam boards (Dollar Tree)
- 1 piece of poster board
- 2-3 bags of marbles (Dollar Tree)
- regular bamboo skewers (Dollar Tree or Walmart)
- rain bird 1/4″ irrigation line (home depot)
- pair of scissors
- ruler
- exacto knife
- pencil
- hot glue
- E600
- painters tape
- antique paint color
- black acrylic paint
- pattern (click the video below and download the pattern from the description box)
[social_warfare buttons=”Facebook,Pinterest,Twitter,WhatsApp”]
Instructions:
Step 1:
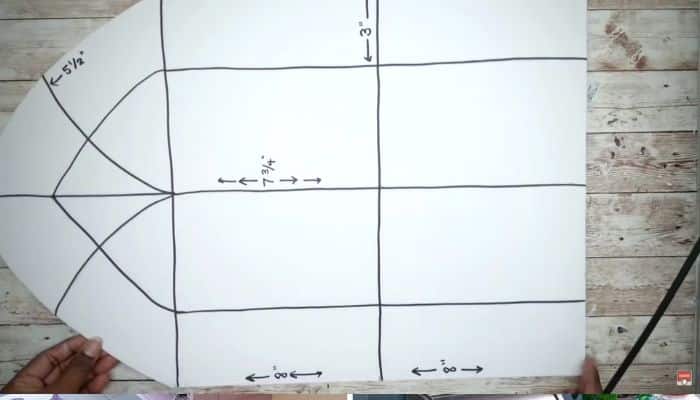
Assemble the pattern and tape them together. Once done, trace the template on one form board then take it off. Put it right side down beside the traced arch to make the other half.
Step 2:
Cut the frame using an Exacto knife in one continuous motion. Use your ruler for the straight lines.
Step 3:
Create a border for the frame. Measure 2 inches around from the edges of the frame and mark using a pencil. Connect the dots. Use the ruler to connect the dots for the straight lines. Next, cut the inside of the frame using a ruler and exact knife. Take your time going around the arches to make a nice clean cut. Once done, carefully remove the border.
Step 4:
Get another foam board and the border. Flip the border right side down and apply hot glue. Attach it to the foam board with the edges aligned. Cut the exact border on the foam board using a ruler and an Exacto knife. Do the same for the remaining foam board.
Step 5:
Measure the thickness of your frame and cut strips on the poster board with that width to cover the raw edges. You will need about 6 strips for this project. Glue them to the edges. Make sure they are nice and even. Once the outside edges are done, apply the strips on the inside.
Step 6:
Mark on the center of the frame all the way around. Once done, connect the marks with a line. Next, get your Exacto knife and cut about 1/8″ away from each side of the center line. Cut only on the top layer of the foam board. Get a marker with a rounded end and press along the center of the line you cut. This will make a well around.
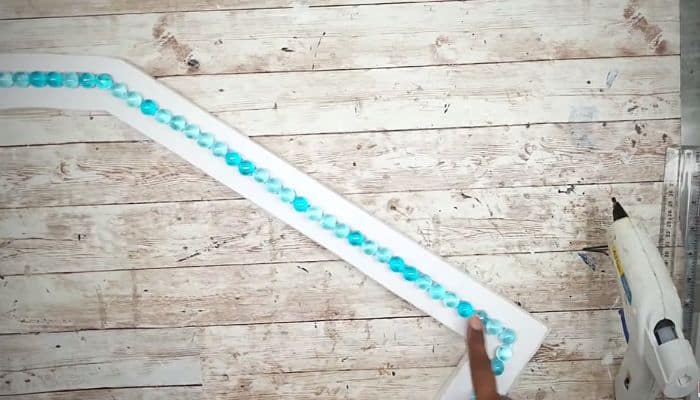
Step 7:
Apply E600 on the well, a bit of hot glue, and place each of the marble. Apply a piece of painter’s tape along the edges of the marble and apply hot glue in between the marbles. Once done, immediately remove the tape. repeat on the other sides. Once the hot glue is dry, dust it off. Prime the marbles with a primer and let them dry.
Step 8:
This will be the pattern for the tubes in your border. Use this as a guide when you cut the tubes. Make sure to add allowances.
Step 9:
Paint the border with an antique paint color. Then for the edges of the marble, use black acrylic paint. Set aside to completely dry.
Step 10:
Place the border right side down to the guide and copy the markings to the back of the frame. To make the tubes nice and straight, insert skewers. Glue them in place using hot glue. Hold it in place for 30 seconds to make sure it will not move. Bend the tube on the arches and attach using hot glue. To hang the piece, glue a thick jute twine on the top back part.
Dollar Tree DIY Cathedral Window


