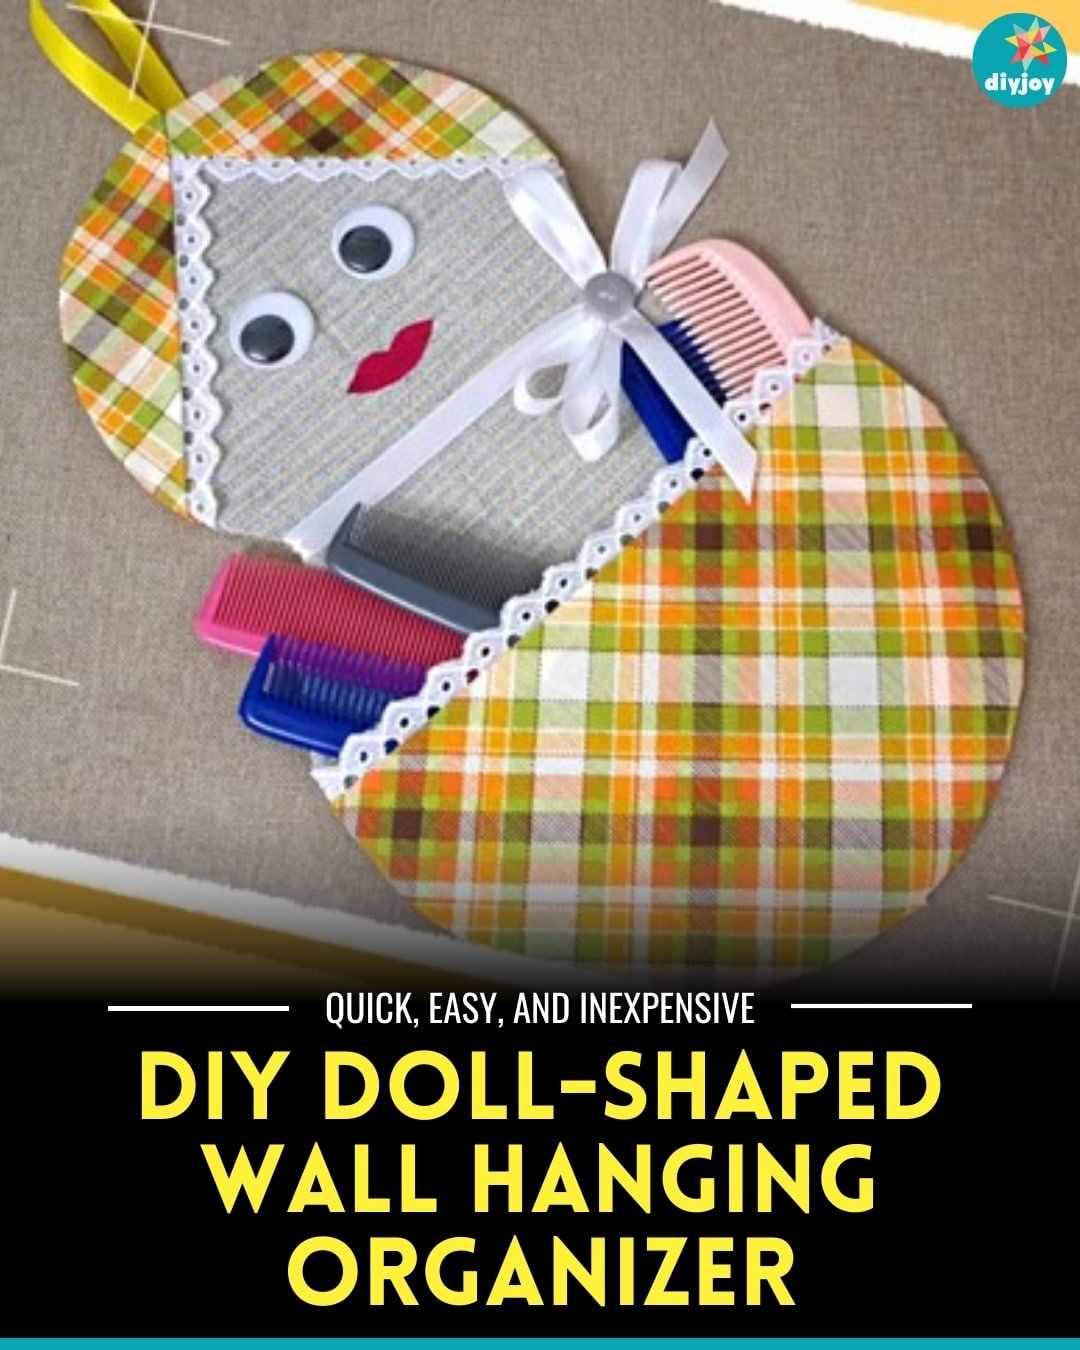
If you’re looking for a simple DIY you can make with your friends over the weekend, I recommend this DIY doll-shaped wall-hanging organizer from Joy of Creation on YouTube. This adorable wall hanging is a fantastic way to organize some of your things and keep your space neat. The best part? You can make this with just simple crafting supplies you might already have on hand.
RELATED: Dollar Tree DIY Wall Organizer
In this step by step tutorial, Joy of Creation will teach you how to make this doll-shaped organizer, It’s easy and beginner-friendly and I’m sure you’ll adore this once you finish making it.
Materials:
- template
- glue
- fabrics
- scissors
- googly eyes
- silk ribbon
Directions:
Step 1
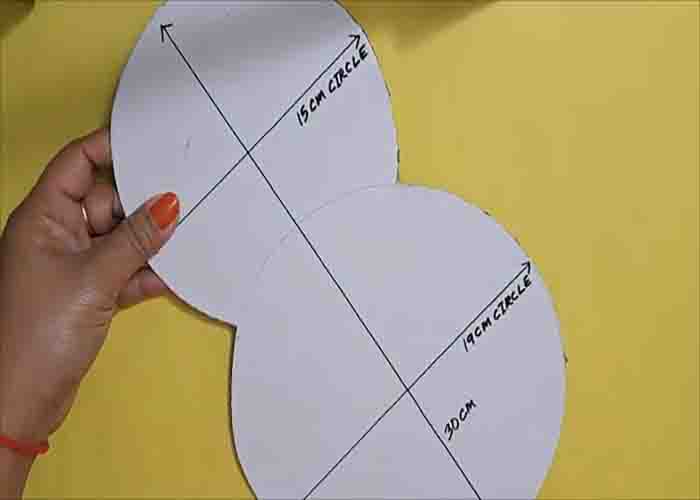
To start, trace your doll template in a cardstock (or cardboard) with these measurements: 30 cm in overall length, 15 cm in diameter for the top circle, and 19 cm in diameter for the bottom circle (see picture below for reference). Once you have your template, add glue on the edges as well in the center, then spread it thinly. Glue a fabric over it, then cut it in the shape of the template, leaving some allowance. Cut another piece of fabric in a half-circle shape, then glue just the edges below, leaving it open like a pocket. Add a lace trim on the straight edge for design. Once done, glue the excess fabric at the back to secure.
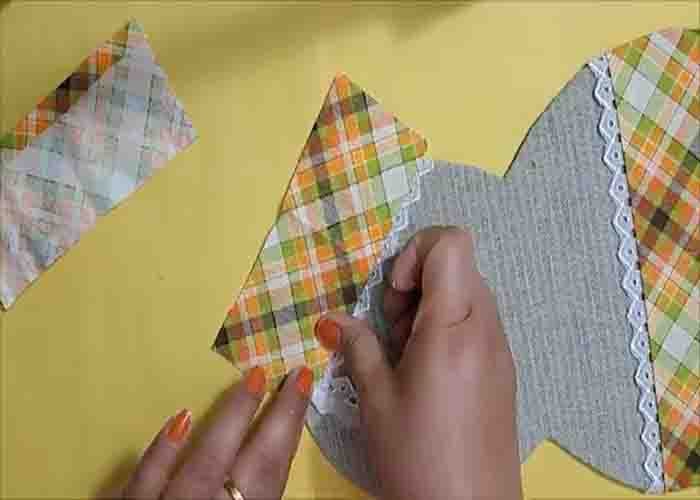
Step 2
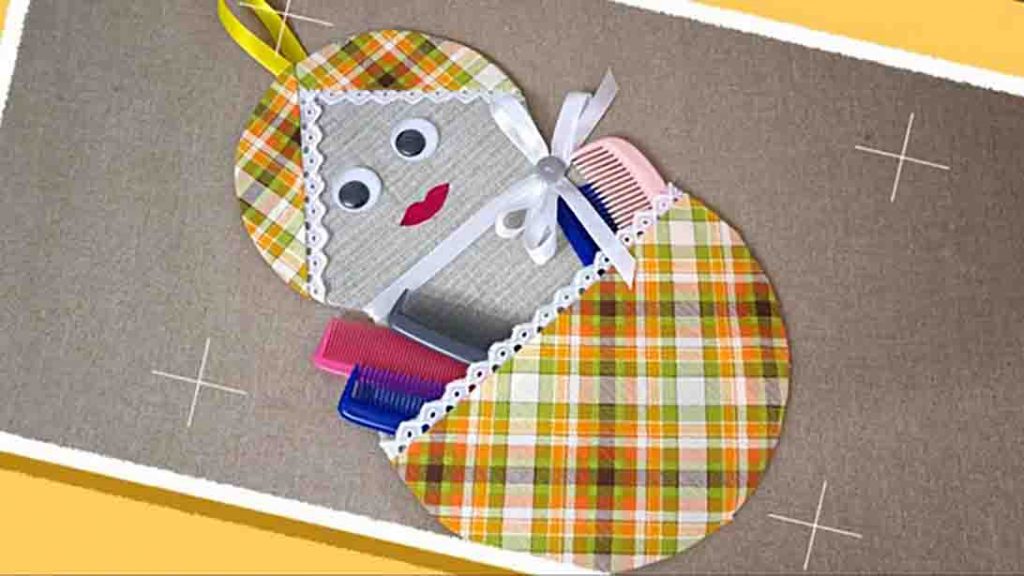
To design the head part, add two pieces of lace trim in a triangle shape to form the hair part of the doll. Next, fill the space at the top of the lace trims by gluing the same fabric you use for the pocket. After this, glue a pair of googly eyes and a lip-shaped fabric to complete the face of the doll. Tie a silk ribbon at the neck of the doll, and add a hang at the top. Once you add all the details, glue another piece of fabric on the back to hide the ugly side. Hang it anywhere in your house!
DIY Doll-Shaped Wall Hanging Organizer