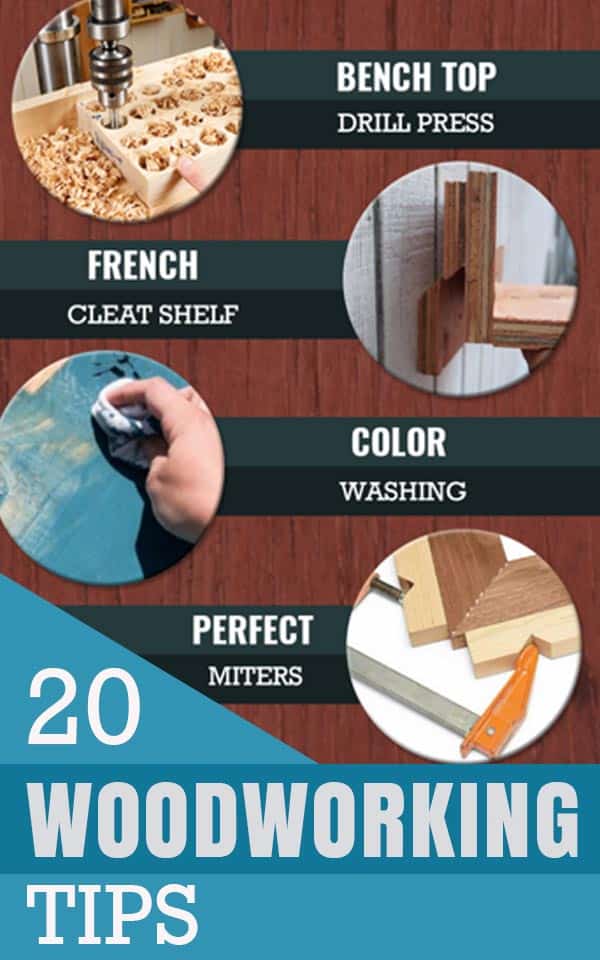
New to woodworking or having trouble with certain projects? Whether you are a beginning woodworker or expert, these tips from the pros will speed up and simplify your projects. Improve your DIY skills with these awesome tips that help you learn how to create perfect furniture, crafts, and home repairs. Lots of professional-looking finishes are really doable if you simply know some easy secrets of the trade. From cutting perfectly mitered corners to achieving the perfect designer finish on that new piece of DIY furniture you just made to tips and tricks for handling wood in all sorts of ways, you will find lots of “must know” tips here.
DIY Woodworking Tips
1. Perfect Miters Everytime
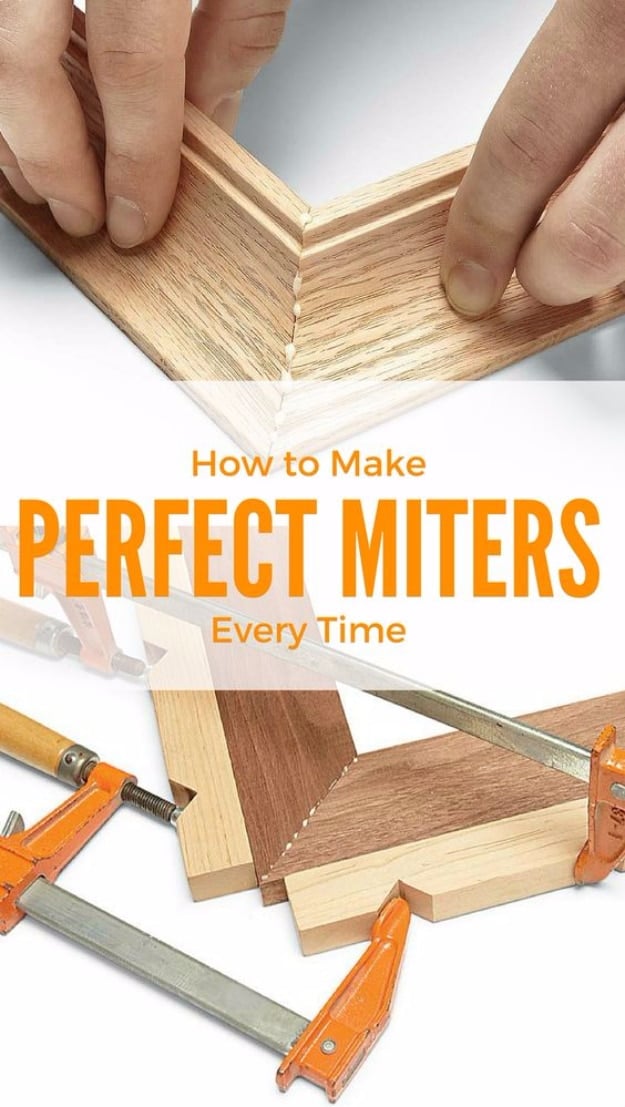
Having trouble getting the corners of your DIY decor and furniture projects to look professional? Making wood corners that are flush and perfectly aligned is not simple, but this cool DIY trick makes it easy to get perfectly mitered corners. Check out the step by step tutorial to learn how.
[social_warfare buttons=”facebook, pinterest, twitter, whatsapp, email”]
2. Refinishing Wood With Coconut Oil
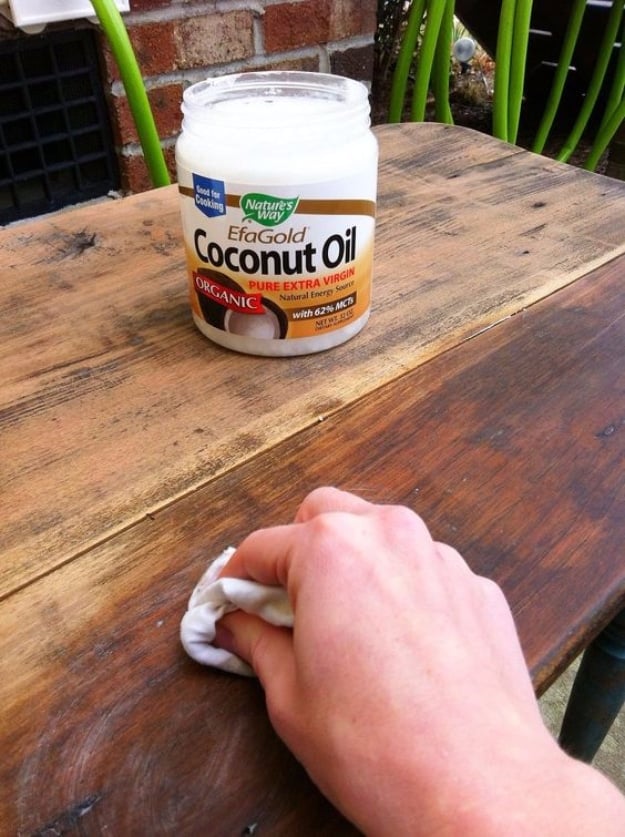
One of the best, most versatile finishes, coconut oil can be used for a warm, not too shiny and easy to take care of wood finish. Whether you are new to woodworking of a seasoned DIY pro, if you have not tried finishing wood with coconut oil, you should definitely try this idea out. Much easier to deal with than traditional wood oil, the coconut oil finish will leave your wood glowing. Hides imperfections and scratches, too! My favorite DIY trick I’ve discovered recently!
3. Easy Graphic Transfer Tutorial On Wood
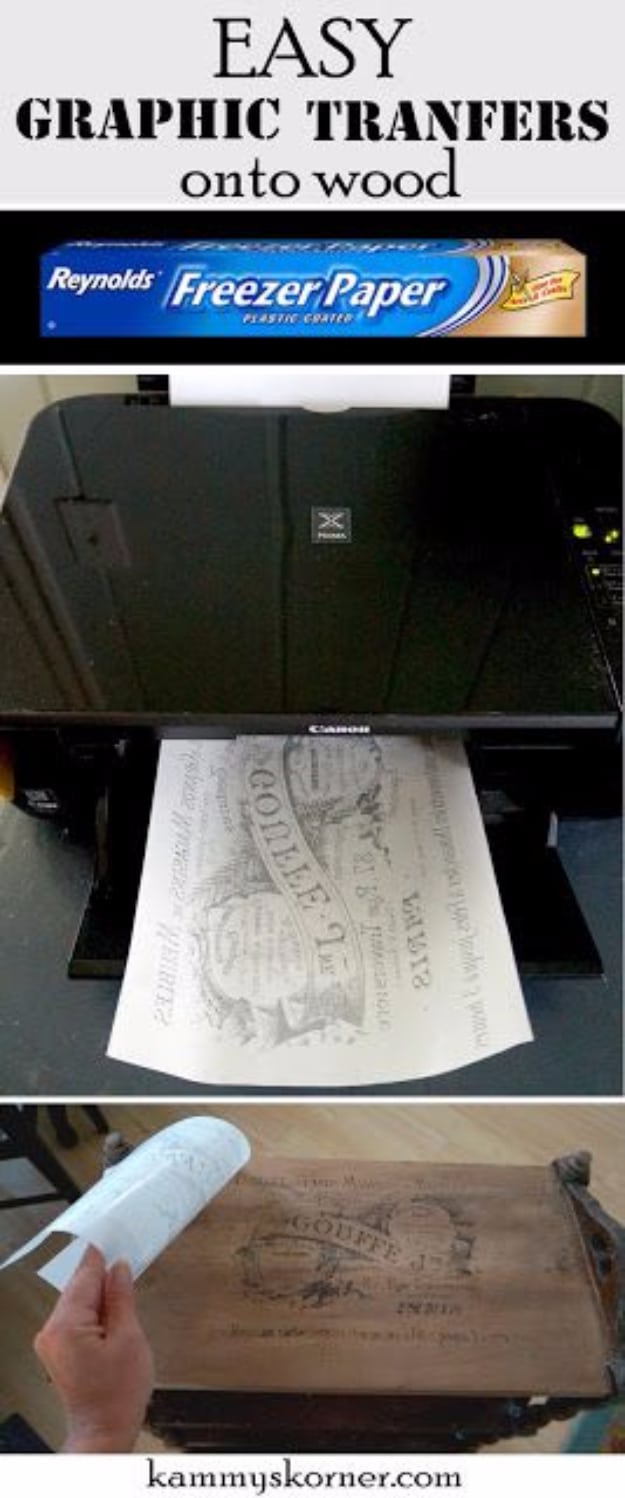
OK, so I have seen so many cool crafts lately with distressed art and quotes on them, and I’ve been dying to try some at home. However, I had yet to figure out how to get the look for myself until now. Turns out, adding a finish to the wood with your own images and art is easy, you just use your home printer and freezer paper to create your own DIY transfers. Look at the amazing results! I have so many things I am making with this cool DIY woodworking idea, I can’t wait.
4. Build A French Cleat Shelf
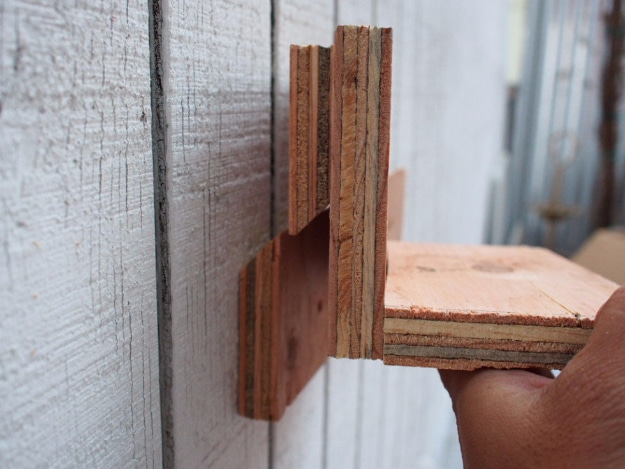
I’ve always found keeping my tools easily accessible and visible to be a challenge. A French cleat system is great for organizing any wall. It will be just as strong as most store-bought wall organizers, and the hanging storage possibilities are only limited by your imagination and skill level.
5. Bend Wood To Make Furniture
Bending wood is great fun, but it can be frustrating when you need to work quickly. Bent wood can add uniqueness and flair to a project. There are several different methods that can be used, each with its advantages and disadvantages. Follow along with this tutorial from Vid Staged to learn more.
6. Sanding Curved Wood
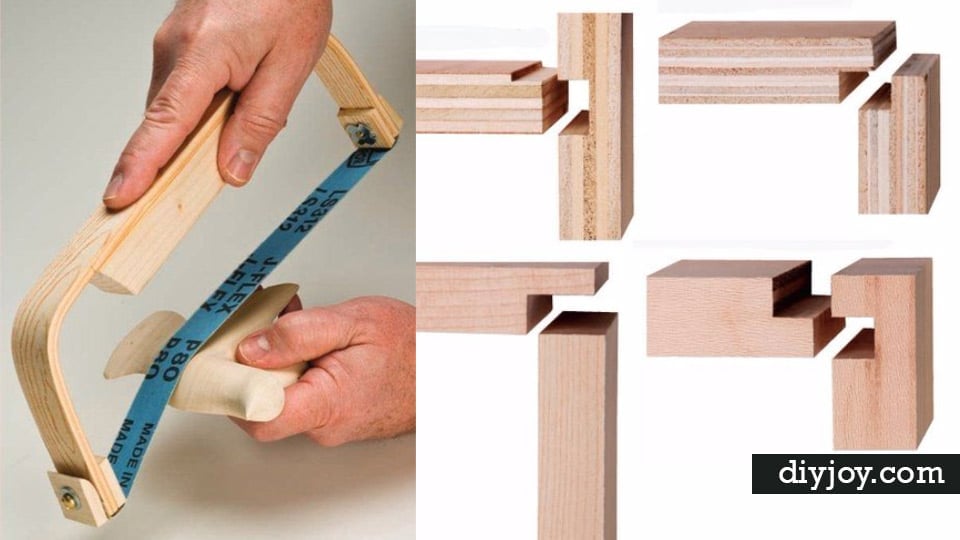
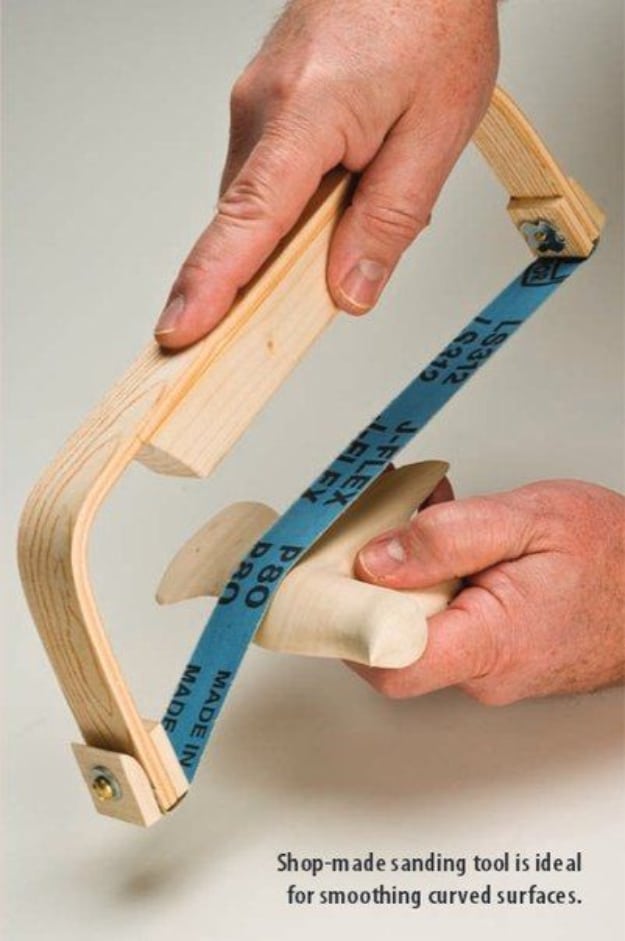
When it comes to woodworking, fewer things can be more intimidating than working on a curve. Whether you are trying to cut or finish it, smooth wooden curves are beautiful, but awkward. Once the main work on the curve is complete, it is important to sand it just as thoroughly as the rest of the piece. Sanding by hand is the most inexpensive method and perfect for someone working on one project.
[social_warfare buttons=”facebook, pinterest, twitter, whatsapp, email”]
7. Basic Rabbet Joints
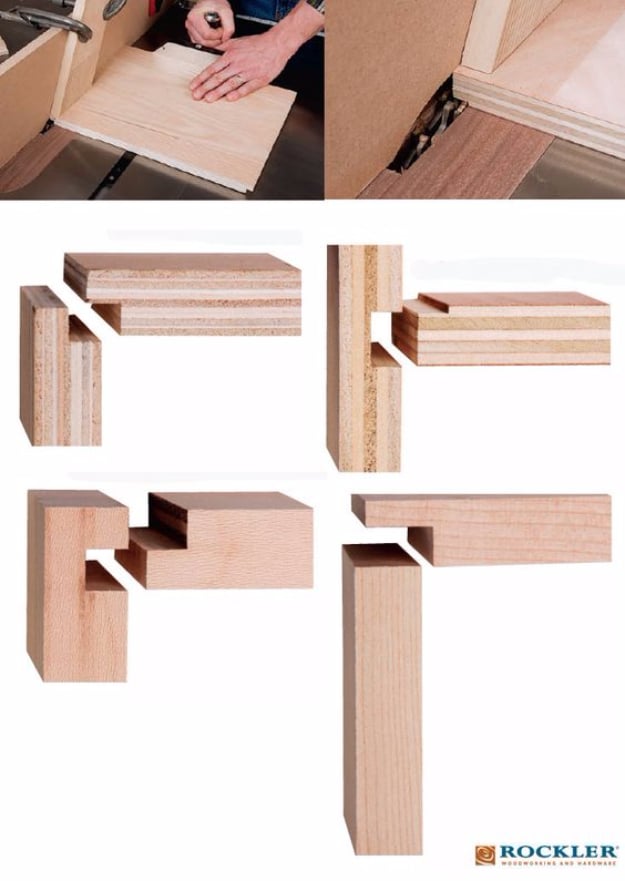
Rabbet joints may not be the prettiest of wood joints, but sometimes they’re just the best option you have. In its simplest form, the rabbet joint is just a recess cut across the end or down the edge of a workpiece into which another board is glued. Like most other woodworking joints though, the rabbet has its variations. The rabbet or rebate joint is often mistakenly called a rabbit joint.
8. Test A Benchtop Drill Press To Ensure Even Cuts And No Runout
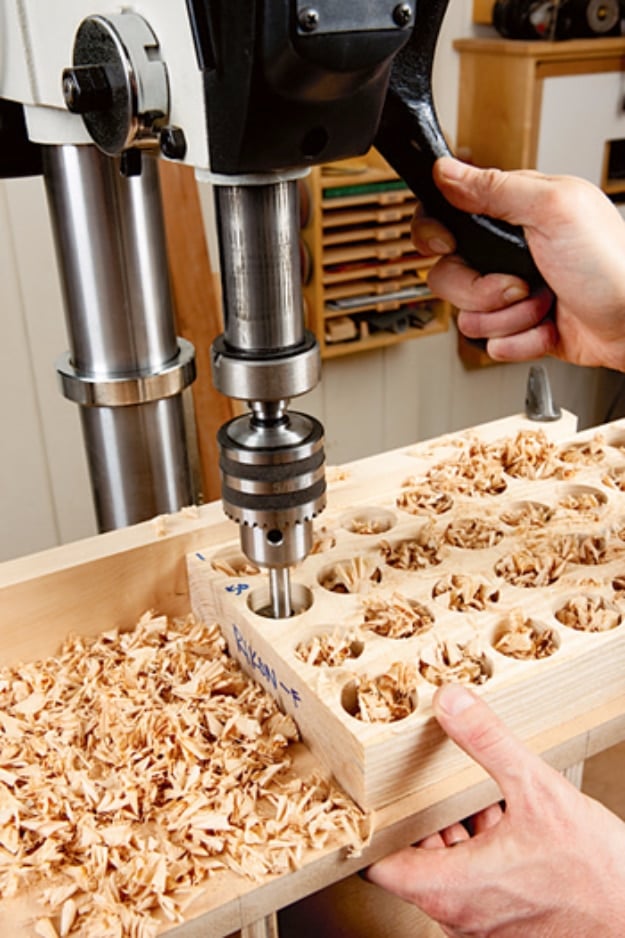
Do you experience problems drilling accurately, even when you have nicely center punched the correct location for a hole? My drill press was letting the bit dance around a bit (quite a bit) when starting a hole, so the hole frequently ended up just off the position where it needed to be. While you might get away with this on some types of woodwork, it can develop into a major problem for your metal projects.
9. Introduction To A Band Saw
The most common use for the band saw, however, is in cutting irregular shapes. The second most common use is in resawing or ripping lumber into thinner slabs. A band saw also makes the smoothest cuts and, with the appropriate blade, can be used to cut materials other than wood, including metal.
10. Top Trim Routing Techniques
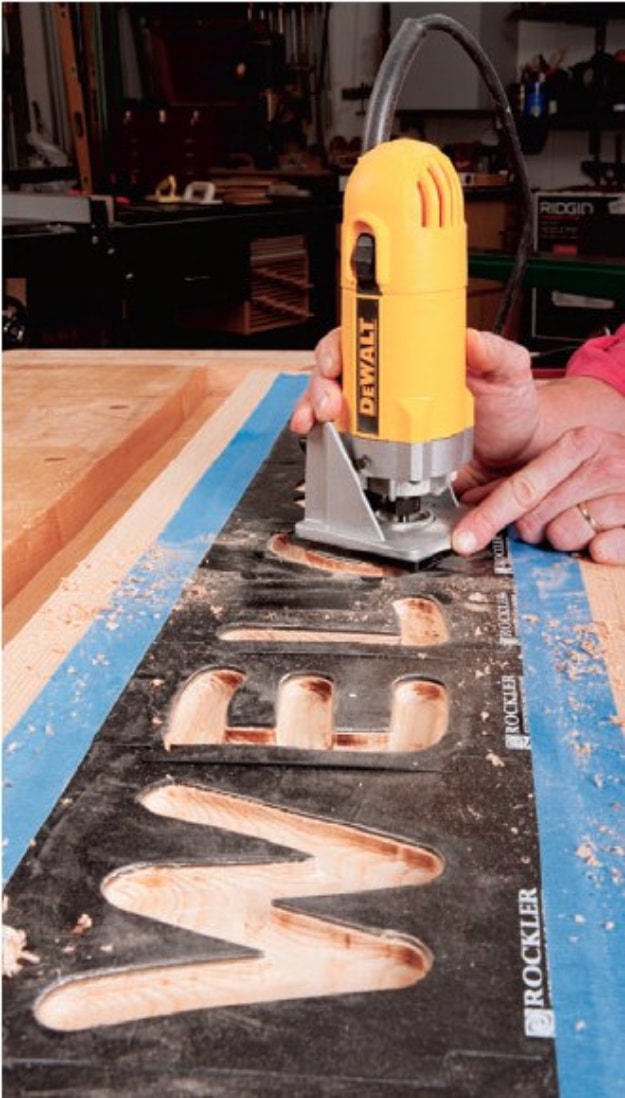
A wood router does more than cut fancy edges. It’ll also cut flawless dadoes and rabbets and perfect patterns. Our basics here show you how to set up and execute these cuts with outstanding results. These one-handed wonders have emerged from the shadows of their full-size cousins to earn their keep in your workshop.
[social_warfare buttons=”facebook, pinterest, twitter, whatsapp, email”]
11. Accurate Cuts With A Miter Saw
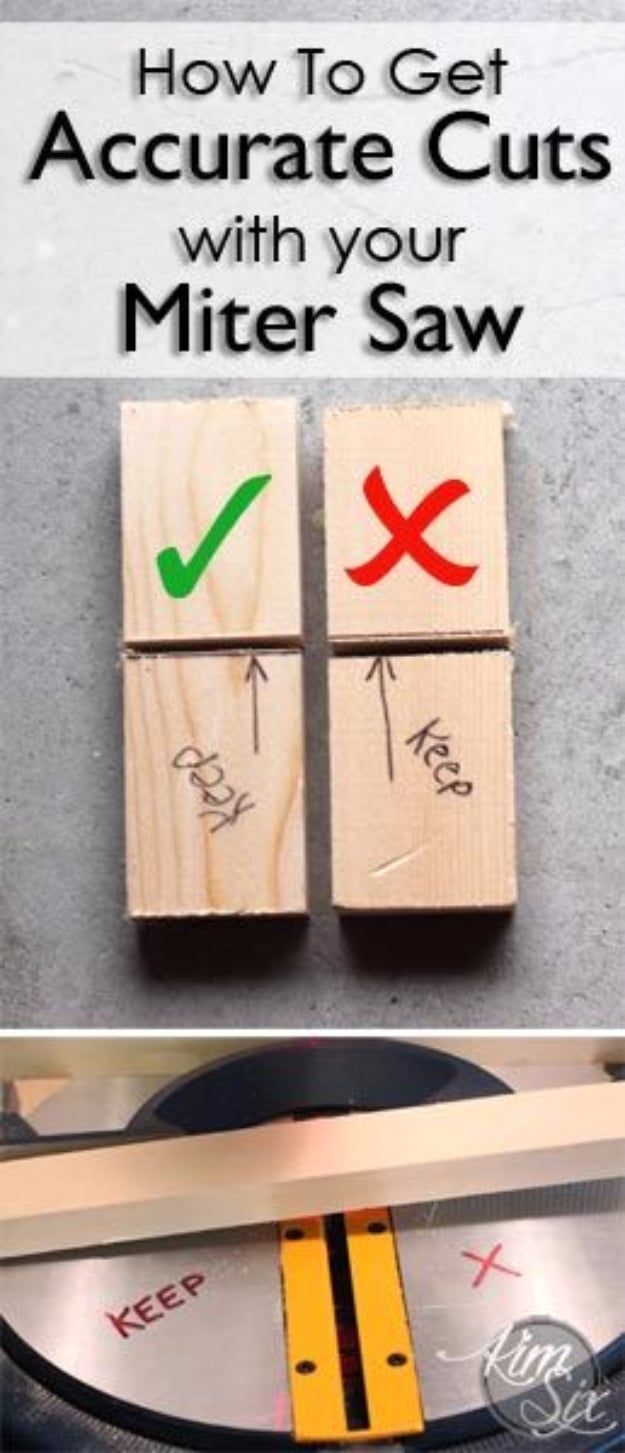
You can make crisp, accurate bevel or miter cuts with a circular saw but it’s tricky. The blade guard can stick, making it tough to get started. According to Kim Six Fix, when you make a mark on your board, you always want the blade to fall right NEXT to the line, so that the kerf is removed from the piece of wood you are not keeping. That also means the board you are keeping comes out at exactly the correct length.
12. Make A Planer Riser
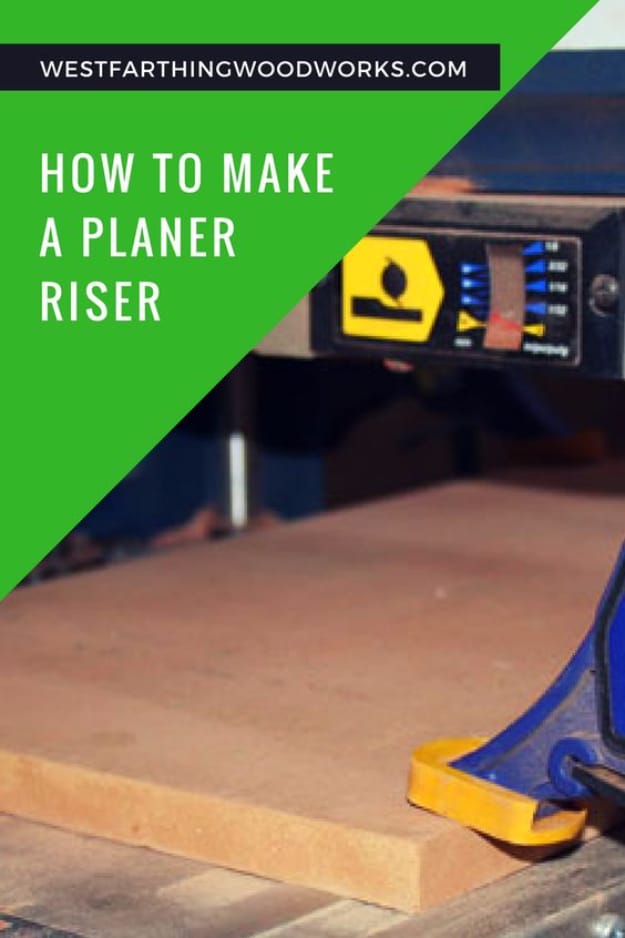
A planer riser is a piece of flat wood that allows the thickness planer to produce thinner pieces of material. To make a planer riser, start by taking measurements from the planer in the shop. Measure the width inside from edge to edge. This is typically the same as the size marking on the planer.
13. Buff Wood The Right Way
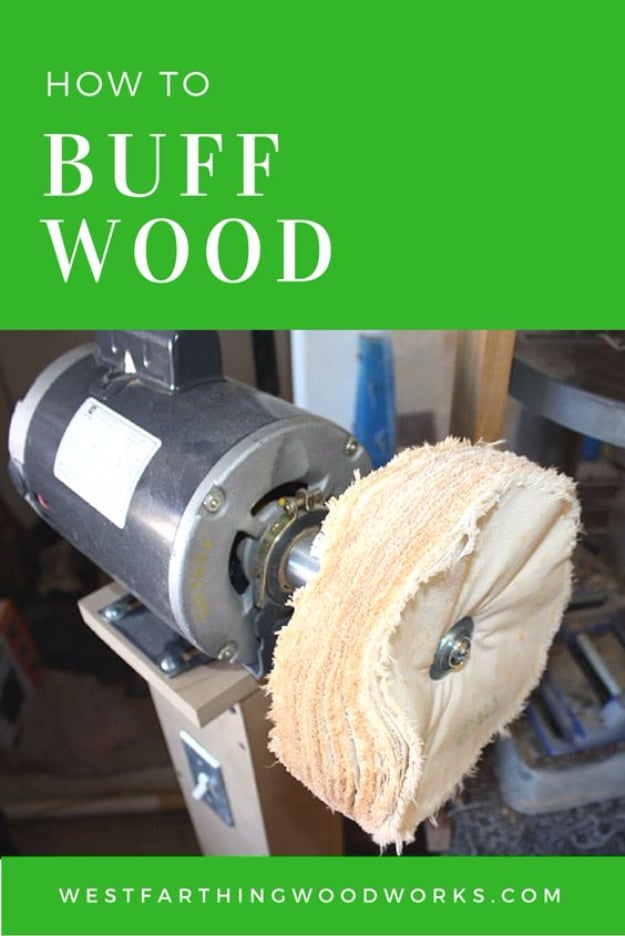
Buffing wood is the best-kept secret of the wood finishing world. The best way to buff wood to a high sheen is with a buffing system that is meant for use on wood. There are a number of buffing systems that you can buy, and even buffers for metal will do the job in a pinch.
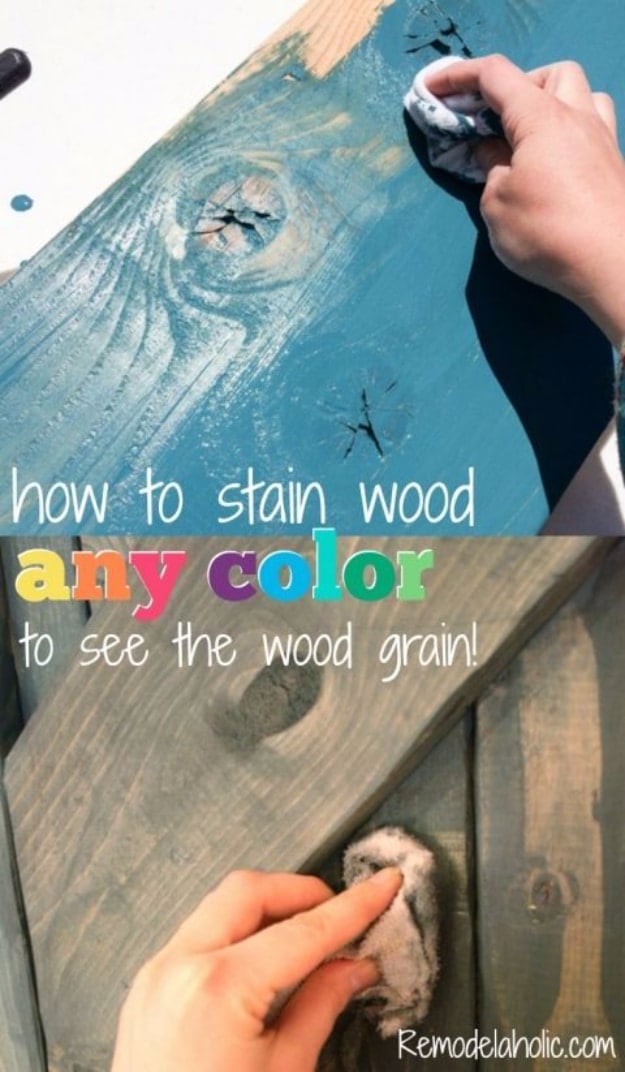
14. Color Washing To See The Wood Grain
A simple technique to get a fabulous color washed effect on wood. It’s a super simple paint technique but I love the final washed look! I want to do this to my kitchen cabinets. Looks like a lot of work but I love it. I guess I would have to use multiple brushes to ensure they are dry if we want to knock it out.
