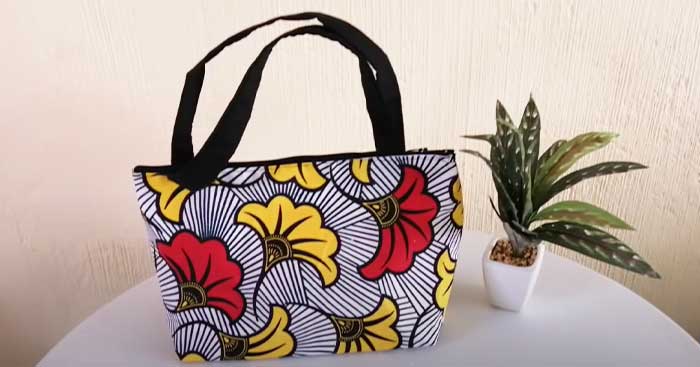
I’m calling it now. These tote bags will be the trend of the summer! I’ve already made so many and they are so adorable! This DIY tutorial from beautarie is amazing! The project is so quick and simple. And the best part of all, it only takes one piece of fabric to make it, so there is very minimal sewing to be done.
Materials Needed For This Project:
- Fabric
- Sewing Machine
- Scissors
- Zipper
Directions:
Step One
Cut out a 16 by 24 piece of fabric and the same size backing. The heavier the backing you choose, the better the bag will stand up on its own. You will then want to iron the fabric down to the backing.
Step Two
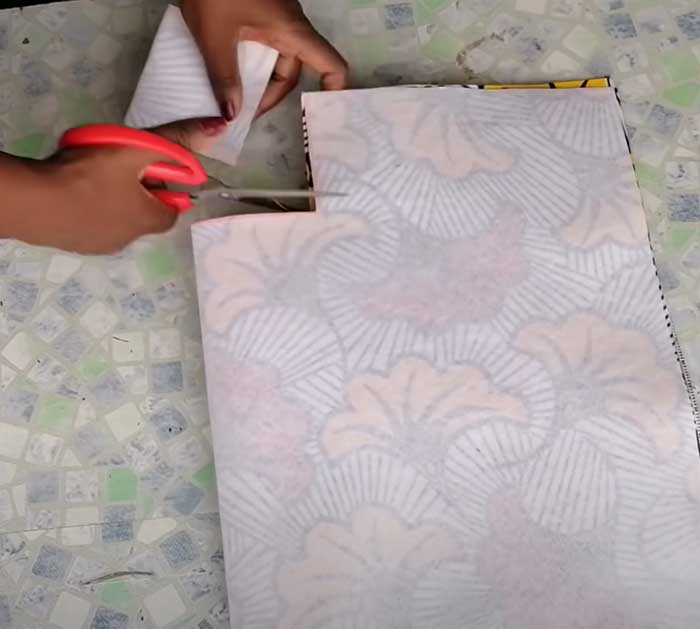
Fold the material in half, then measure out 3 by 3 squares along the fold on each side. Cut these out.
Image by. beautarie via YouTube video.
Step Three
Mark lines that are two inches from the top and draw those lines from the top to the outside of the corners you just cut.
Step Four
Create your handles. You will want to add a lighter backing onto the handles so they aren’t too thick to use. Iron the backing onto the handles fabric strips and then follow the folding in the video down below, then sew the
Step Five
Next, measure out where the straps will go on each side of the bag. Pin the straps in place before sewing them.
Step Six
Cut pieces of the same fabric as your straps and create the covers for the raw edges of the fabric. These can just be sewn on without pinning. Attach a zipper in this step if you would like as well.
Step Seven
Time to sew the bag. Start by sewing the side of the bag down. Make sure to only go down to the end of you cut, don’t sew the bottom three inches of fabric. Then create your box by folding the sides in then sewing the bottom cuts to the sides. This step will work best if you pin the fabric.
Step Eight
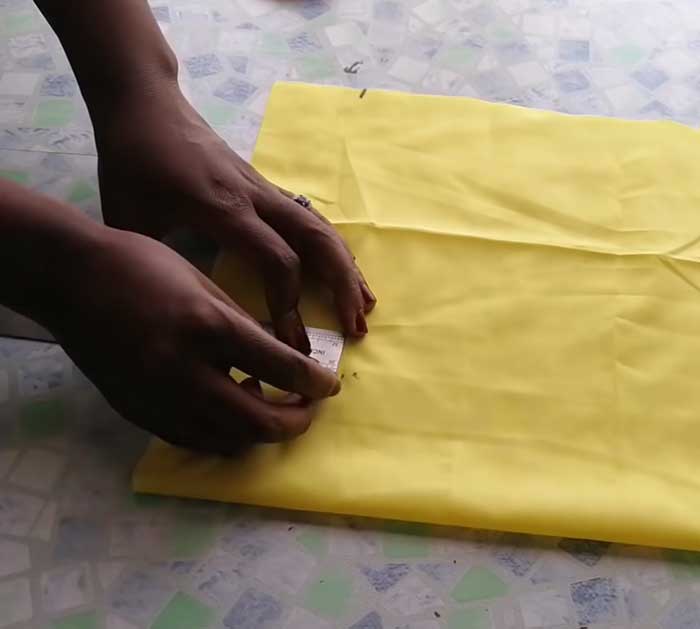
This step is optional, but you can cut another piece of fabric and make an inner lining and a pocket. After sewing the lining, place the bag into the lining and then sew the outer edges.
Image by. beautarie via YouTube video.
[social_warfare]
Step Nine
Flip the bag right side out and you’re done!


