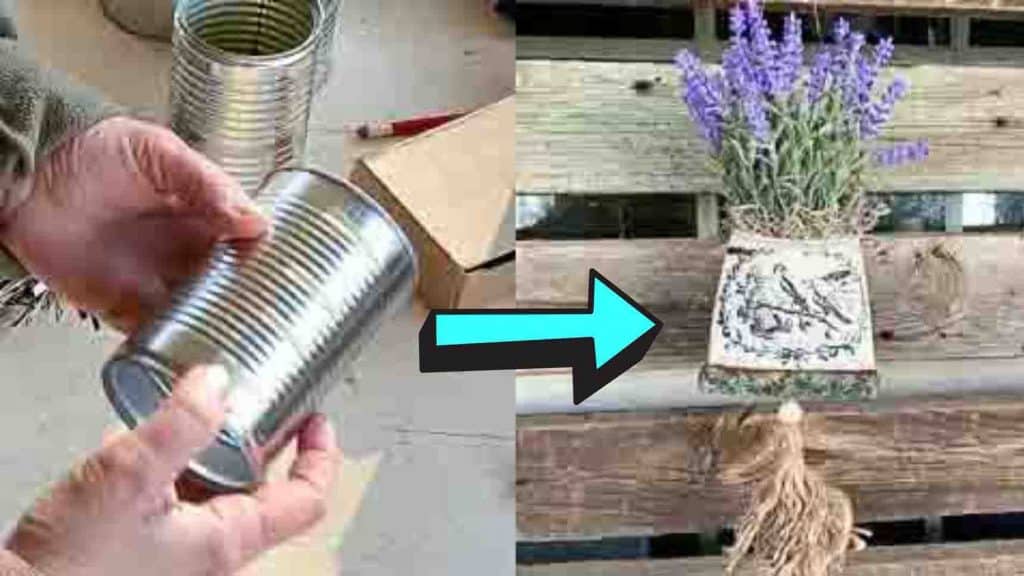
This tin can pocket posy prep tutorial from Farmer Brown’s Paradise on Youtube is a great idea to recycle those tin cans. With this easy-to-follow tutorial, you’ll learn how to prep a tin can in preparation for transforming it into a cute tin can pocket posy! It’s a great gift idea or a decoration for your house. Learn the step-by-step method by watching the video tutorial below.
Materials:
- tin cans
- paper-coated wire
- file
- hammer
- handmade tassel
Directions:
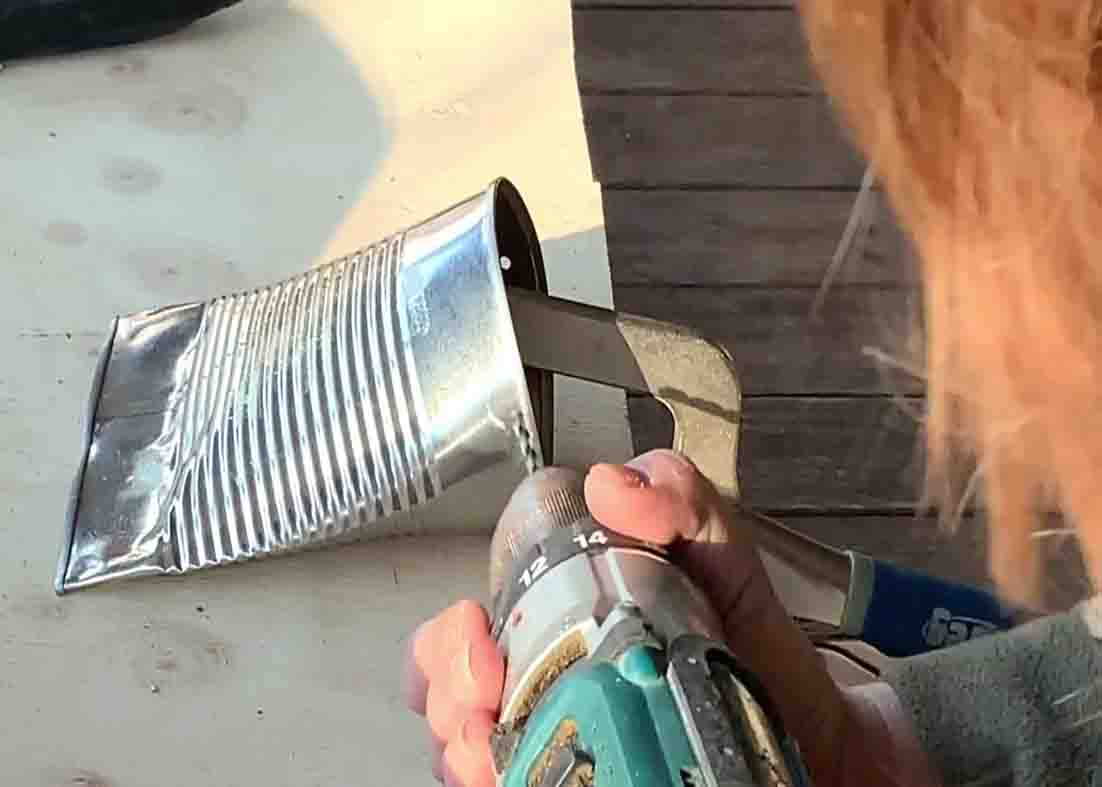
Step 1
Open the tin can on both ends. Get a file and file down the rough edge from the openings. Next, gently push with your hands the bottom half of the can. Use a hammer to help push down the can if it gets harder to push. (Work the front side first and then flip over and hammer the back.) Before closing down the bottom of the can, you can insert the tassel and glue it down to secure it. When you’re done attaching the tassel, hammer down the bottom to close it. Repeat this process to the rest of the tin cans you have.
[social_warfare]
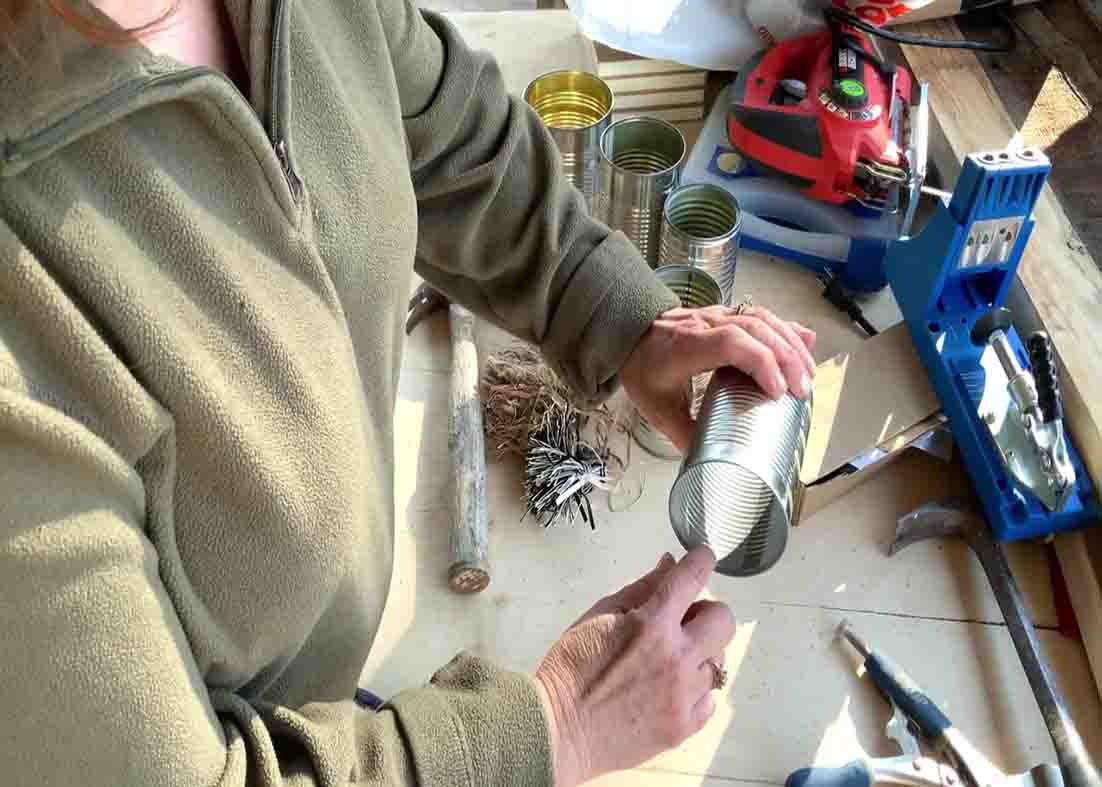
Step 2
In preparation for drilling holes at both sides, clamp down the can and then pick which size of bit you want to use. After picking the bit, drill a hole on both sides of the can. Use a file to smooth down both the inside and the outside of the hole.
DIY Tin Can Pocket Posy Prep Tutorial


