
Got some socks that don’t have a pair? Recycle them into this DIY snowman from Preeti chauhan on Youtube! As Christmas day is almost upon us, this project is just timely. It’s super easy to do and only needs a sock and simple crafting materials. Make this a weekend project with friends or family by watching the video tutorial below.
Materials:
- old socks
- scissors
- pen
- rubber bands
- rice
- pins (two black and one red)
- red ribbon
- some buttons
- hot glue
Directions:
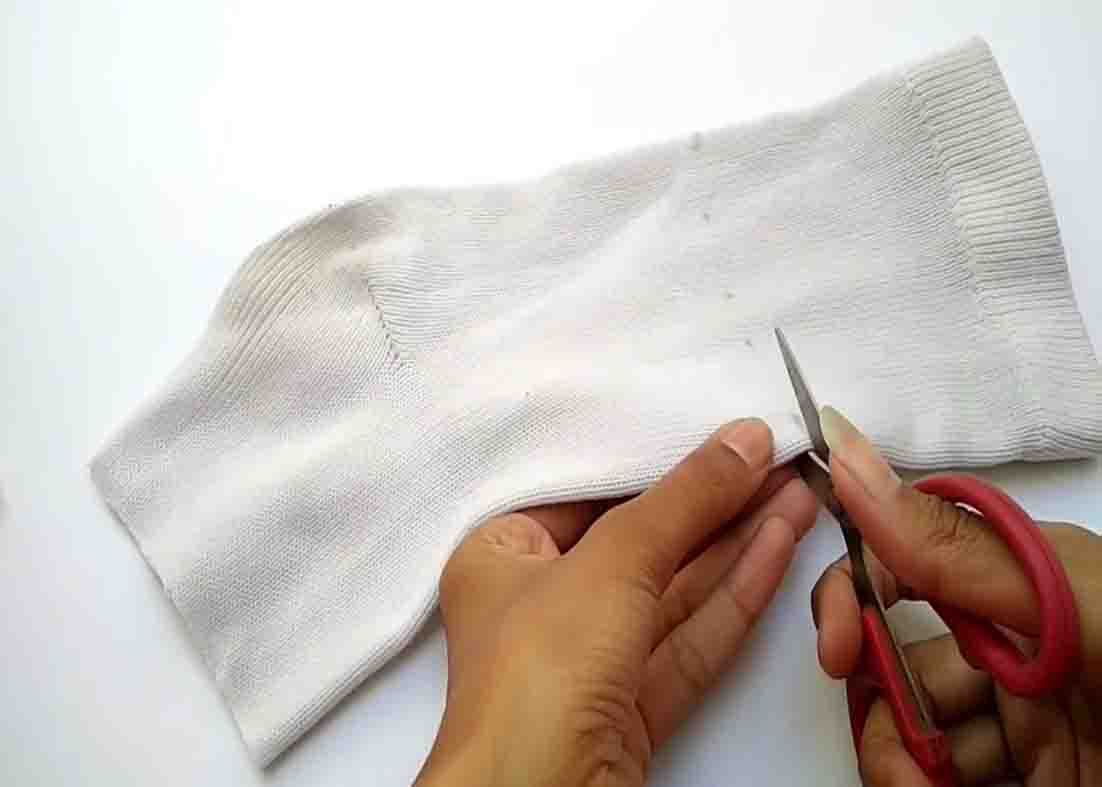
Step 1
Draw a line on both sides of the sock (1/4 away to the ends), then cut it using scissors. (Don’t throw away the cut pieces.) Next, close one end and secure it with a rubber band, then flip it inside out. Fill the inside with rice and close it using a rubber band. Grab another rubber band and place it in the middle (this will shape the sock into a snowman). Now, grab one of the cut pieces from earlier, close one end with a rubber band, and place it on top of the snowman like a hat.
[social_warfare]
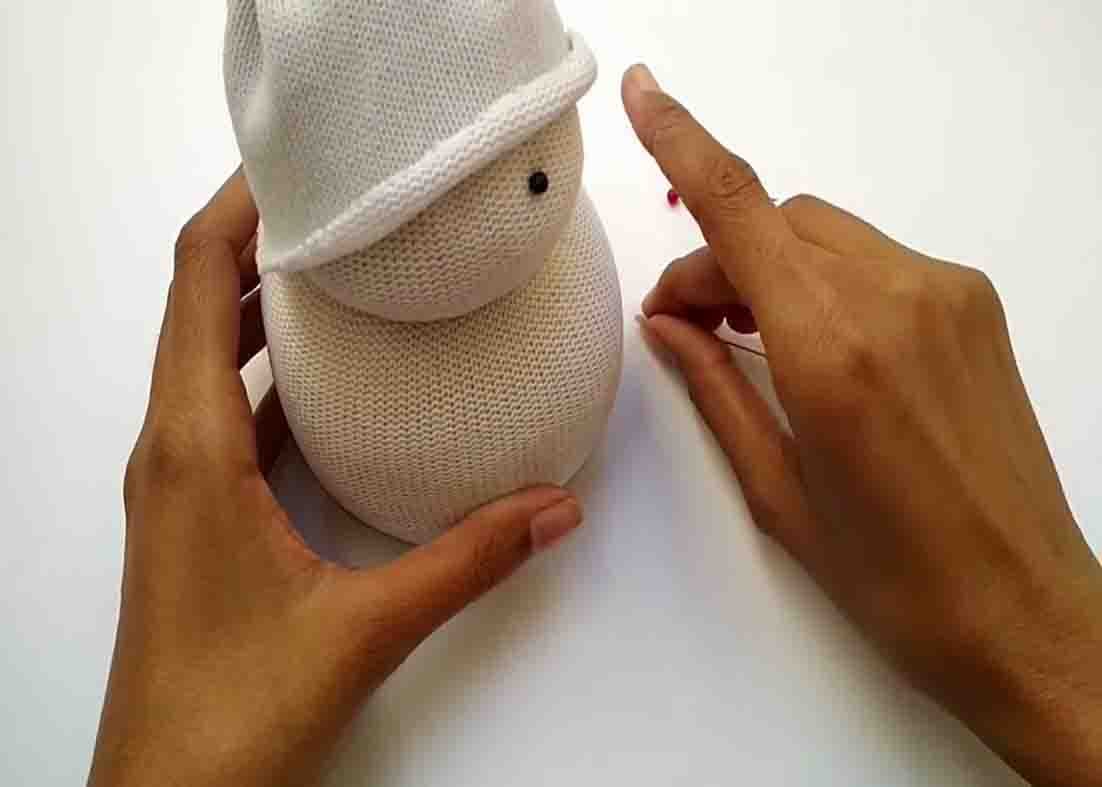
Step 2
After this, grab some pins (specifically, two black and one red). Place the two black pins on the upper part of the snowman as its eyes, then the red one as its nose. Now, grab some red ribbons and put one on the top part of the hat to hide the rubber band and another one on the neck of the snowman. To finish, glue some buttons to the body of the snowman using hot glue. Your DIY snowman is now finished!
DIY Snowman From Socks Tutorial


