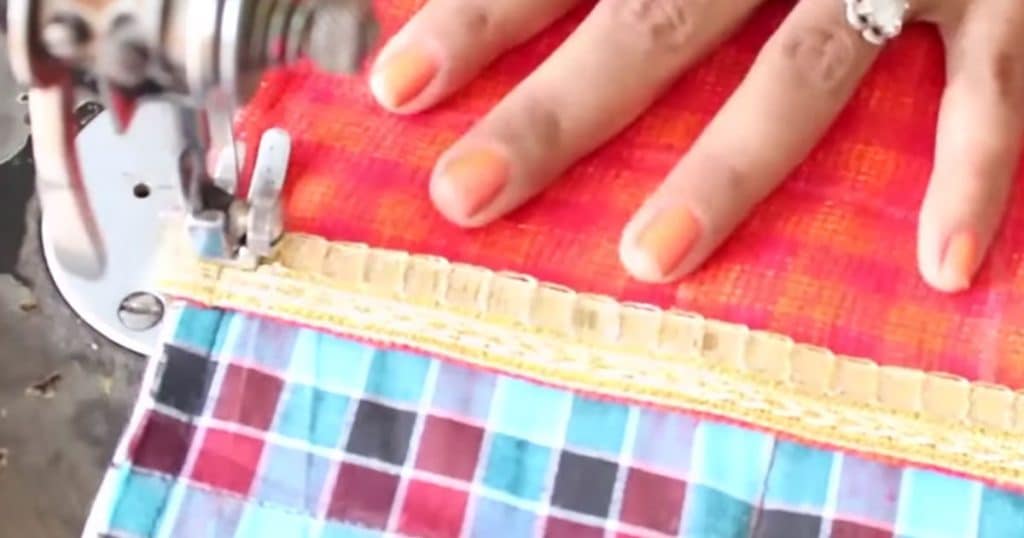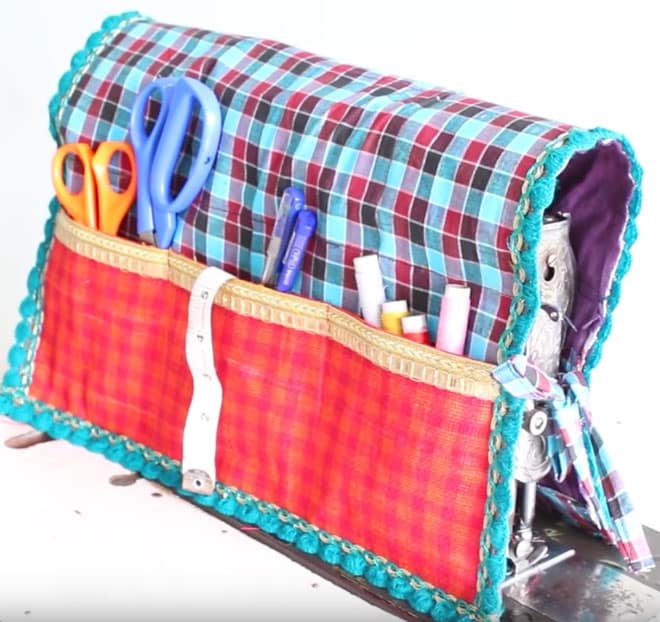
Have you ever looked for a cute sewing machine cover that you could make without spending a ton of money or time? I’ve seen some nice but very tedious patterns, but many of them were for sizes other than my machine. It was my hope to find something to make that was not too tricky or expensive, so I’ve left my machine uncovered in hopes that someday that project would arrive. Last week, the happy day did indeed arrive, and I am proud to say that my sewing machine not only has an adorable homemade cover, but it cost me nothing since this tutorial uses scrap fabric and trim. Plus, it organizes all my sewing essentials so they stay right there with the machine.
Lately, my grandkids have been quite interested in my scissors and marking pens, but this effectively says “hands off” in the nicest of ways. I used a pink pom pom edging I had leftover and some of my other favorite fabric remnants which had been waiting for a home. Now, I get to see those pretty fabrics being put to good use every time I walk in the corner of my bedroom I call the sewing room. This tutorial shows you how to measure to get the perfect size for your machine, and it is easy enough to follow for beginners and the seamstress who is not quite the expert when it comes to patterns. I just love my new sewing machine cover and hope you really love this one as much as I do.


